


USER’S GUIDE
CHAPTER 2 –12
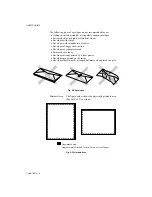
OUTPUT TRAY AND PAPER SUPPORT WIRE
The printer ejects paper with the printed surface face down into the output
tray at the front of the printer.
When the output tray is closed, the ejected paper comes out sheet by sheet
through the slit at the front. When you open the tray, sheets can be stacked
on the tray.
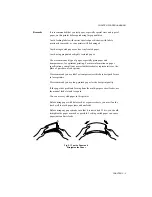
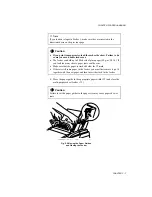
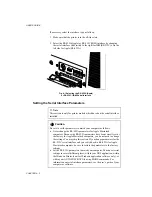
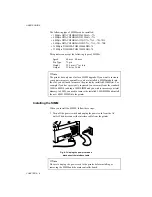
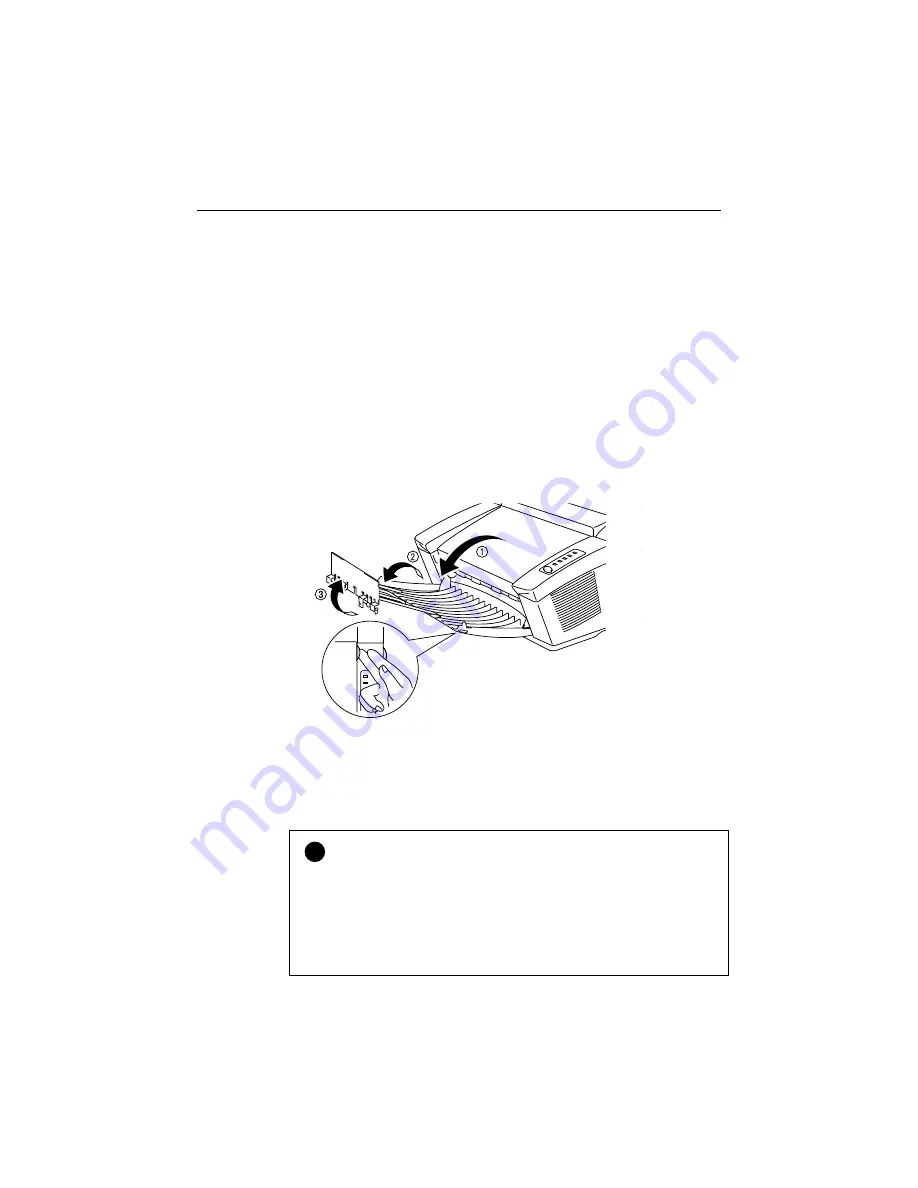
Follow these steps to open the output tray:
1. Pull the top of the tray down (
➀
).
2. Extend the extension support wire (
➁
) and set the paper stopper
(
➂
).
Fig. 2-10 Opening the Output Tray and
Extending the Extension Support Wire
You can stack up to 100 sheets in the output tray.
!
Caution
•
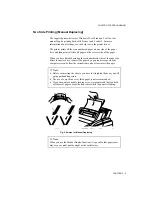
Use the paper stopper only when printing A4 or Letter size paper.
Failure to set the paper stopper may cause ouput stack sheets to scatter.
•
When you use transparencies, remove each sheet immediately after
printing. Stacking sheets may cause the transparency to curl or jams
•
Continuous printing with the output tray closed may cause
condensation inside the output tray.


