VI-19
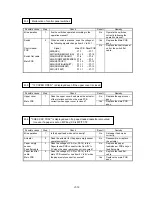
J-1a Paper pick-up block (Pick miss)
Possible cause
Step
Check
Result
Remedy
Adjustment
lever
(spring pressure
switching lever)
1
Is the position of the adjustment lever of the
cassette corresponding to the paper sheet
size?
No
Instruct the user to follow
the correct method.
Print paper
2
Is a recommended type of paper being used?
No
Instruct the user to use
recommended type of
paper.
3
Is the print paper deformed, curled or wavy?
Yes
Replace the print paper.
Instruct the user how to
storage.
Maximum
paper load on
the cassette
4
Does the amount of paper loaded on the
cassette exceed the specified maximum paper
load?
Yes
Instruct the user not to
load more than the
maximum amount of
paper.
Pick-up rollers
5
Are the pick-up rollers defomed or worn?
Yes
Replace the pick-up
rollers.
Separation pad
6
Is the separation pad deformed or worn, or is it
detached?
Yes
Replace the pad assy.
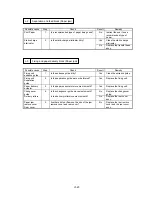
For solenoid activation, no feeder motor operation and no regist sensor activation, refer to
the item NO PAPER PICK-UP FROM THE CASSETTE in the column MALFUNCTIONS.
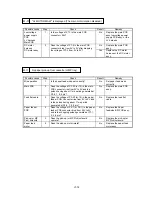
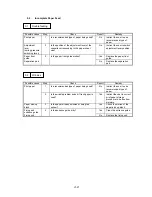
J-1b Paper pick-up block (Oblique feed jam)
Possible cause
Step
Check
Result
Remedy
Adjustment
lever
(spring pressure
switching lever)
1
Is the position of the adjustment lever of the
cassette corresponding to the paper sheet
size?
No
Instruct the user to follow
the correct method.
Paper front
guide
2
Is the paper front guide set in the correct
position?
No
Set the paper front guide.
MP-feeding
paper sheet
3
Are paper sheets set along the left wall?
No
Instruct the user to set
paper sheets correctly?
Cassette-feeding
sheet guide.
Cassette rear,
side guide
4
Is the cassette rear side guide set correctly?
No
Instruct the user to set it
correctly?
MP-feeding
paper sheet
MP sheet guide
Is the MP sheet guide set correctly?
No
Instruct the user to set it
correctly?
Summary of Contents for HL-2060
Page 1: ...MECHANICS ELECTRONICS SERVICE MANUAL LASER PRINTER ...
Page 41: ...III 8 A B F C D E 1 E 2 E 3 E 4 E 5 F Figure 3 7 Paper Feed Size SW PCB Circuit ...
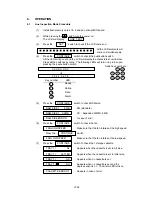
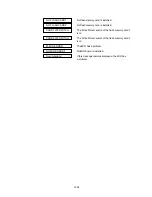
Page 129: ...VII 16 Test for memory MEMORY DISPLAY MEMORY DEBUG MEMORY TEST exit MENU ...
Page 137: ...Appendix A 3 Main PCB Circuitry Diagram 1 7 CODE UK4058000 B512006 CIR 1 7 NAME A 3 ...
Page 138: ...Appendix A 4 Main PCB Circuitry Diagram 2 7 CODE UK4058000 B512006 CIR 2 7 NAME A 4 ...
Page 139: ...Appendix A 5 Main PCB Circuitry Diagram 3 7 CODE UK4058000 B512006 CIR 3 7 NAME A 5 ...
Page 140: ...Appendix A 6 Main PCB Circuitry Diagram 4 7 CODE UK4058000 B512006 CIR 4 7 NAME A 6 ...
Page 141: ...Appendix A 7 Main PCB Circuitry Diagram 5 7 CODE UK4058000 B512006 CIR 5 7 NAME A 7 ...
Page 142: ...Appendix A 8 Main PCB Circuitry Diagram 6 7 CODE UK4058000 B512006 CIR 6 7 NAME A 8 ...
Page 143: ...Appendix A 9 Main PCB Circuitry Diagram 7 7 CODE UK4058000 B512006 CIR 7 7 NAME A 9 ...
Page 144: ...Appendix A 10 Control Panel PCB Circuitry Diagram 1 1 CODE UK4077000 B512005 CIR NAME A 10 ...
Page 145: ...Appendix A 11 Laser LD PCB Circuitry Diagram 1 1 CODE UK3253000 B48K253 CIR NAME A 11 ...
Page 147: ...June 98 54T046NE0 HL2060 ...


