


CHAPTER 2 DRIVER AND SOFTWARE
2-9
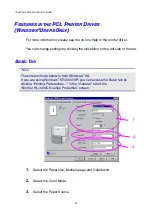
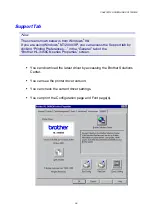
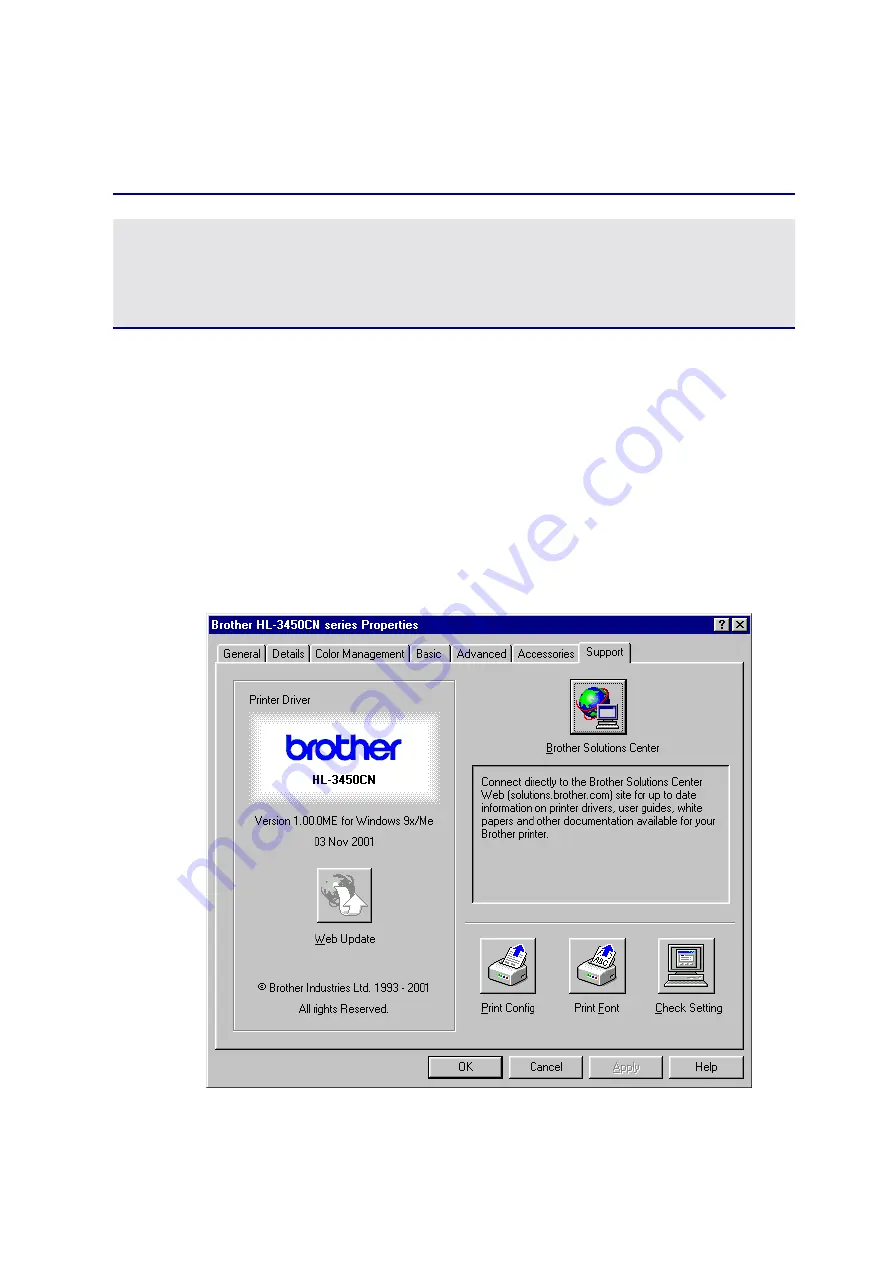
Support Tab
Note
The screen shown below is from Windows
®
98.
If you are using Windows
®
NT/2000/XP, you can access the Support tab by
clicking “Printing Preferences…” in the “General” tab of the
“Brother HL-3450CN series Properties” screen.
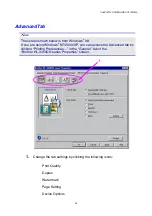
•
You can download the latest driver by accessing the Brother Solutions
Center.
•
You can see the printer driver version.
•
You can check the current driver settings.
•
You can print the Configuration page and Font page(s).


