CHAPTER 4 DISASSEMBLY AND RE-ASSEMBLY
4-36
3.21 Main
PCB
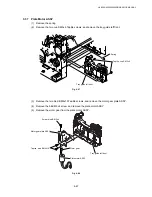
(1) Disconnect the all connectors.
(2) Remove the four cup S M3x6 Taptite screws and three screws, and remove the main
PCB.
Fig. 4-66
NOTE:
After replacing the Main PCB, be sure to carry out the scanner check. Refer to Chapter 7 (3.2
Function table, Service Menu mode).
3.22 Fan
40
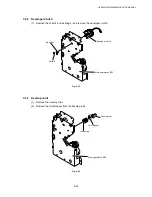
(1) Remove the two cup S M3x6 Taptite screws, and remove the fan 40.
Fig. 4-67
Taptite, cup S
M3x6
Screws
Main PCB
Taptite, cup S M3x6
Fan 40
2
1
LVPS
Taptite, cup S M3x6


