CONFIGURING INTERNET PRINTING FOR WINDOWS
®
5 - 8
11
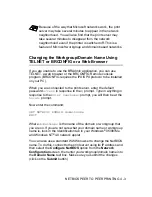
Once your computer has re-started you must create a printer on
your Windows
®
95/98/Me/2000/XP and Windows NT
®
4.0
system using the standard Windows
®
95/98/Me/2000/XP and
Windows NT
®
4.0 printer setup procedure. To do this, go the
Start button, select Settings and then Printers.
12
Select Add Printer to begin the printer installation.
13
Click Next when you get the Add Printer Wizard window.
<For Windows
®
95/98/Me users>
14
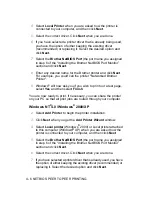
Select Local Printer when you are asked how the printers are
connected to your computer and click Next.
<For Windows NT
®
4.0 and Windows
®
2000/XP users>
14
Select Local Printer when you are asked how the printer is
connected to your computer, and then click Next.
<For Windows
®
95/98/Me users>
15
Select the desired model of the remote printer (for example,
Brother HL-series). If necessary, click Have Disk to load the
driver from the CD-ROM. Click Next when you are done.
16
If you have selected a printer driver that is already being used, you
have the option of either keeping the existing driver (recommended)
or replacing it. Select the desired option and click Next.
17
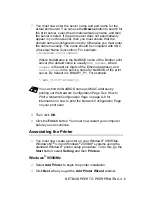
Select the Brother Internet port (BIP...) which you selected in
step 6 and click Next.
<For Windows NT
®
4.0 and Windows
®
2000/XP users>
15
Select the Brother Internet port (BIP...) which you selected in
step 6 and click Next.
16
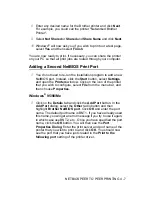
Select the desired model of the remote printer (for example,
Brother HL-series). If necessary, click Have Disk to load the
driver from the CD-ROM. Click Next when you are done.

