4-6
Confidential
1.3 Setting Serial Number and
Entering Adjusted Value of Laser Unit
<Operating Procedure>
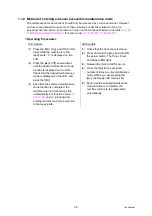
LCD models
(1) Press the [OK] and then the [Go] while the machine is in the ready state. Then, press the
[
▲
] four times to enter the maintenance mode.
LED models
(1) Follow the procedure below to enter the maintenance mode.
1) Disconnect the AC cord from the socket and open the front cover.
2) Press and hold the [Go] and connect the AC cord to the socket. The Toner, Drum,
and Paper LEDs light.
3) Release the [Go]. All LEDs go out.
4) Press and hold the [Go] and check that the Paper LED lights. Release the [Go] and close
the front cover. The Ready LED lights and the machine enters the maintenance mode.
(2) Connect the machine to your computer using the USB cable.
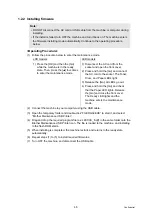
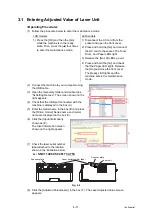
(3) Open the temporary folder and double-
click “MemoryAccessTool.exe”. The
screen shown on the right appears.
(4) Click the [Execute] and close the
Maintenance Exception Tool screen.
Wait for 5 seconds or longer and then
proceed to the next step.
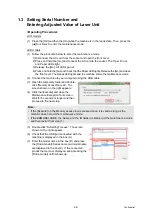
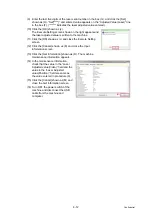
(5) Double-click “SvSettingTool.exe”. The screen
shown on the right appears.
(6) Check that the USB port connected with the
machine is displayed in the box (A).
(7) Enter the model name in the box (B) and press
the [Find a model]. Series name and model name
are displayed in the box (C). If the connected
product name is not displayed, keep pressing the
[Find a model] until it shows up.
Note:
• If the [Execute] on the Memory access tool is pressed once, it is valid as long as the
machine does not quit the maintenance mode.
• If the BRMODELCODE, the Serial, and the ID fields are blank, quit the maintenance mode
and then restart from step (1).
(A)
(B)
(C)
(D)
(E)

