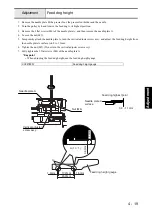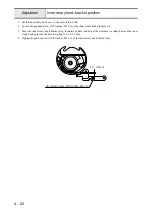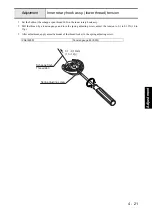
4 - 22
Adjustment
Pattern
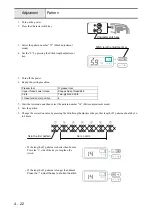
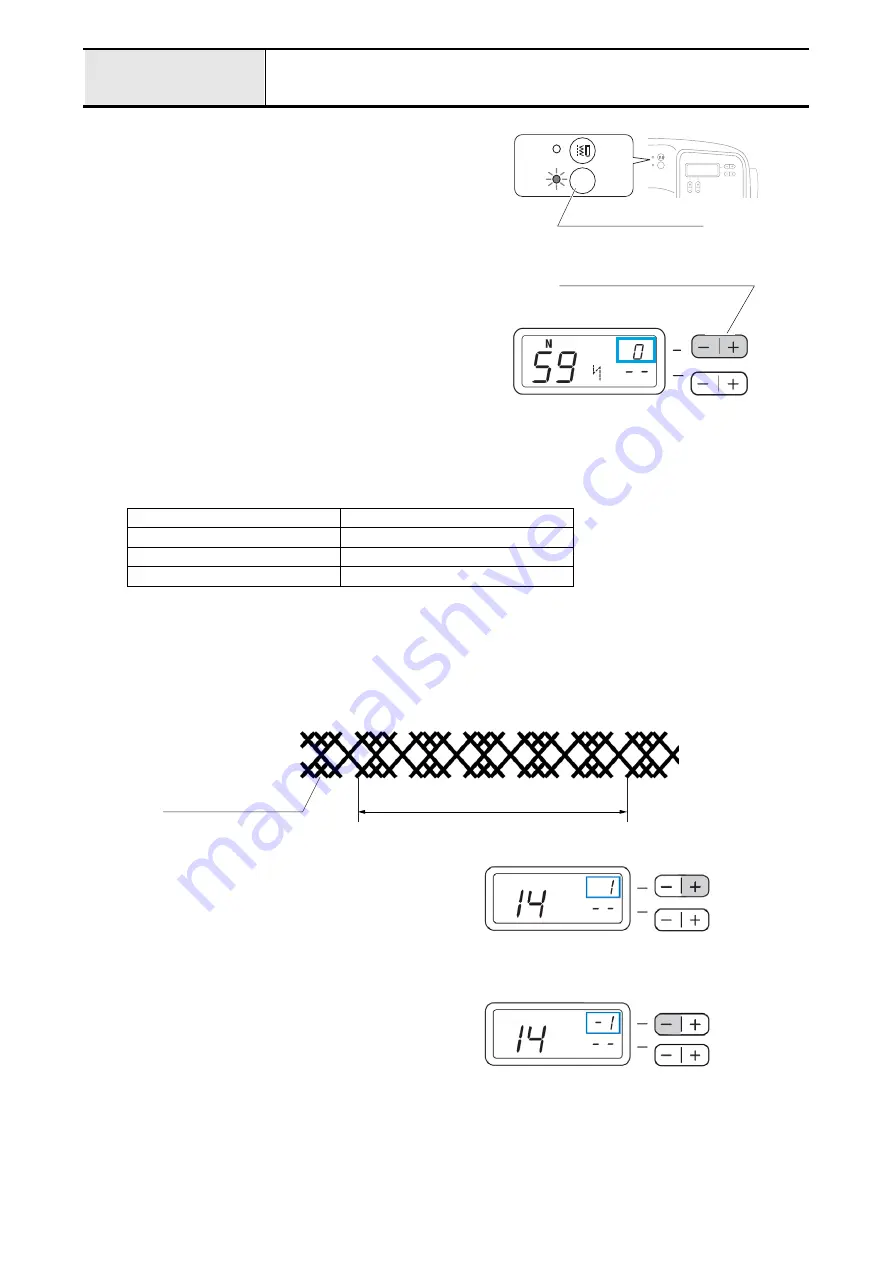
1. Turn on the power.
2. Press the Character stitch key.
3. Select the pattern number "59" (Stitch adjustment
mode).
4. Set the "0" by pressing the Stitch length adjustment
key.
5. Turn off the power.
6. Ready the sewing machine.
7. Start the test mode, and then select the pattern number "14" (Pattern adjustment mode).
8. Sew the pattern.
9. Change the correction value by pressing the Stitch length adjustment key so that length of 5 patterns should be 36
to 44mm.
•
If the length of 5 patterns is shorter than 36mm
Press the
"+"
side of the key to lengthen the
stitch.
•
If the length of 5 patterns is longer than 44mm
Press the "-" side of the key to shorten the stitch.
Presser foot
N presser foot
Upper thread/Lower thread
Shappe Span thread #60
Cloth
Two-ply broad cloth
Thread tension dial position
4
ABC
ABC
Character stitch key
Stitch length adjustment key
Skip the first pattern
36 to 44mm.
1
2
3
4
5
6
7
Summary of Contents for HS-3000
Page 1: ......
Page 2: ......
Page 3: ......
Page 9: ...vi ...
Page 16: ...2 1 2 Disassembly Main parts 2 2 Feed unit 2 22 Needle presser unit 2 30 ...
Page 17: ...2 2 Main parts Main parts location diagram Main unit ...
Page 37: ...2 22 Feed unit location diagram Main unit ...
Page 45: ...2 30 Needle presser unit location diagram Main unit ...
Page 55: ...3 2 Main parts Main parts location diagram Main unit ...
Page 77: ...3 24 Main unit Main parts 36 Accessory table attachment 1 Attach the accessory table 1 1 ...
Page 78: ...3 25 Assembly Feed unit Feed unit location diagram Main unit ...
Page 90: ...3 37 Assembly Needle presser unit Needle presser unit location diagram Main unit ...
Page 163: ...7 12 ...
Page 164: ......


