4-6
Confidential
1.2
Setting by Country
(1) Press and hold the [X] and [to USB] keys simultaneously, and plug the AC power cord into
the outlet. Check that the Power LED and the Error LED are lit, and release these two keys.
(2) Press the [X], [to USB], [to PC], and [X] keys in this order.
The to Network Device1 LED, to Network Device2 LED, and to Network Device3 LED flash.
(3) Connect the computer to the machine with the USB cable.
(4) Turn ON the power switch of the computer.
(5) Check that the "Brother Maintenance USB Printer" is set as a default printer. If not, set it
as a default printer.
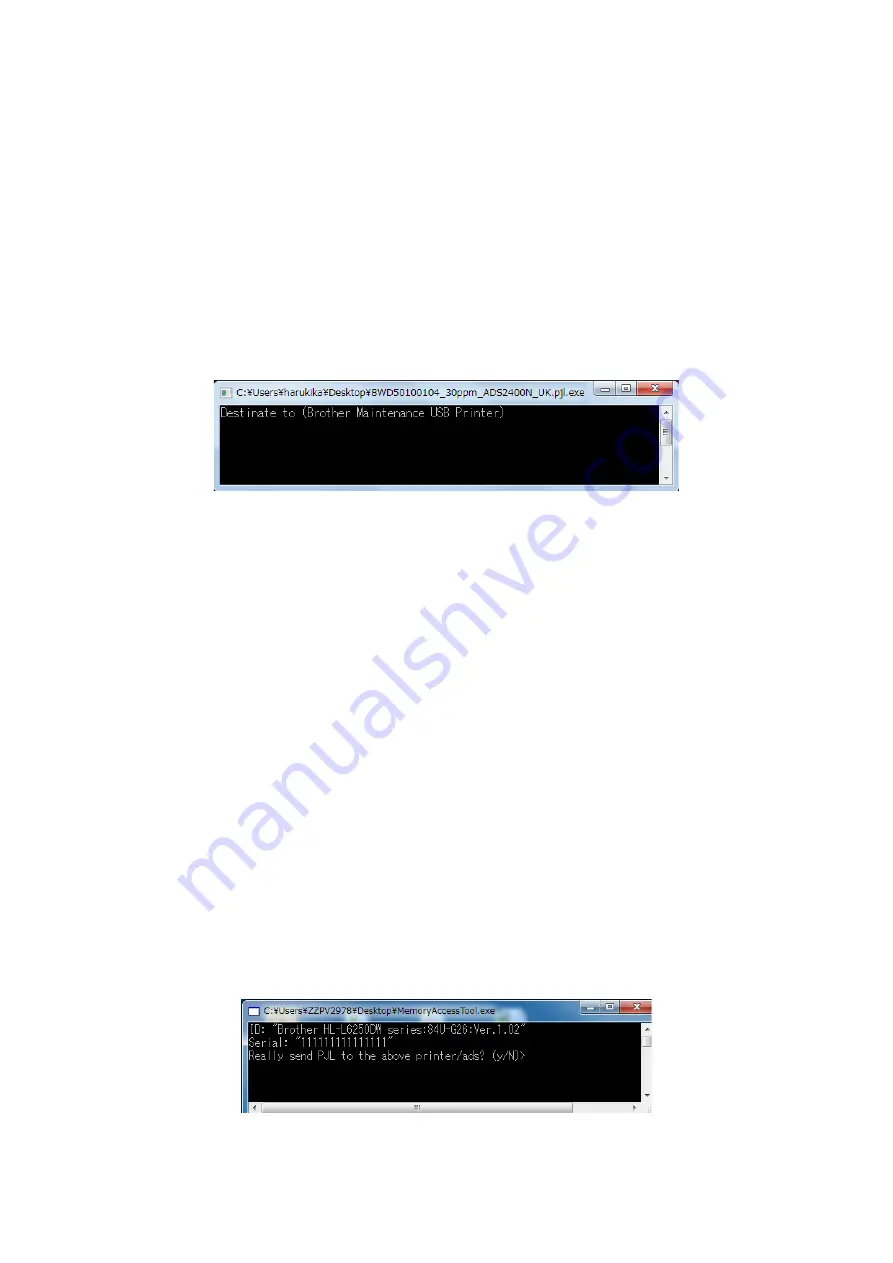
(6) Double-click the exe file (ex. Service_ADS2400N_UK.exe) of the appropriate model for
the appropriate country. The display shown below appears on the LCD. The country
code information is loaded to the machine and written to the flash ROM and E2PROM.
(7) Unplug the AC power cord of the machine, and disconnect the USB cable.
1.3
Initializing the EEPROM of the Main PCB ASSY
(1) Press and hold the [X] and [to USB] keys simultaneously, and plug the AC power cord into
the outlet. Check that the Power LED and the Error LED are lit, and release these two keys.
(2) Press the [X], [to USB], [to PC], and [X] keys in this order.
The to Network Device1 LED, to Network Device2 LED, and to Network Device3 LED flash.
(3) Press the [to USB] key three times. The to PC LED and the to USB LED light.
(4) Press the [X] key. The EEPROM of the main PCB ASSY is initialized.
(5) Unplug the AC power cord of the machine.
1.4
Activating Memory Writing
(1) Press and hold the [X] and [to USB] keys simultaneously, and plug the AC power cord into
the outlet. Check that the Power LED and the Error LED are lit, and release these two keys.
(2) Press the [X], [to USB], [to PC], and [X] keys in this order.
The to Network Device1 LED, to Network Device2 LED, and to Network Device3 LED flash.
(3) Connect the computer to the machine with the USB cable.
(4) Turn ON the power switch of the computer.
(5) Check that the "Brother Maintenance USB Printer" is set as a default printer. If not, set it
as a default printer.
(6) Double-click the "MemoryAccessTool.exe" file. The following window appears.
(7) Enter the [Y]. Memory writing is activated.
Summary of Contents for ImageCenter ADS-2400N
Page 23: ...2 4 Confidential 2 2 Paper Feeding Fig 2 2 Feed path Front side Back side ...
Page 46: ...3 2 Confidential 2 PACKING ...
Page 49: ...3 5 Confidential 5 LUBRICATION There are no applicable parts for lubrication ...
Page 50: ...3 6 Confidential 6 OVERVIEW OF GEARS There are no gears to be disassembled ...
Page 96: ...4 3 Confidential 6 Click the Machine Info The firmware version is displayed ...


