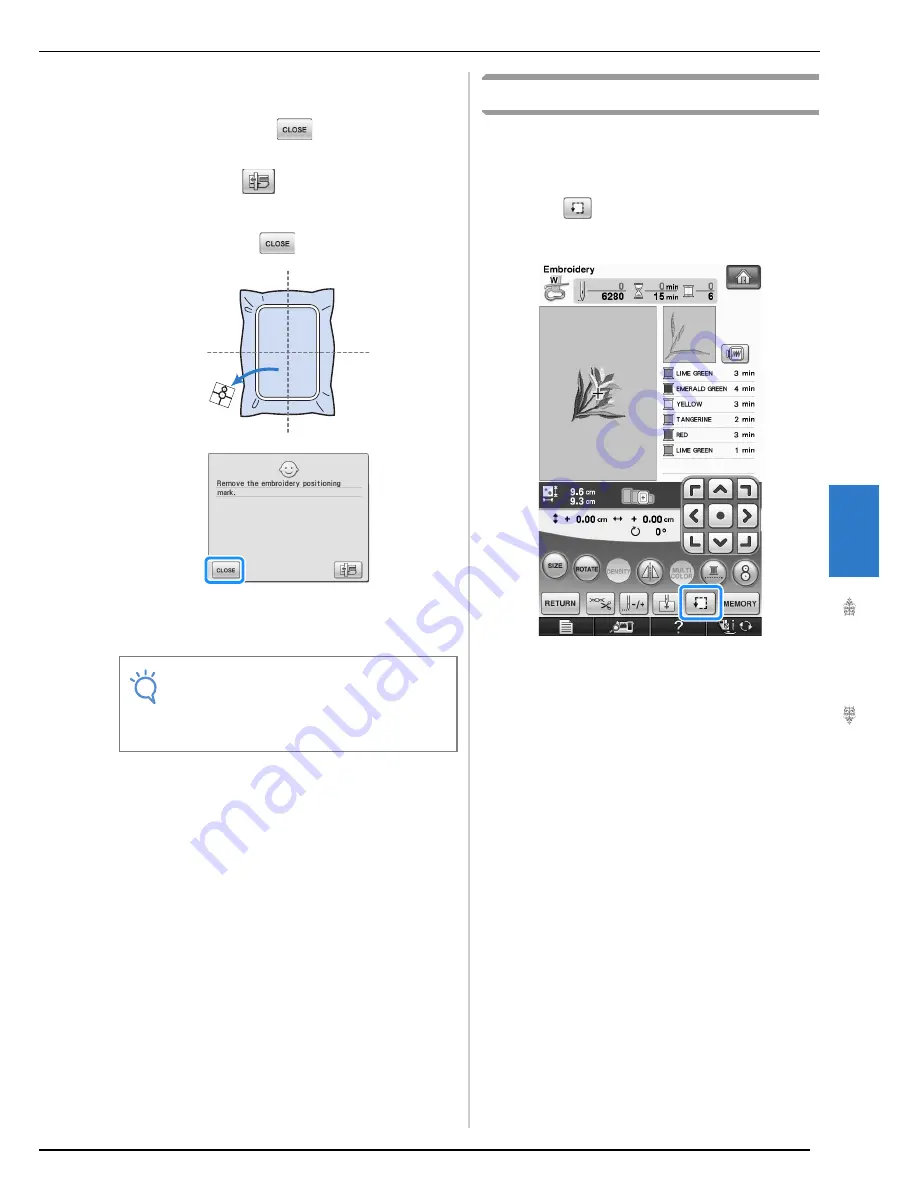
CONFIRMING THE PATTERN POSITION
Embr
oi
de
ry
209
5
f
A reminder message appears. Remove the
embroidery positioning sticker from the
fabric, and press
.
*
To remove the embroidery positioning sticker more
easily, press
so that the embroidery frame
moves slightly forward and away from under the
needle. After the embroidery positioning sticker is
removed, press
.
g
Press the “Start/Stop” button to begin
embroidering.
Checking the Pattern Position
The embroidery frame moves and shows the
pattern position. Watch the frame closely to make
sure the pattern will be sewn in the right place.
a
Press .
→
The following screen is displayed.
Note
• After the included embroidery positioning
stickers are used up, optional stickers are
available. For details, refer to “Options” on
page 8.
Summary of Contents for Innov-is NV6000D
Page 1: ...Computerized Embroidery and Sewing Machine ...
Page 14: ...CONTENTS xii ...
Page 35: ...LCD SCREEN Getting Ready 21 1 ...
Page 90: ...USEFUL FUNCTIONS 76 ...
Page 269: ...USING THE MEMORY FUNCTION Embroidery 255 5 f Press o The sewing screen is displayed ...
Page 302: ...EDITING PATTERNS 288 ...
Page 326: ...PRINT AND STITCH COMBINING EMBROIDERY PATTERNS AND PRINTED DESIGNS 312 ...
Page 338: ...USING STORED CUSTOM STITCHES 324 ...
Page 373: ......
Page 374: ......
Page 375: ......


