4-32
Confidential
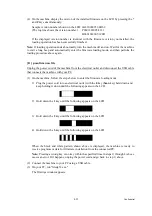
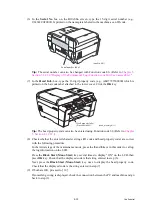
(4) On the machine, display the version of the installed firmware on the LCD by pressing the
*
and
#
keys simultaneously.
Sample version number shown on the LCD: 0A810060953:4B69
(The top line shows the version number.)
P0601242005:4123
B0601242005:1C8D
If the displayed version number is identical with the firmware version you installed, the
loading operation has been successfully finished.
Note:
If loading operation ends abnormally, turn the machine off and on. Wait for the machine
to emit a long beep and automatically enter the firmware loading mode, and then perform the
loading procedure above again.
[ B ] .pmu firmware file
Unplug the power cord of the machine from the electrical outlet and disconnect the USB cable
that connects the machine with your PC.
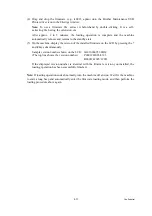
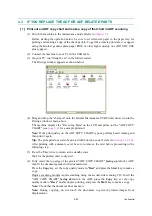
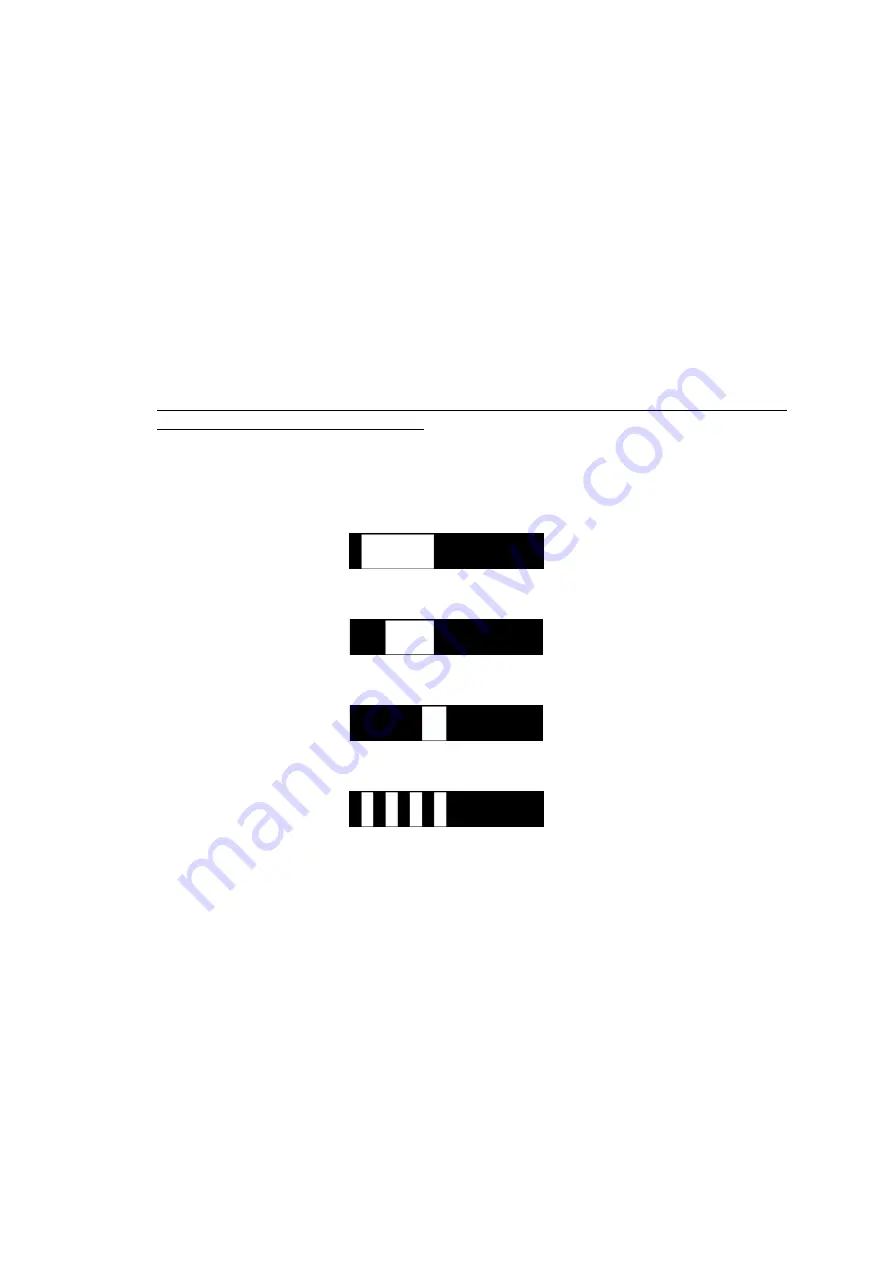
(1) On the machine, follow the steps below to enter the firmware loading mode.
1) Plug the power cord into an electrical outlet with the
0
key (
Scan
key) held down and
keep holding it down until the following appears on the LCD.
2) Hold down the
1
key until the following appears on the LCD.
3) Hold down the
2
key until the following appears on the LCD.
4) Hold down the
3
key until the following appears on the LCD.
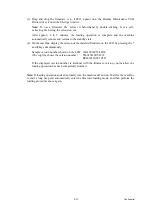
When the black and white pattern shown above is displayed, the machine is ready to
receive programs or data for firmware installation from the connected PC.
Note:
Pressing a wrong key or no key within the specified time in steps 1) through 4) above
causes an error. If it happens, unplug the power cord and go back to step 1) above.
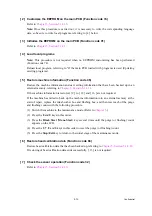
(2) Connect the machine to your PC using a USB cable.
(3) On your PC, run "filedg32.exe."
The Filedrgs window appears.
Summary of Contents for MFC-J6510DW
Page 15: ...xii Confidential ...
Page 16: ...xiii Confidential ...
Page 17: ...xiv Confidential ...
Page 18: ...xv Confidential ...
Page 19: ...xvi Confidential ...
Page 128: ...3 3 Confidential 3 2 PACKING For models with paper tray 2 ...
Page 273: ...4 13 Confidential EXIT Adjust Check Pattern 1 ...
Page 274: ...4 14 Confidential EXIT Adjust Check Pattern 2 ...
Page 275: ...4 15 Confidential EXIT Adjust Check Pattern 3 ...
Page 276: ...4 16 Confidential KEISEN2 LF300 EXIT ADJUST PATTERN ...
Page 278: ...4 18 Confidential KEISEN GAP EXIT ADJUST PATTERN Line 1 Line 2 Line 3 ...
Page 280: ...4 20 Confidential Vertical Alignment Check Patterns ...
Page 283: ...4 23 Confidential Left Right and Bottom Margin Check Pattern ...
Page 286: ...4 26 Confidential Print Pattern for Creating Head Calibration Data ...
Page 302: ...4 42 Confidential ADF Copy Chart C A B D ...
Page 312: ...5 8 Confidential Print Pattern for Creating Head Calibration Data ...
Page 314: ...5 10 Confidential Scanning Compensation Data List ...
Page 317: ...5 13 Confidential Nozzle Test Pattern ...
Page 320: ...5 16 Confidential Configuration List ...
Page 337: ...5 33 Confidential EXIT Adjust Check Pattern 1 ...
Page 338: ...5 34 Confidential EXIT Adjust Check Pattern 2 ...
Page 339: ...5 35 Confidential EXIT Adjust Check Pattern 3 ...
Page 340: ...5 36 Confidential KEISEN2 LF300 EXIT ADJUST PATTERN ...
Page 346: ...5 42 Confidential Vertical Alignment Check Pattern ...
Page 349: ...5 45 Confidential Left Right and Bottom Margin Check Pattern ...
Page 383: ...6 4 Confidential Power supply PCB 100 V series ...
Page 384: ...6 5 Confidential Power supply PCB 200 V series ...
Page 385: ...6 6 Confidential Wiring diagrams ...


