General information
15
1
l
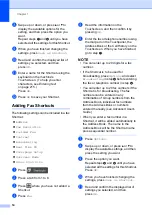
Enter a name for the Shortcut using the
keyboard on the machine's
Touchscreen. (To help you enter letters,
see
Press
OK
.
m
Press
OK
to save your Shortcut.
Adding Scan Shortcuts
1
The following settings can be included in a
scan Shortcut:
to USB
2-sided Scan
Scan Type
Resolution
File Type
Glass Scan Size
File Name
File Size
Remove Background Colour
to E-mail Server
(Supported only after
IFAX is downloaded)
Address
2-sided Scan
Scan Type
Resolution
File Type
Glass Scan Size
File Size
to OCR
/
to File
/
to Image
/
to E-mail
PC Select
to FTP/SFTP
/
to Network
Profile Name
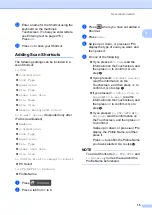
a
Press .
b
Press a tab from 1 to 8.
c
Press
where you have not added a
Shortcut.
d
Press
Scan
.
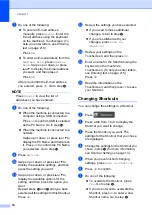
e
Swipe up or down, or press
a
or
b
to
display the type of scan you want, and
then press it.
f
Do one of the following:
If you pressed
to USB
, read the
information on the Touchscreen, and
then press
OK
to confirm it. Go to
step
.
If you pressed
to E-mail Server
,
read the information on the
Touchscreen, and then press
OK
to
confirm it. Go to step
.
If you pressed
to OCR
,
to File
,
to
Image
or
to E-mail
, read the
information on the Touchscreen, and
then press
OK
to confirm it. Go to
step
.
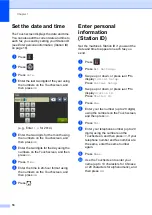
If you pressed
to FTP/SFTP
or
to
Network
, read the information on
the Touchscreen, and then press
OK
to confirm it.
Swipe up or down, or press
a
or
b
to
display the Profile Name, and then
press it.
Press
OK
to confirm the Profile Name
you have selected. Go to step
.
NOTE
To add a Shortcut for
to FTP/SFTP
and
to Network
you must have added the
Profile Name beforehand.

