102
Note
*
This machine comes equipped with an upper thread sensor to prevent the machine from
turning on if not properly threaded. If the machine doesn't start, check to see if the
machine is threaded properly before worrying that something might be wrong.
*
If the power shuts off by itself while sewing:
Turn sewing machine off and unplug it.
Start the sewing machine again according to directions.
If you have gone through the troubleshooting tips and are still unable to find the source of the problem,
please take your machine back to the place of purchase or your nearest Brother dealer for repairs.
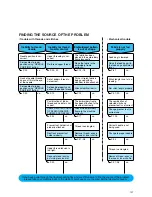
Needle breaks
Needle is not correctly
inserted.
Set needle properly.
Machine does
not start
“START/STOP” button is
not pressed.
Press “START/STOP”
button.
Embroidery unit
does not work
Main power switch is in
the off position.
Turn the power on.
LCD touch screen
is hard to read
LCD contrast is not
correct.
Adjust the LCD contrast.
P.34
P.23
P.12
P.13
NO
NO
NO
Correct needle is not
used.
Change to proper needle.
Main power switch is in
the off position.
Turn the power on.
Embroidery unit is not
correctly connected to
the machine.
Connect embroidery unit
properly to the machine.
P.34
P.12
P.63
NO
NO
NO
Memory card is not
inserted.
Turn off the power then
insert the memory card.
P.65
NO
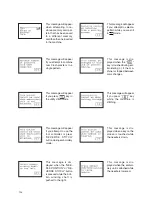
Check error messages
NO
Presser foot is not
lowered.
Lower the presser foot.
P.21
P.103~105
P.103~105
NO
Check error messages.
NO
The combination of fabric,
thread and needle is not
correct.
Check the “RELATED CHART
OF SEWING FABRICS,
THREAD AND NEEDLE” .
P.35
NO
The fabric is pulled too
much.
Sew without pulling but
just guide the fabric.
NO
Incorrect foot being used.
Stitch is too wide for foot
being used.
Narrow stitch or chante
foot.
NO
NO


