Basic Operation
27
Automatically Creating Embroidery Patterns
Step 3
Adjusting the size and position
of the image
1.
Click
Image
on the menu bar, and then click
Modify
.
→
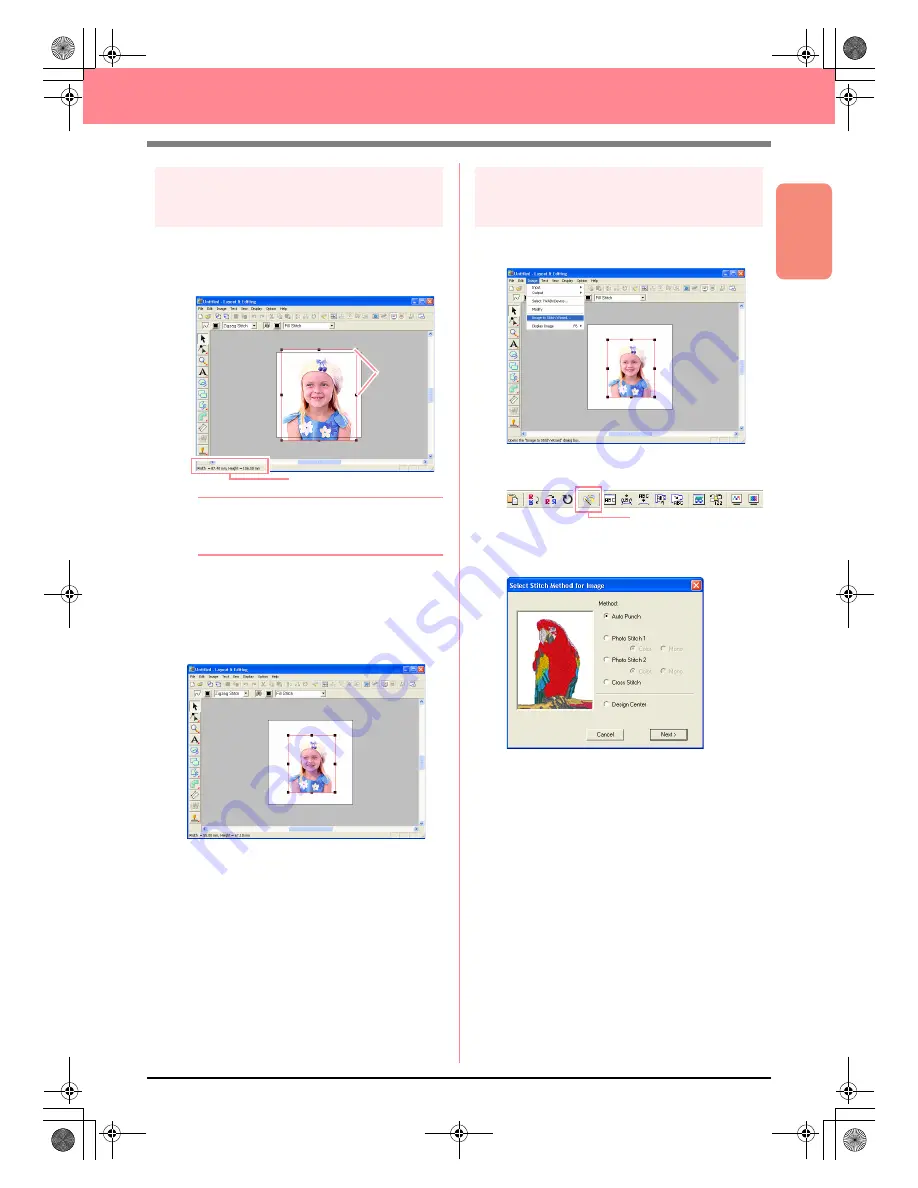
Handles appear around the image.
b
Memo:
The status bar shows the dimensions (width
and height) of the image.
2.
Adjust the selected image to the desired size,
and move it to the desired location.
c
For more details, refer to , “Changing the
Size and Position of the Image”, on page
114.
Step 4
Automatically converting the
image to an embroidery pattern
1.
Click
Image
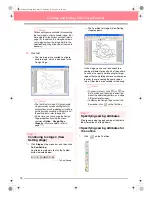
on the menu bar, and then click
Image to Stitch Wizard
.
An alternate method is to click the Toolbar
button indicated below.
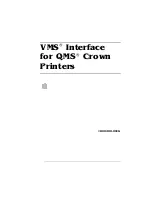
→
The
Select Stitch Method for Image
dia-
log box appears.
Status bar
Handles
Image to Stitch Wizard
PeDesignV6Eng.book Page 27 Thursday, July 8, 2004 11:59 AM


