225
Cr
e
a
ting Cus
tom Font
s
(F
ont Cr
e
a
tor
)
Creating Custom Fonts (Font Creator)
This section provides detailed descriptions on the various operations, settings and precautions for Font
Creator. In addition, many useful functions are introduced.
Opening a File
Creating a new font
You can begin with a blank work area to design a
new font.
Toolbar button:
1.
Click ,
or
click
File
, then
New
.
→
A new work area appears.
Opening a font file
A previously created or saved font file can be
opened to be edited.
Toolbar button:
1.
Click
, or click
File
, then
Open
.
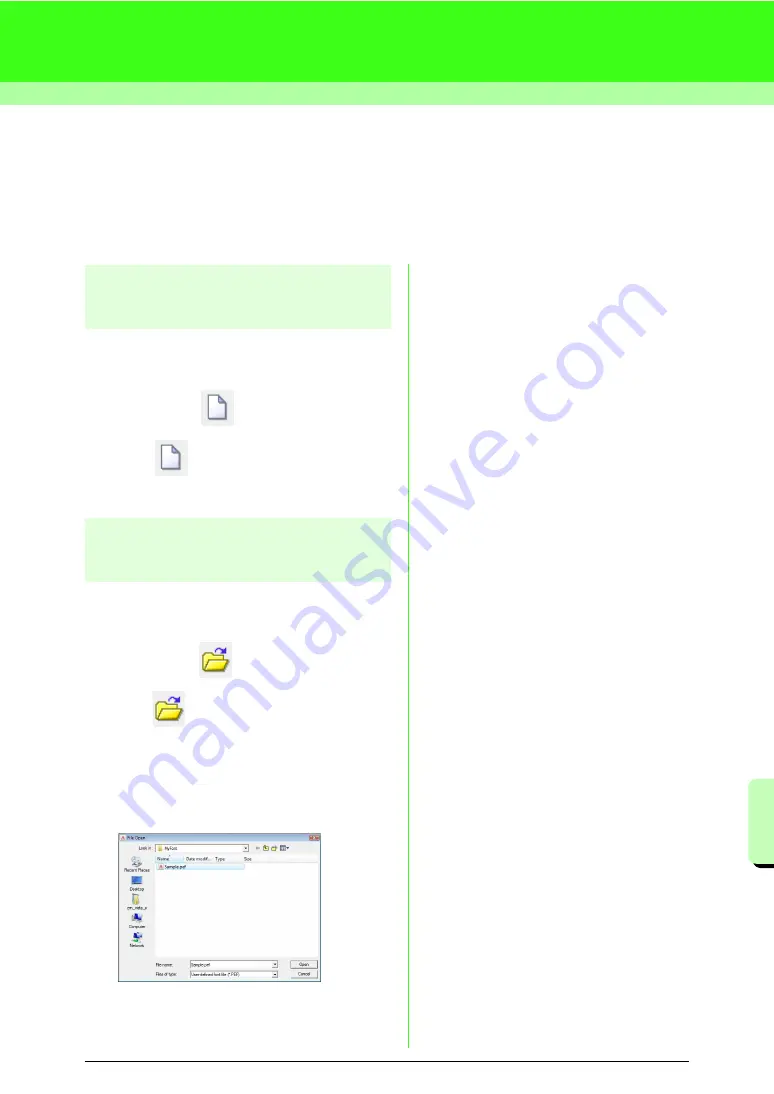
2.
Select the
MyFont
folder in the folder where
PE-DESIGN was installed. (For example,
clicking the drive where PE-DESIGN was
installed, then
Program Files
, then
Brother
,
then
PE-DESIGN 8
, then
MyFont
)
3.
To open a file, select it, and then click
Open
,
or double-click the file’s icon.
→
The contents of the selected file appear in
the work area.
Summary of Contents for PE-Design 8
Page 1: ...Instruction Manual ...
Page 146: ...144 Arranging Embroidery Designs Layout Editing ...
Page 200: ...198 Managing Embroidery Design Files Design Database ...
Page 218: ...216 Creating Custom Stitch Patterns Programmable Stitch Creator ...
Page 244: ...242 Tips and Techniques ...
Page 269: ...English ...

