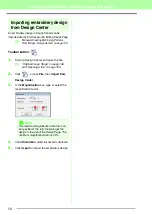
44
Tutorial
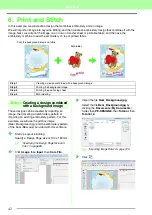
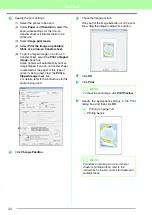
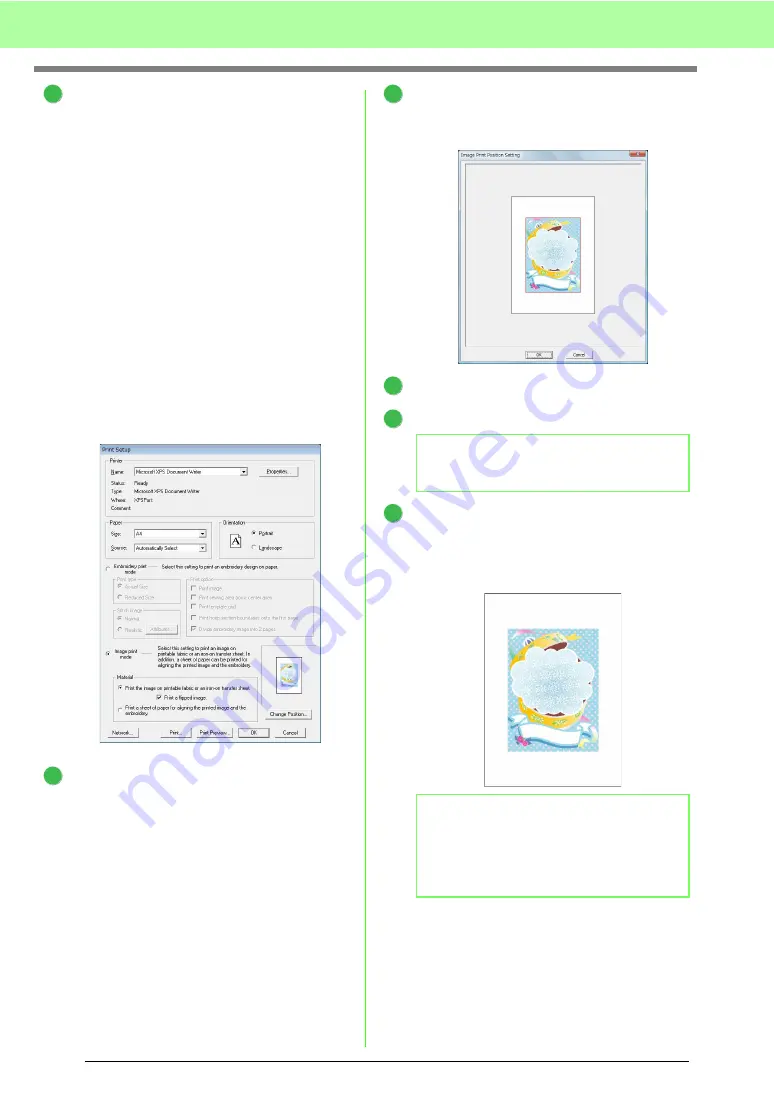
Specify the print settings.
(1) Select the printer to be used.
(2) Under
Paper
and
Orientation
, select the
appropriate settings for the iron-on
transfer sheet or printable fabric to be
printed on.
(3) Select
Image print mode
.
(4) Select
Print the image on printable
fablic or an iron-on transfer sheet
.
(5) To print a flipped image on an iron-on
transfer sheet, select the
Print a flipped
image
check box.
Some printers will automatically print an
image flipped if an iron-on transfer sheet
is selected as the paper. If this type of
printer is being used, clear the
Print a
flipped image
check box.
For details, refer to the instructions for the
printer being used.
Click
Change Position
.
Check the image position.
If any part of the image extends out of the print
area, drag the image to adjust its position.
Click
OK
.
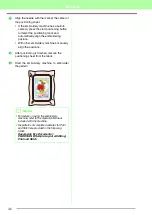
Click
.
Specify the appropriate settings in the Print
dialog box, and then click
OK
.
c
→
Printing begins.
2
(1)
(2)
(2)
(3)
(4)
(5)
3
b
Memo:
To check the print image, click
Print Preview
.
b
Memo:
For details on printing on iron-on transfer
sheets or printable fabric, refer to the
instructions for the iron-on transfer sheets and
printable fabric.
4
5
6
7
Summary of Contents for PE-Design 8
Page 1: ...Instruction Manual ...
Page 146: ...144 Arranging Embroidery Designs Layout Editing ...
Page 200: ...198 Managing Embroidery Design Files Design Database ...
Page 218: ...216 Creating Custom Stitch Patterns Programmable Stitch Creator ...
Page 244: ...242 Tips and Techniques ...
Page 269: ...English ...

