67
Arranging Embroidery Designs (Layout & Editing)
A
rr
a
ng
in
g Embr
oide
ry
D
e
s
igns
(
L
a
y
out
& E
d
iting)
■
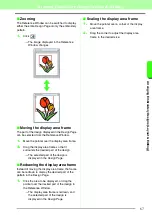
Zooming
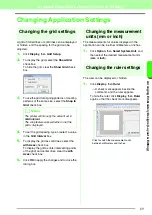
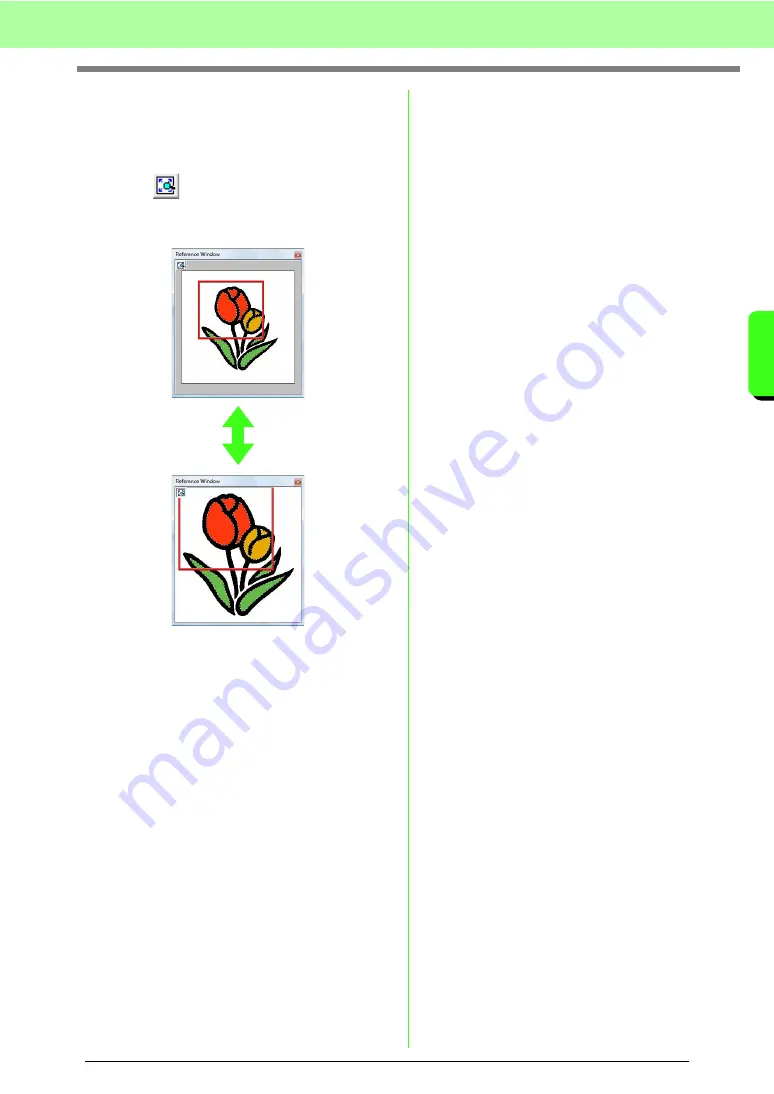
The Reference Window can be switched to display
either the entire Design Page or only the embroidery
pattern.
1.
Click .
→
The image displayed in the Reference
Window changes.
■
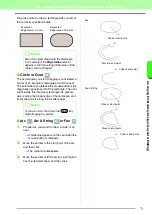
Moving the display area frame
The part of the design displayed in the Design Page
can be selected from the Reference Window.
1.
Move the pointer over the display area frame.
2.
Drag the display area frame so that it
surrounds the desired part of the design.
→
The selected part of the design is
displayed in the Design Page.
■
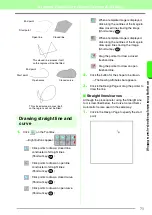
Redrawing the display area frame
Instead of moving the display area frame, the frame
can be redrawn to display the desired part of the
pattern in the Design Page.
1.
Click the area to be displayed, or drag the
pointer over the desired part of the design in
the Reference Window.
→
The display area frame is redrawn, and
the selected part of the design is
displayed in the Design Page.
■
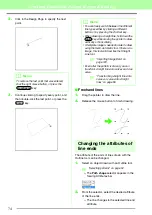
Scaling the display area frame
1.
Move the pointer over a corner of the display
area frame.
2.
Drag the corner to adjust the display area
frame to the desired size.
Summary of Contents for PE-Design 8
Page 1: ...Instruction Manual ...
Page 146: ...144 Arranging Embroidery Designs Layout Editing ...
Page 200: ...198 Managing Embroidery Design Files Design Database ...
Page 218: ...216 Creating Custom Stitch Patterns Programmable Stitch Creator ...
Page 244: ...242 Tips and Techniques ...
Page 269: ...English ...

