128
Arranging Embroidery Designs (Layout & Editing)
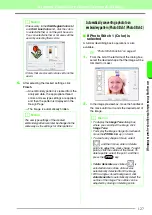
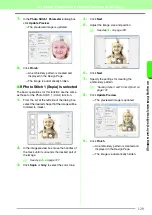
Pattern edited with the round mask
Pattern edited with the adjustable mask
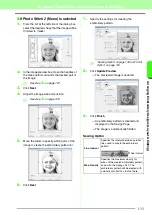
3.
In the
Select Mask
dialog box, click
Next
.
4.
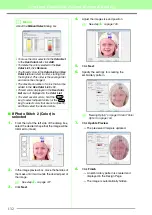
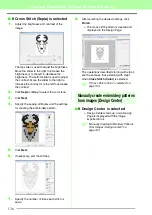
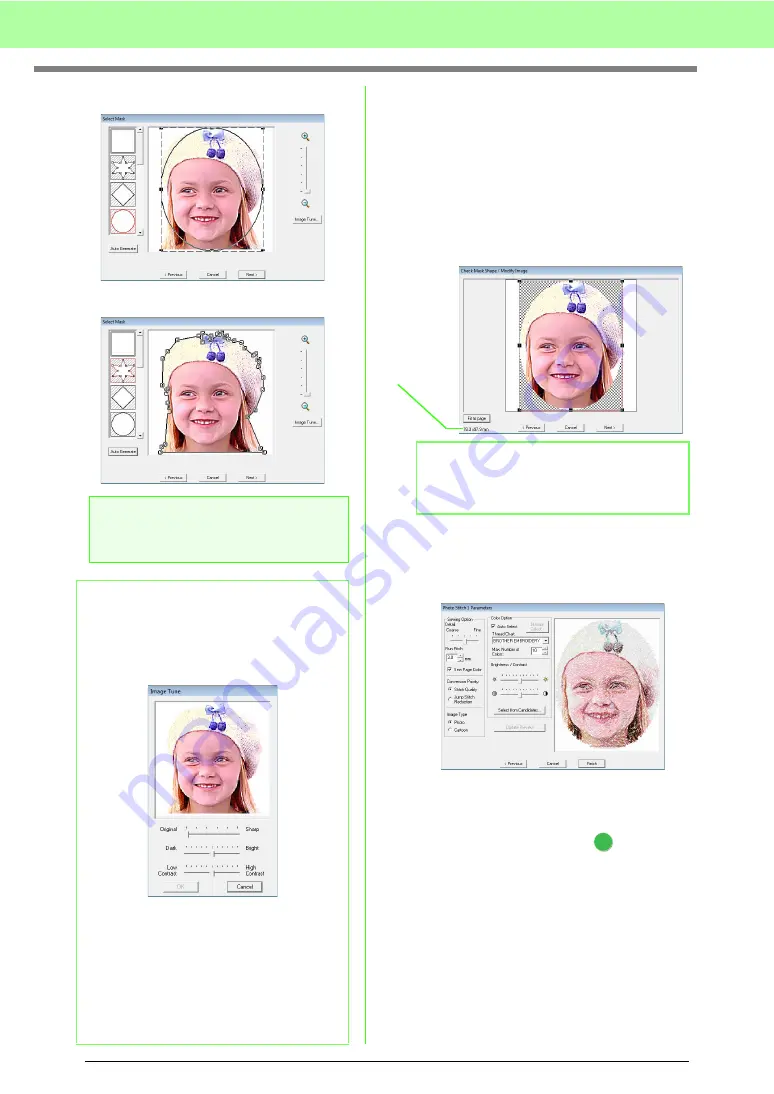
Adjust the image size and position.
• Drag the image to the desired position.
• Drag the handle to adjust the image to the
desired size.
• Embroidery pattern size that will be created
can be checked in the lower left corner of
the dialog box.
5.
Click
Next
.
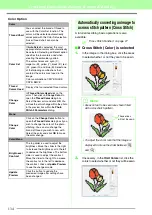
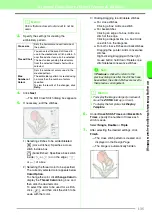
6.
Specify the settings for creating the
embroidery pattern.
c
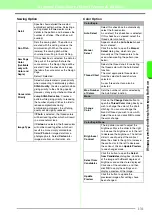
“Sewing Option” and “Color Option” on
page 131.
c
For details on clicking Select from
Candidates, refer to step
on page 26.
a
Note:
With a small original image, it may not be
possible to reduce the size of the mask.
b
Memo:
Image Tune
• Clicking the
Image Tune
button in the
Select Mask
dialog box displays an
Image
Tune
dialog box.
• Move the
Original – Sharp
slider to adjust
the sharpness of the image’s outlines. A
setting more towards
Sharp
makes a more
noticeable boundary between bright and
dark areas.
• Move the
Dark – Bright
slider to adjust the
brightness of the image.
• Move the
Low – High Contrast
slider to
adjust the contrast of the image.
b
Memo:
Click
Fit to Page
to adjust the mask to the size
of the Design Page.
Embroidery
pattern
size
7
Summary of Contents for PE-Design 8
Page 1: ...Instruction Manual ...
Page 146: ...144 Arranging Embroidery Designs Layout Editing ...
Page 200: ...198 Managing Embroidery Design Files Design Database ...
Page 218: ...216 Creating Custom Stitch Patterns Programmable Stitch Creator ...
Page 244: ...242 Tips and Techniques ...
Page 269: ...English ...


