152
Basic Design Center Operations
■
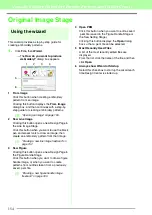
Importing into Layout & Editing
The embroidery pattern created in Design Center
can be imported into Layout & Editing, where it can
be edited and combined with other embroidery
patterns.
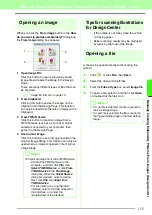
Click
, or click
Stage
, then
To Layout &
Editing
.
→
Layout & Editing starts up.
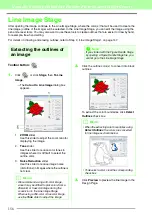
Specify settings for
Magnification
and
Orientation
.
The maximum magnification ratio that can be
specified is the ratio that enlarges the design
to the size of the Design Page. The minimum
magnification ratio is 25%.
Click
Import
.
→
The embroidery pattern created in Design
Center is imported into Layout & Editing.
a
Note:
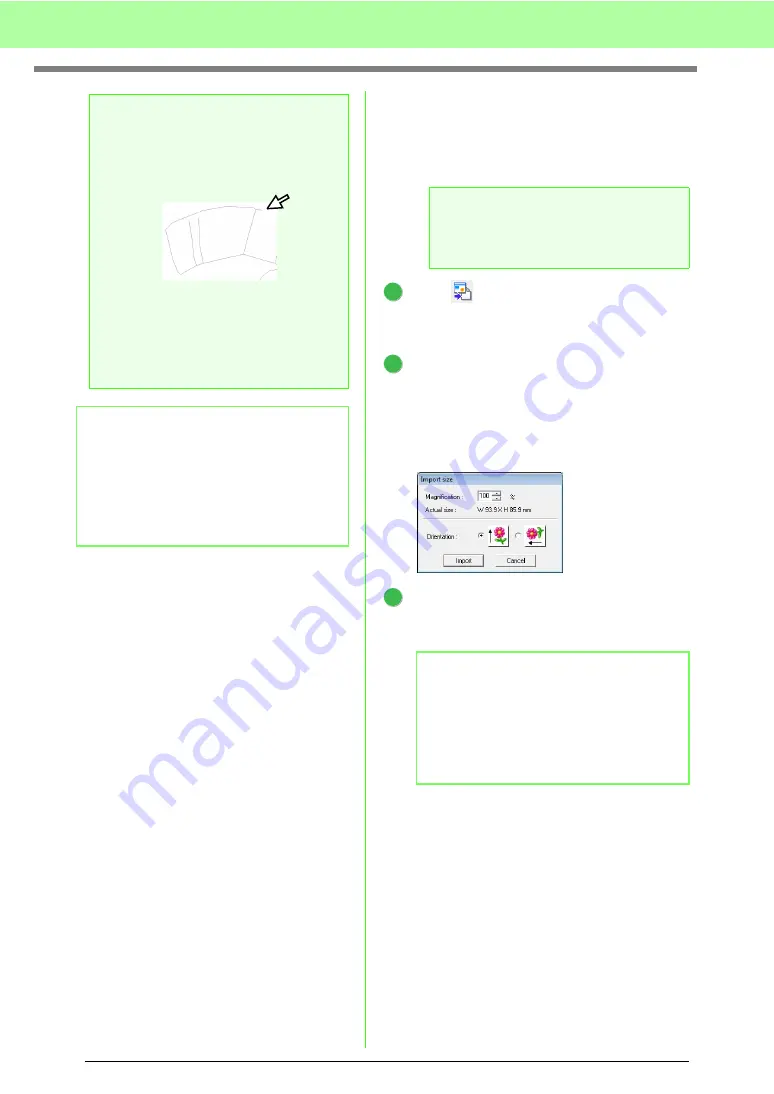
Sewing attributes for region cannot be
applied to open regions (regions not fully
enclosed in an outline), as shown in the
illustration below.
If attributes cannot be applied to a region,
return to the Figure Handle Stage and make
sure that region is closed. Edit any broken
lines with the Point Edit tool.
c
“Drawing a broken line” on
page 161.
b
Memo:
From the
Sewing Attribute Setting
dialog
box, detailed settings for attributes, such as
the width of satin stitches and the run pitch,
can be specified.
c
“Specifying sewing attributes” on
page 165.
a
Note:
If the sewing attributes of an outline or region
are not set, the embroidery pattern cannot
be imported.
b
Memo:
An embroidery pattern (.pem data) created in
Design Center cannot be written to an original
card. Import the embroidery pattern into
Layout & Editing, and then write the data to a
card in order to transfer the pattern to an
embroidery machine.
1
2
3
Summary of Contents for PE-Design 8
Page 1: ...Instruction Manual ...
Page 146: ...144 Arranging Embroidery Designs Layout Editing ...
Page 200: ...198 Managing Embroidery Design Files Design Database ...
Page 218: ...216 Creating Custom Stitch Patterns Programmable Stitch Creator ...
Page 244: ...242 Tips and Techniques ...
Page 269: ...English ...

