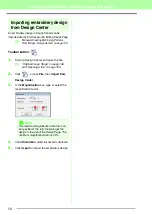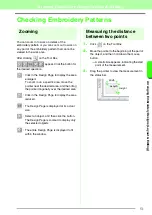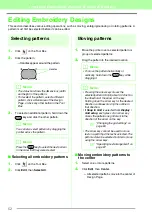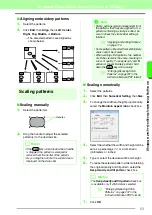
39
Tutorial
Tu
tor
ia
l
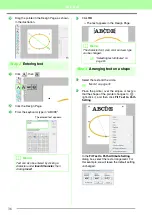
Click
Finish
.
→
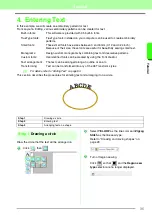
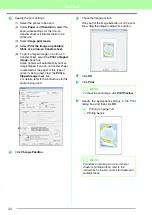
An embroidery pattern of the tulip is
created.
Step 2
Adding text and adjusting
character spacing
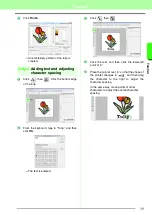
Click
, then
. Click the bottom edge
of the tulip.
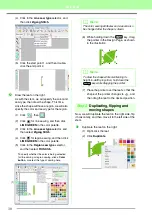
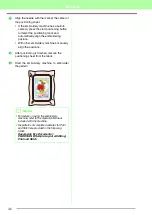
From the keyboard, type in “Tulip”, and then
click
OK
.
→
The text is entered.
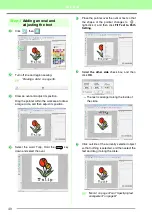
Click ,
then .
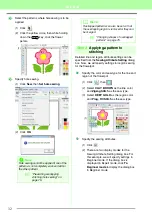
Click the text, and then click the lower-left
point of “p”.
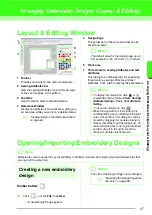
Place the pointer over “p” so that the shape of
the pointer changes to
, and then drag
the character to the right to adjust the
character spacing.
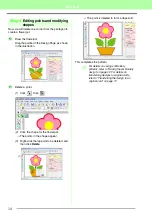
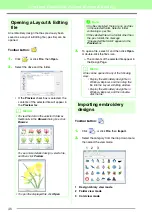
In the same way, move points of other
characters to adjust the overall character
spacing.
6
1
2
3
4
5
Summary of Contents for PE-Design 8
Page 1: ...Instruction Manual ...
Page 146: ...144 Arranging Embroidery Designs Layout Editing ...
Page 200: ...198 Managing Embroidery Design Files Design Database ...
Page 218: ...216 Creating Custom Stitch Patterns Programmable Stitch Creator ...
Page 244: ...242 Tips and Techniques ...
Page 269: ...English ...


