72
Arranging Embroidery Designs (Layout & Editing)
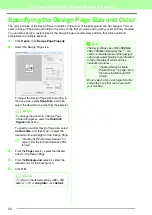
Drawing various shape
The Shape tools allow you to draw 24 types of
shapes, such as hearts, stars or polygons. These
shapes will have an outline and an inside region that
can independently be assigned different sewing
attributes.
1.
Click
on the Tool Box.
→
The buttons for the 24 types of shapes
appear.
2.
Click the button for the shape to be drawn.
3.
Drag the pointer in the Design Page.
The point where you start dragging is
considered a corner of an imaginary rectangle
around the shape. The point where you
release the mouse button is the diagonally
opposite point of the shape. The shape will fit
inside this imaginary rectangle.
About straight line and
curve
The Outline tools allow you to add straight lines and
curves to your pattern.
•
Using the tools available with these buttons
draws a closed path. Since this type of pattern
has an outline and an inside region, each part
can be assigned different sew types and colors.
•
Using the tools available with these buttons
draws an open path. Since this type of pattern is
a simple outline and does not have an inside
region, line sew type and color settings can only
be applied to the line itself.
Furthermore, if an image is used as a template,
and
can be used to semi-automatically extract
the image boundary.
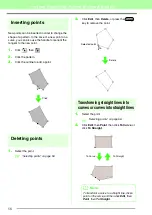
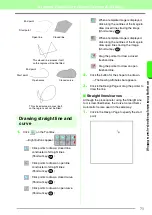
Fan
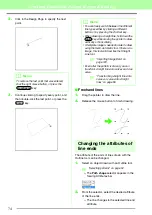
Click at start point.
Move to end point.
Click at end point.
b
Memo:
To draw the shape while maintaining the
original height-to-width proportion, hold down
the
key while dragging the pointer.
b
Memo:
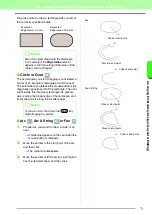
If the line of the pattern crosses itself, the
inside region cannot be filled, and the line
must be uncrossed so that the fill can be
applied.
Shift
Summary of Contents for PE-Design 8
Page 1: ...Instruction Manual ...
Page 146: ...144 Arranging Embroidery Designs Layout Editing ...
Page 200: ...198 Managing Embroidery Design Files Design Database ...
Page 218: ...216 Creating Custom Stitch Patterns Programmable Stitch Creator ...
Page 244: ...242 Tips and Techniques ...
Page 269: ...English ...

