98
Arranging Embroidery Designs (Layout & Editing)
3.
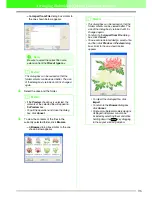
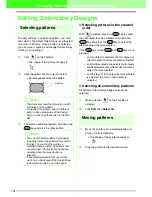
Click a design to select it.
4.
Click
Import
, or double-click the design to
import it.
Importing embroidery
designs from Design Center
An embroidery design in Design Center can be
imported directly into the Design Page.
Toolbar button:
1.
Start up Design Center and open the file that
you want to import into Layout & Editing.
2.
Click ,
or
click
File
, then
Import
, then
from Design Center
.
→
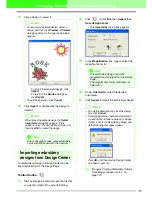
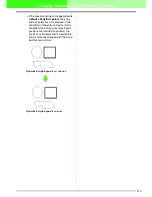
The
Import size
dialog box appears.
3.
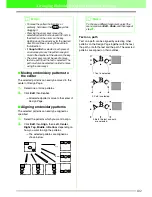
In the
Magnification
box, type or select the
magnification factor.
4.
Under
Orientation
, select the desired
orientation.
5.
Click
Import
to import the embroidery design.
c
“Manually Creating Embroidery Patterns
From Images (Design Center)” on
page 193
b
Memo:
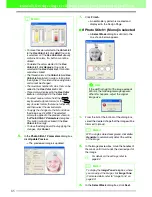
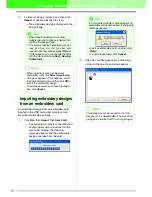
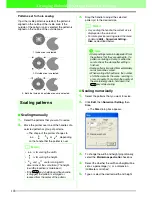
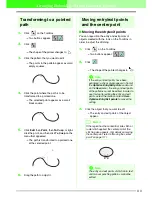
• To see a more detailed design, select a
design, and then click
Preview
. A
Preview
dialog box similar to the one shown below
appears.
• To import the displayed design, click
Import
.
• To return to the
Browse
dialog box,
click
Cancel
.
• To quit the operation, click
Cancel
.
b
Memo:
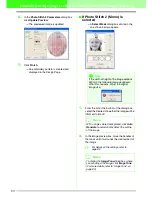
When importing some designs, the
Select
Import size
dialog box appears. If this
happens, select the desired import size, and
then click
OK
to import the design.
a
Note:
Due to copyright issues, some embroidery
cards cannot be used with this function.
a
Note:
• The embroidery design cannot be
magnified to a size larger than the Design
Page.
• The magnification factor cannot be set
below 25%.
b
Memo:
• To quit the operation and close the dialog
box, click
Cancel
.
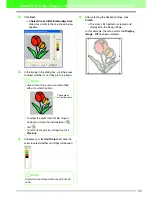
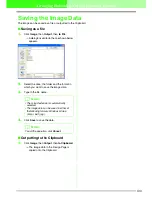
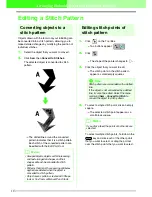
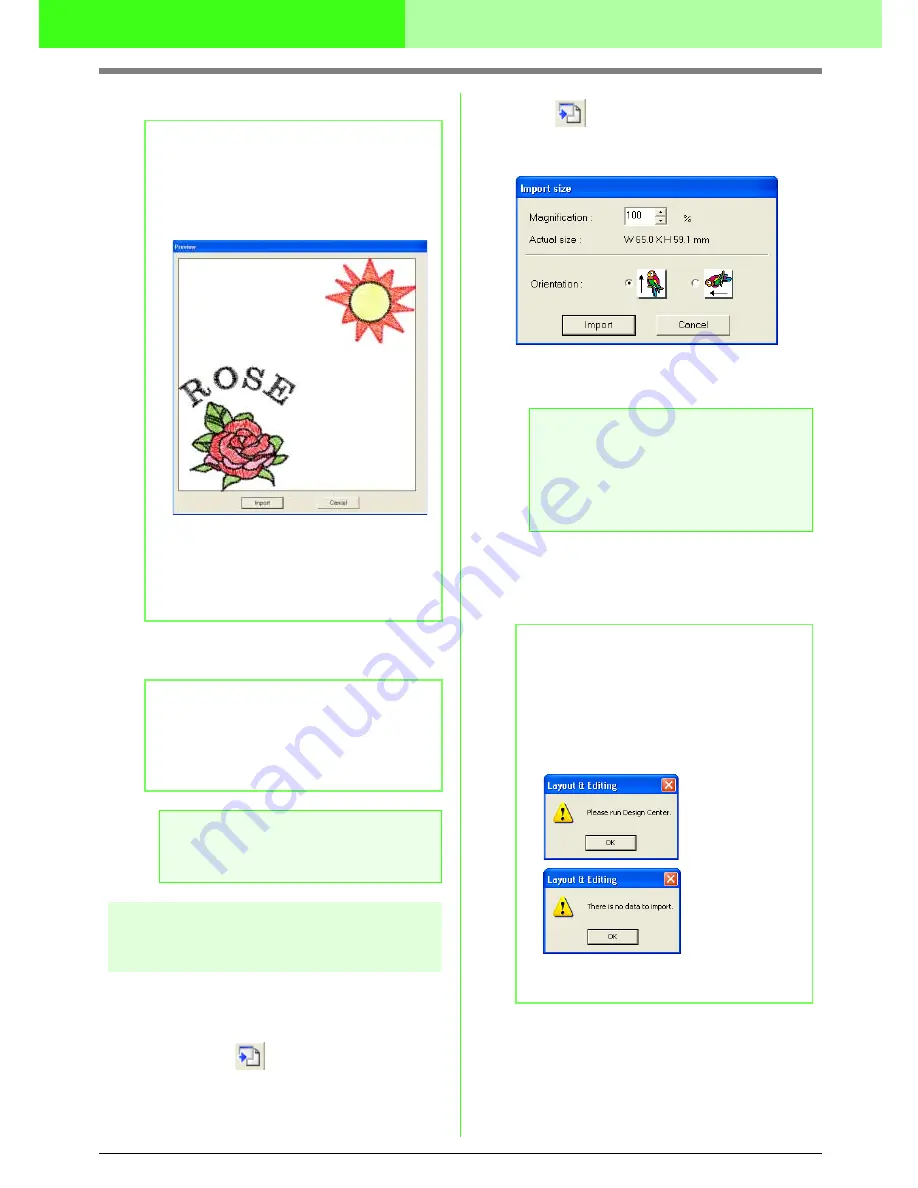
• If Design Center has not been started up, if
a .pem file has not been opened or if Design
Center is not in the Sew Setting Stage, one
of the following messages appear.
Click
OK
, and then start up Design Center
and open a .pem file.


