257
Creating Custom Stitch Patterns (Programmable Stitch Creator)
c
“Creating a New Pattern” on page 258,
“Overwriting” on page 272 and “Saving
with a new name” on page 272
Opening an image in the
background
You can open a background image that can be used
as a guide to draw a new fill/stamp and motif stitch
pattern. The file name extension must be one of the
following: Windows bitmap (.bmp), Exif (.tif, .jpg),
ZsoftPCX (.pcx), Windows Meta File (.wmf),
Portable Network Graphics (.png), Encapsulated
PostScript (.eps), Kodak PhotoCD (.pcd), FlashPix
(.fpx), JPEG2000 (.j2k).
1.
Click
File
, then
Template Open
.
→
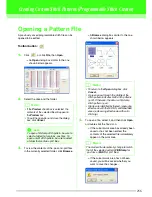
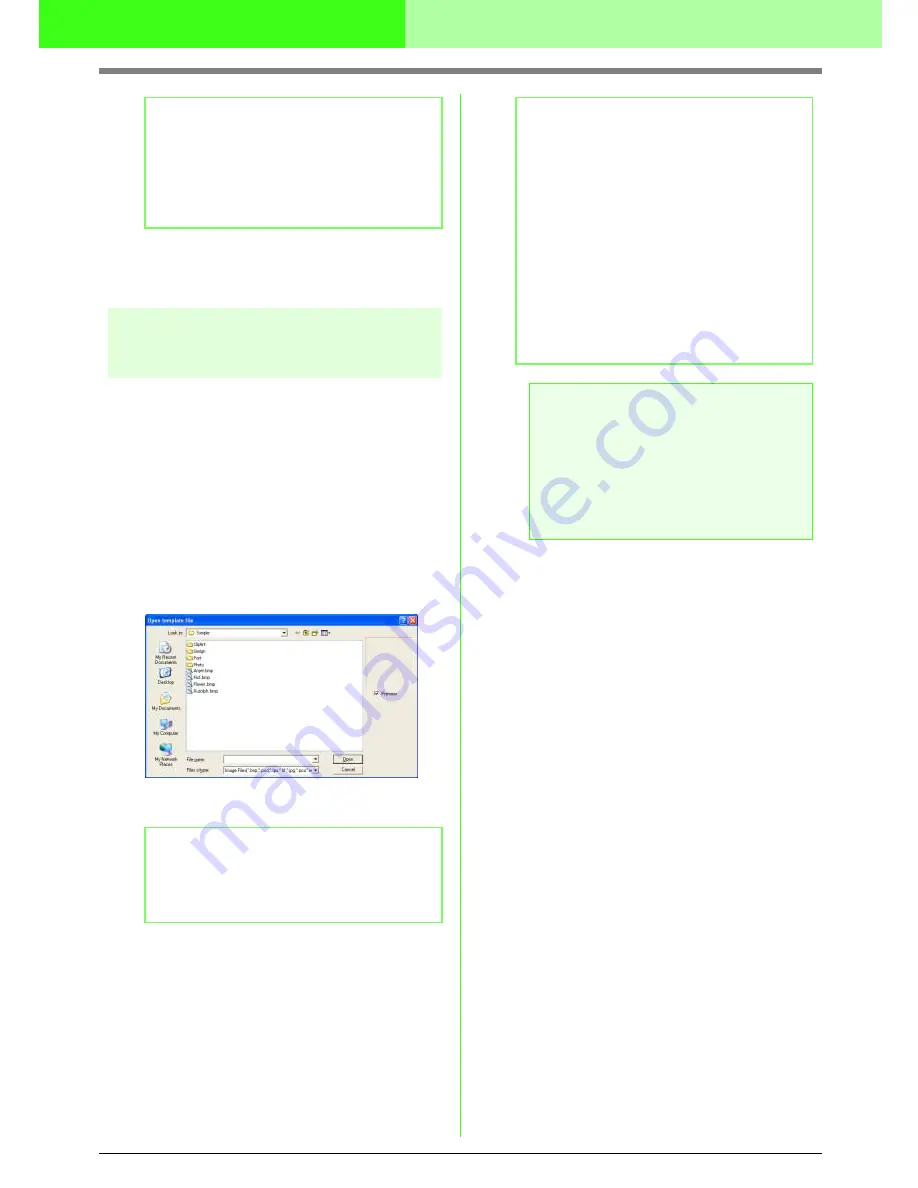
An
Open template file
dialog box similar
to the one shown below appears.
2.
Select the drive, the folder and the desired file.
3.
Click
Open
to open the file.
→
The image fills the work area.
b
Memo:
• To save the work area, click
Yes
.
• To abandon the work area, click
No
.
• To return to the work area, for example, to
modify it or save it with another file name,
click
Cancel
.
b
Memo:
If the
Preview
check box is selected, the
contents of the selected file will appear in the
Preview
box.
b
Memo:
• Double-clicking the file name also opens
the file and closes the dialog box.
• To quit the operation, click
Cancel
.
• To display, hide, or display a faded copy of
the image that remains in the work area,
click
Display
, then
Template
, and then
click the desired display setting.
• To display the template image, click
On
(100%)
.
• To display a faded copy of the image,
click the desired density (
75%
,
50%
or
25%
).
• To hide the template image, click
Off
.
a
Note:
• With .pcd and .fpx files containing many
pages, only the first page can be opened.
Tiff files with LZW compression cannot be
opened.
• Only one image can be added to the work
area. If you try to display a different image,
it will replace the previous one.


