III-26
[ 9 ]
Self Print Test
You may make a self print test according to the following procedure without using a PC.
Caution: Even if no problem is found in this self print test, however, you need to connect the
machine to a PC, enter texts from the PC, and output them to the machine.
(1)
Plug the AC adapter into the machine.
The indicator LED comes on.
(2)
Set a tape cassette.
(3)
Press the ON/OFF switch to turn the power off.
(4)
While pushing down the cutter lever, hold down the ON/OFF switch for 2 seconds or more.
The indicator LED starts flashing slowly and then quickly.
(5)
If the indicator LED flashes quickly, release the cutter lever and ON/OFF switch.
The self print test will start.
(6)
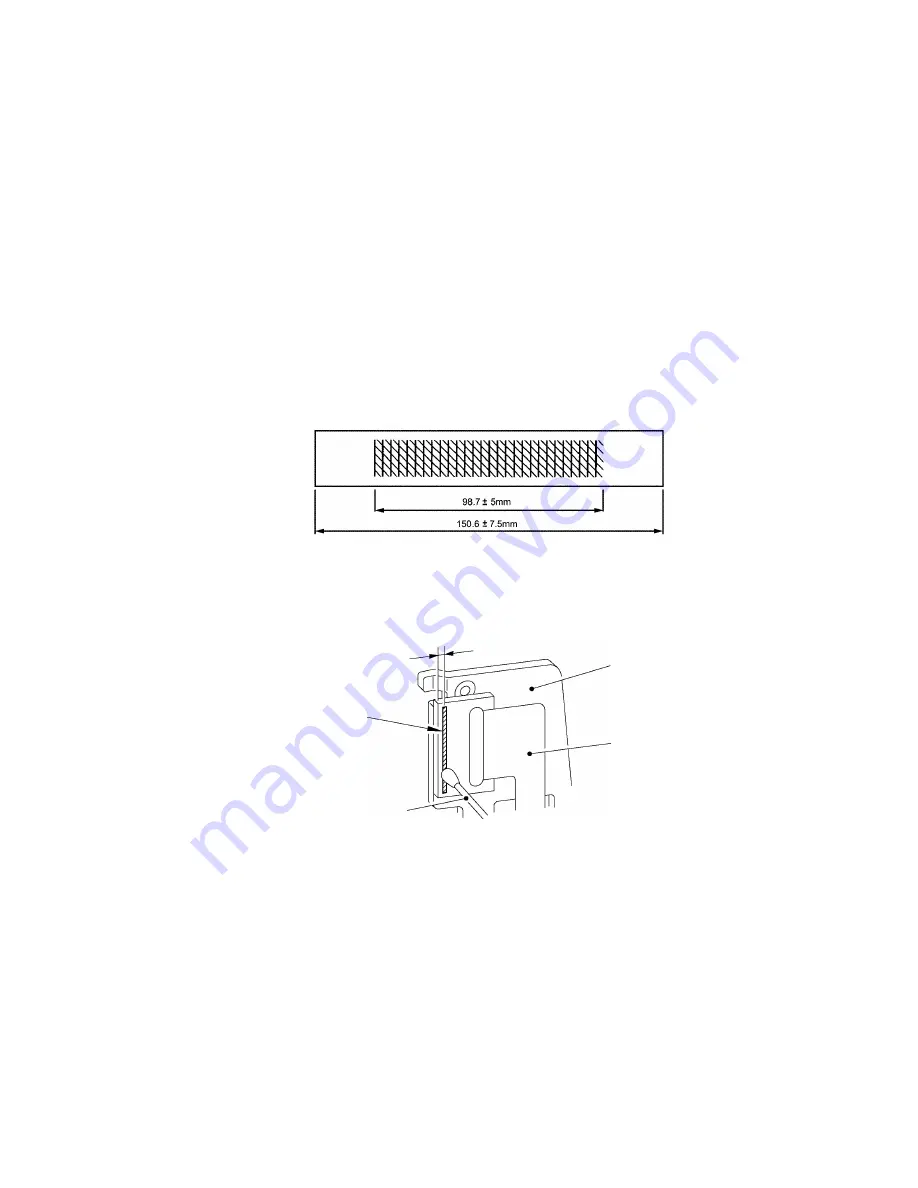
Check the print quality and tape length.
Fig. 3.1-40 Print Sample
Note: If the printout horizontally shows non-print sections just like horizontal white leaks, then
lightly wipe off the heat generator of the thermal head with a cotton swab.
Fig. 3.1-41 Heat Generator of the Thermal Head
Note: If any problem is found in the print quality or tape length, go to Chapter IV "ERROR
INDICATION AND TROUBLESHOOTING."
(7)
Press the ON/OFF switch to turn the power off.
Approx. 1.5mm
Heat generator
Cotton swab
Termal head flat cable
Head holder
Summary of Contents for PT-2420PC
Page 1: ...SERVICE MANUAL MODEL PT 2420PC ...
Page 49: ...IV 6 2 Printing Failure ...
Page 50: ...IV 7 3 The Indicator LED will not come on ...
Page 51: ...IV 8 4 Interface Malfunctions ...
Page 62: ......


