6
(12) C. Adjustment of print length
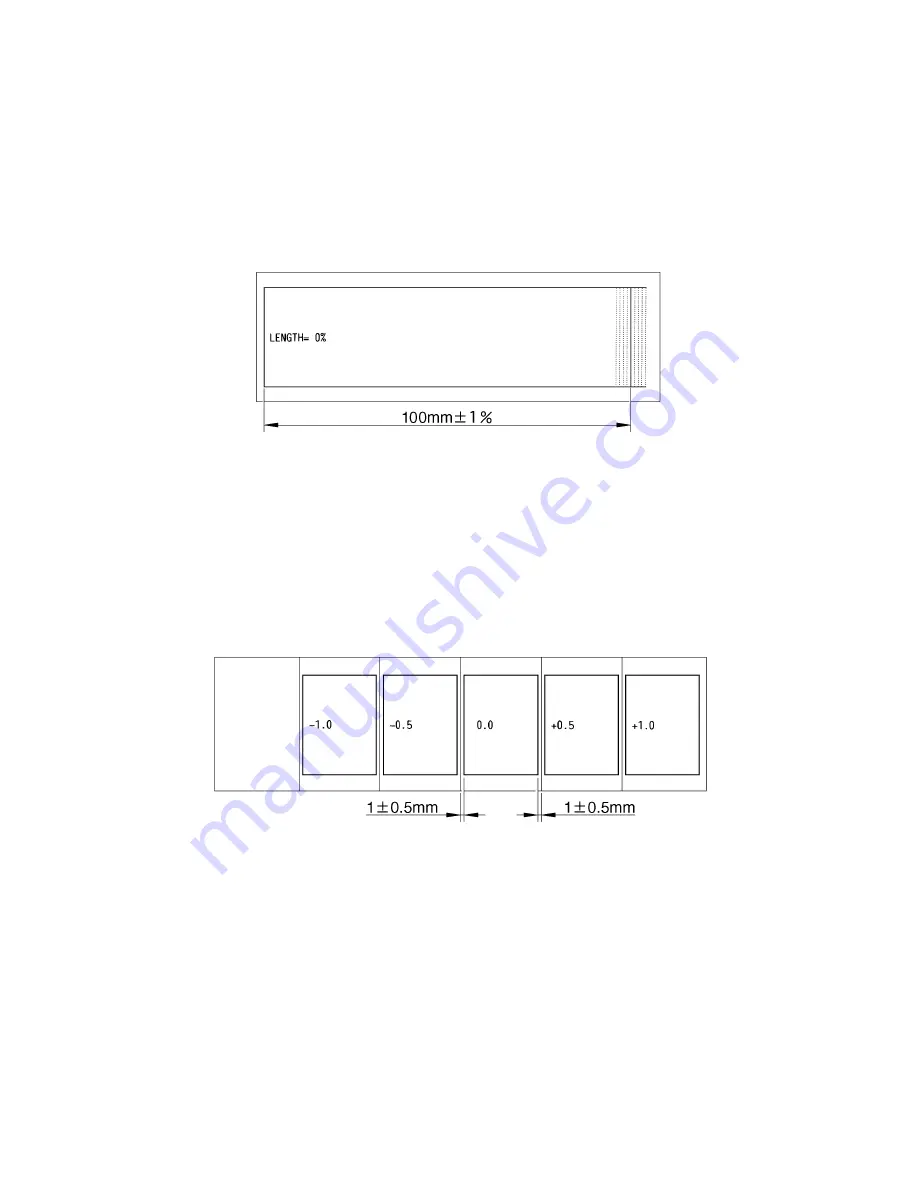
1) Mount the 36mm laminated tape cassette in the PT-9500PC and run the test printing.
2) Check the point closest to 100mm from the left continuous line up to the right line on the
printing sample.
3) Input the compensation value and click the OK button.
4) Check that the distance from the continuous line to the continuous line on the second
sample printing is 100mm
±
1%.
Note: Each line pitch between the broken lines of the right end of printing sample is 1%.
Fig. 5
(13) D. Adjustment of full cut margins
* This mode is to adjust each margin amount of right and left ends to
±
0.5mm.
1) Mount the 36mm laminated tape cassette in the PT-9500PC and run the full cut operation
shifting the margins of both ends by 0.5mm from -1mm to +1mm.
2) Check that the sample result of full cut operation is proper. Then determine the position
where the margins at both ends are close to even.
3) Input the compensation value and click the OK button.
4) Check that each margin mount of both ends on the second sample printing is 1
±
0.5mm.
Fig. 6
Summary of Contents for PT-9500PC - P-Touch 9500pc B/W Thermal Transfer Printer
Page 1: ...SERVICE MANUAL MODEL PT 9500PC ...
Page 2: ...SERVICE MANUAL MODEL PT 9500PC ...
Page 86: ...IV 10 3 The LED does not turn on 4 No printing is performed ...
Page 87: ...IV 11 5 The interface malfunction 6 The tape is not cut ...
Page 88: ...IV 12 7 The tape is not fed correctly ...
Page 89: ...IV 13 ...
Page 90: ...IV 14 8 Half cut failure ...
Page 91: ...IV 15 9 Forced tape eject failure ...
Page 92: ...IV 16 10 The failure of pressure contact release of the roller holder ...
Page 103: ......
Page 104: ......
Page 105: ......


