4. ADJUSTMENT
RH-981A
53
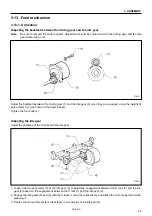
4-7. Adjusting 0 position (reference line) of the needle
The 0 position (reference line) of the needle is at the inside needle penetration points.
If the needle gage is changed, the 0 position (reference line) of the needle is not changed, only the outer needle
cloth penetrations are changed.
1. Insert a short needle (for adjustment).
2. Press the OFF key on the operation panel to set no cutting.
3. Place a sheet of paper under the work clamp, and turn the pulley to trace where the needle will penetrate for an
eyelet button hole on the paper.
At this time, adjust the height of the short needle so that it can pebetrate the paper with as small holes as
possible.
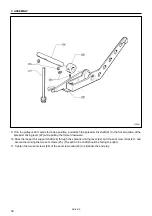
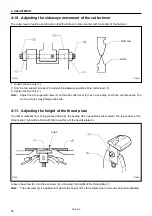
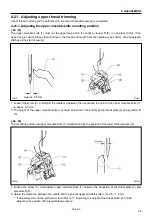
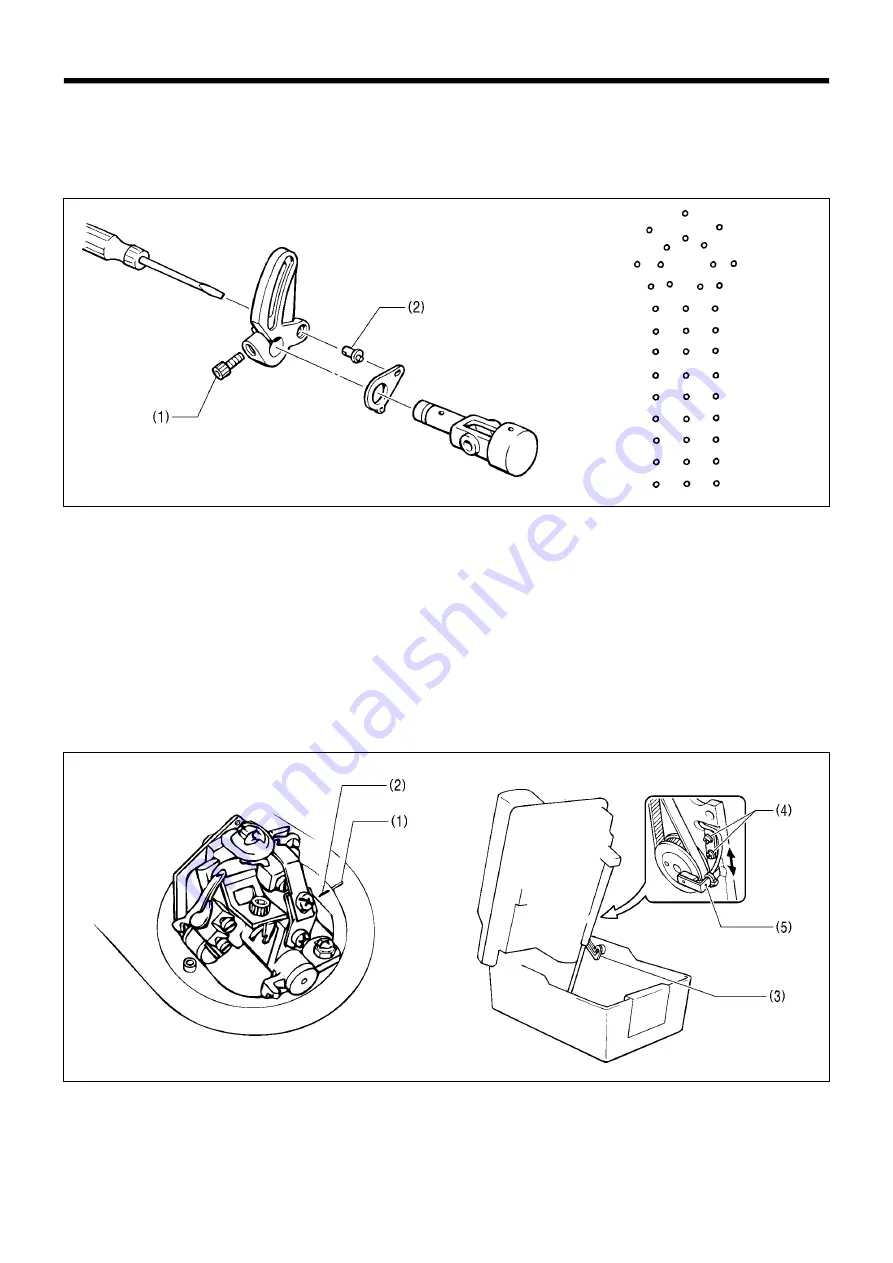
4. When the inside needle forward cloth penetration points are not identical with that of the returning ones for the
straight portion, remove the face plate, and loosen the bolt (1).
5. Insert a screwdriver into the arm from the left, and turn the zigzag eccentric pin (2) to adjust.
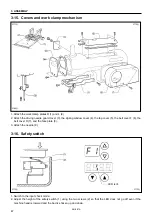
4-8. Adjusting the home position of the looper base
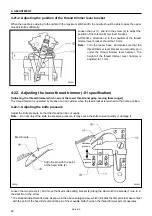
The match mark in the looper base must be aligned with that on the bed.
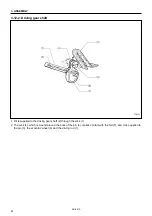
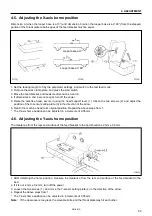
1. After detecting the home position, make sure that the match mark (1) in the looper base is aligned with the match
mark (2) in the bed.
2. If it is not, turn off the power.
3. Raise the machine head, secure it using the head support lever (3), loosen the two screws (4), and move the R-
sensor setting plate (5) in the direction of the arrow.
4. Return the machine head to its original position. Repeat above steps from 1.
* The home position of the looper base can be adjusted in increments of 0.45°
3781Q
3782Q
3783Q
3788Q

