4. ADJUSTMENT
RH-981A
61
4-19. Adjusting the spreader timing
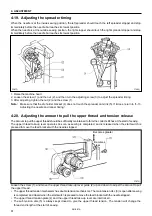
When the needle is at the inside sewing position, the left spreader should touch the left spreader stopper and stop
immediately before the needle bar reaches its lowest position.
When the needle is at the outside sewing position, the right stopper should touch the right spreader stopper and stop
immediately before the needle bar reaches its lowest position.
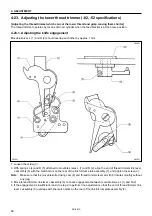
1. Raise the machine head.
2. Loosen the screw (1) and the nut (2), and then turn the adjusting screw (3) to adjust the spreader timing.
3. After adjusting, tighten the nut (2) and the screw (1).
Note:
Make sure that the LS-holder bracket (4) does not touch the spreader cam link (5). If it does, return to “4-13.
Adjusting the needle and looper timing”.
4-20. Adjusting the amount to pull the upper thread and tension release
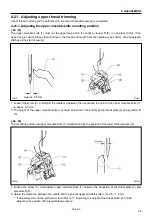
The amount to pull the upper thread should be sufficiently maintained to form the correct stitches at the start of sewing.
The upper thread take-up lever operates as soon as sewing is completed, and is released when the start switch is
pressed to move the feed bracket with the needle stopped.
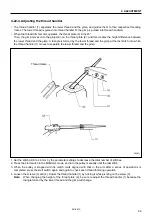
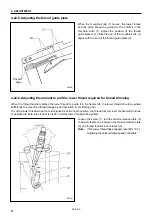
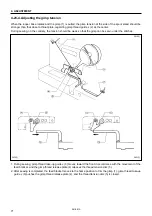
Loosen the screw (1), and move the upper thread take-up lever guide (2) up and down to adjust the amount to pull
the upper thread.
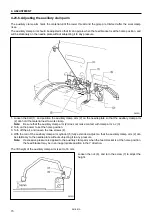
• The upper thread tension mechanism has double tension mechanisms. The main tension disc (3) is open after sewing
is completed, and closed when the start switch is pressed to move the feed bracket with the needle stopped.
• The upper thread tension plate (4) and the upper thread take-up lever are interlocked.
• The sub tension disc (5) is always kept closed to give the upper thread tension. The tension will change the
thread end length at the start of sewing.
3087Q
3796Q
Becomes greater
Becomes
less
3797Q

