4. ADJUSTMENT
RH-981A
70
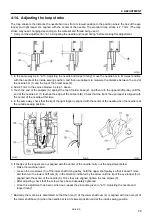
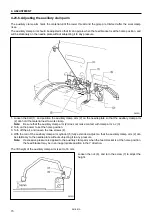
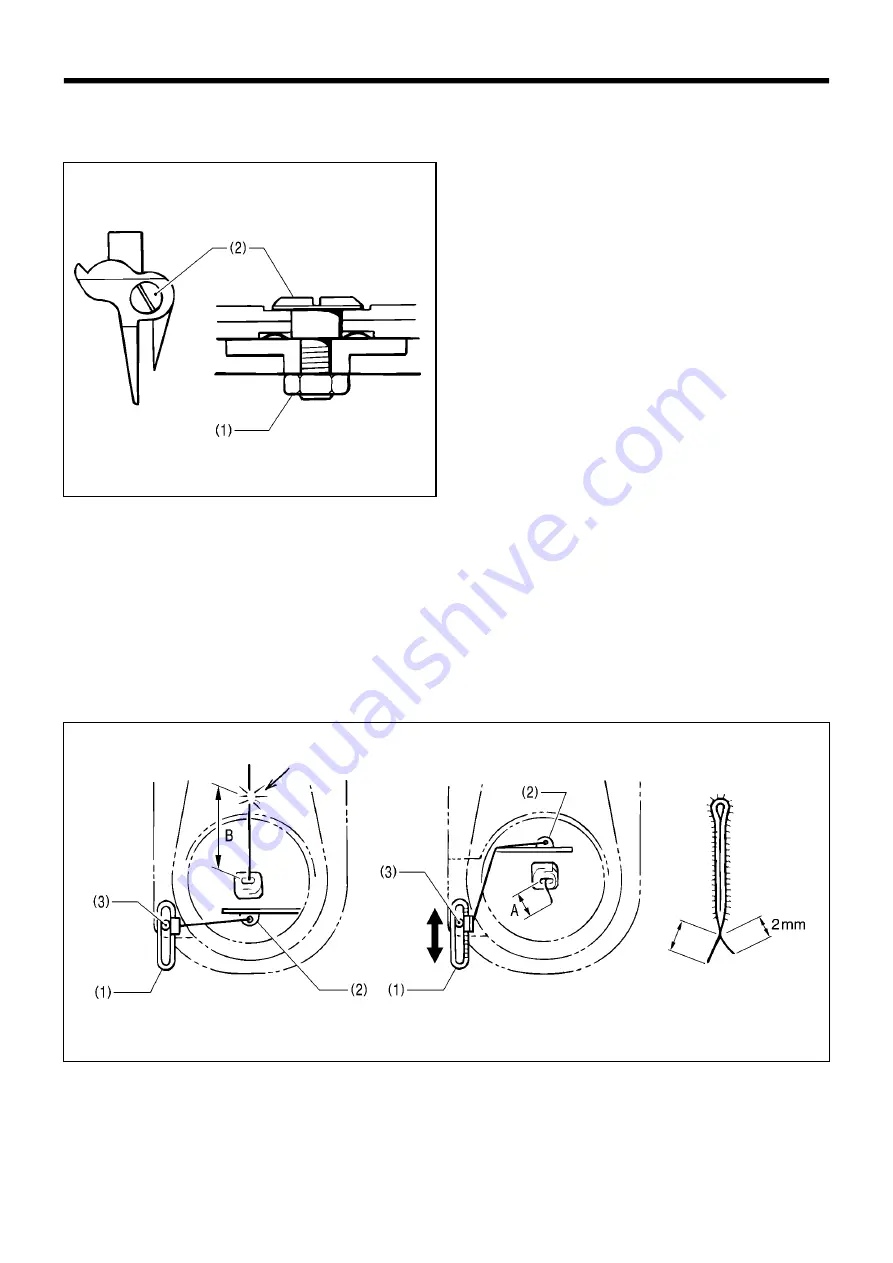
4-23-2. Adjusting the knife pressure
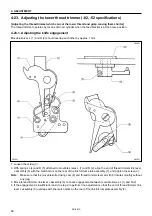
Adjust the knife pressure to the lowest where the knife can still cut the material.
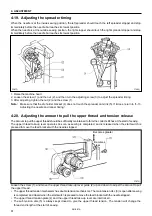
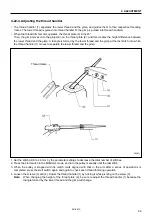
1. Loosen the nut (1).
2. Turn the shoulder screw (2) to adjust the knife
pressure.
Note:
When the shoulder screw (2) is fully tightened,
the movable knife will not operate. Tighten the
shoulder screw (2) slowly while checking that
the movable knife can operate smoothly.
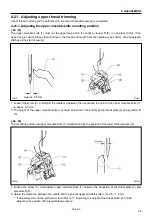
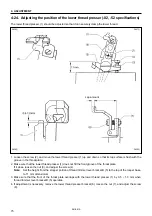
4-23-3. Adjusting the gimp pull force
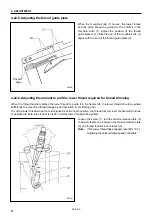
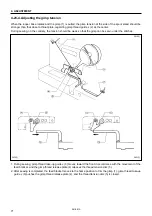
• The gimp should be completely sewn in a few stitches at the start of sewing, and the gimp end length from the
stitches should be as small as possible.
• The gimp is pulled by utilizing the difference in distance between gimp thread guide J (1) and gimp thread guide
C-J (2) when the looper base returns to 0
o
from 180
o
after the gimp is trimmed.
• The gimp is trimmed when the feed bracket is at the home position. When the stitch length is changed,
dimensions B and A will change. It is necessary to adjust the force to pull the gimp.
Also, dimension A differs according to the gimp type and the gimp tension, so it is necessary to adjust the force to
pull the gimp.
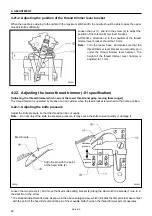
Loosen the screw (3), and adjust so that the gimp appears about 2 mm from the first covering stitch at the start of
sewing.
Note:
The tip of the gimp is pressed down on the material by a few stitches at the start of sewing, and pulled by the
movement of the feed bracket. If the gimp is excessively taut when the feed bracket is at the sewing start
position, or dimension A is too small, the gimp may come out from under the stitches.
3816Q
3818Q
3817Q
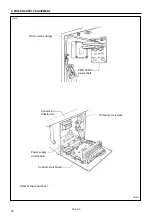
The gimp is trimmed.
Looper base at 0
o
The gimp end length at the end
of sewing is fixed.
Looper base at 180
o
Smaller
Larger


