6
Using the material printed with the images and registration marks together with the data transferred to the machine, cut the material
with the machine. For detailed instructions on using the cutting machine, refer to the Operation Manual supplied with it.
■
Preparation
●
Cutting mat and blade appropriate for the material
For details, refer to the Quick Reference Guide or Operation Manual for the cutting machine.
●
Material printed with the images and registration marks
a
Install the blade holder appropriate to the material in the machine.
b
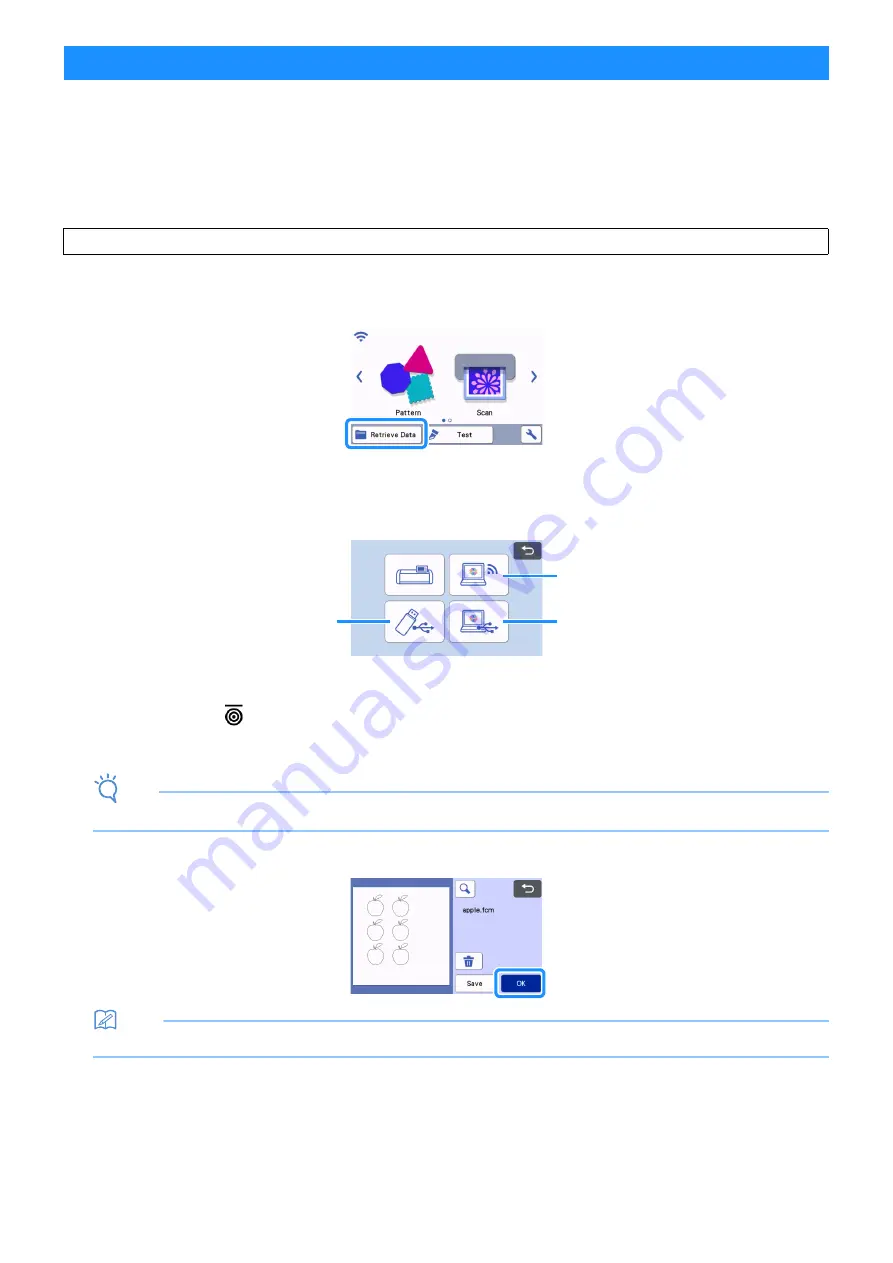
Touch the “Retrieve Data” key in the home screen to display the retrieve source selection screen.
c
To use the data from a USB flash drive, insert the USB flash drive into the USB port (for a USB flash drive) on the cutting
machine.
d
Select the location where the data has been saved, and then retrieve the pattern.
a
Retrieve a pattern saved on a USB flash drive
If there are folders on the USB flash drive, touch a folder to display the list of patterns that it contains.
Registration marks (
) appear in alignment data.
b
Retrieve a pattern transferred from CanvasWorkspace (via a wireless network connection)
c
Retrieve a pattern transferred from CanvasWorkspace (using a USB cable) (compatible only with 64-bit version of Windows)
Note
• Alignment data cannot be retrieved to be added to a built-in pattern being edited. Be sure to use alignment data by itself.
e
Check the retrieved pattern, and then touch the “OK” key.
Memo
• The retrieved data can be saved only on the machine’s memory or a USB flash drive.
Retrieving Alignment Data On the Machine and Cutting
Check the version of the machine’s software. If it is not the latest version, update it.
1
3
2


