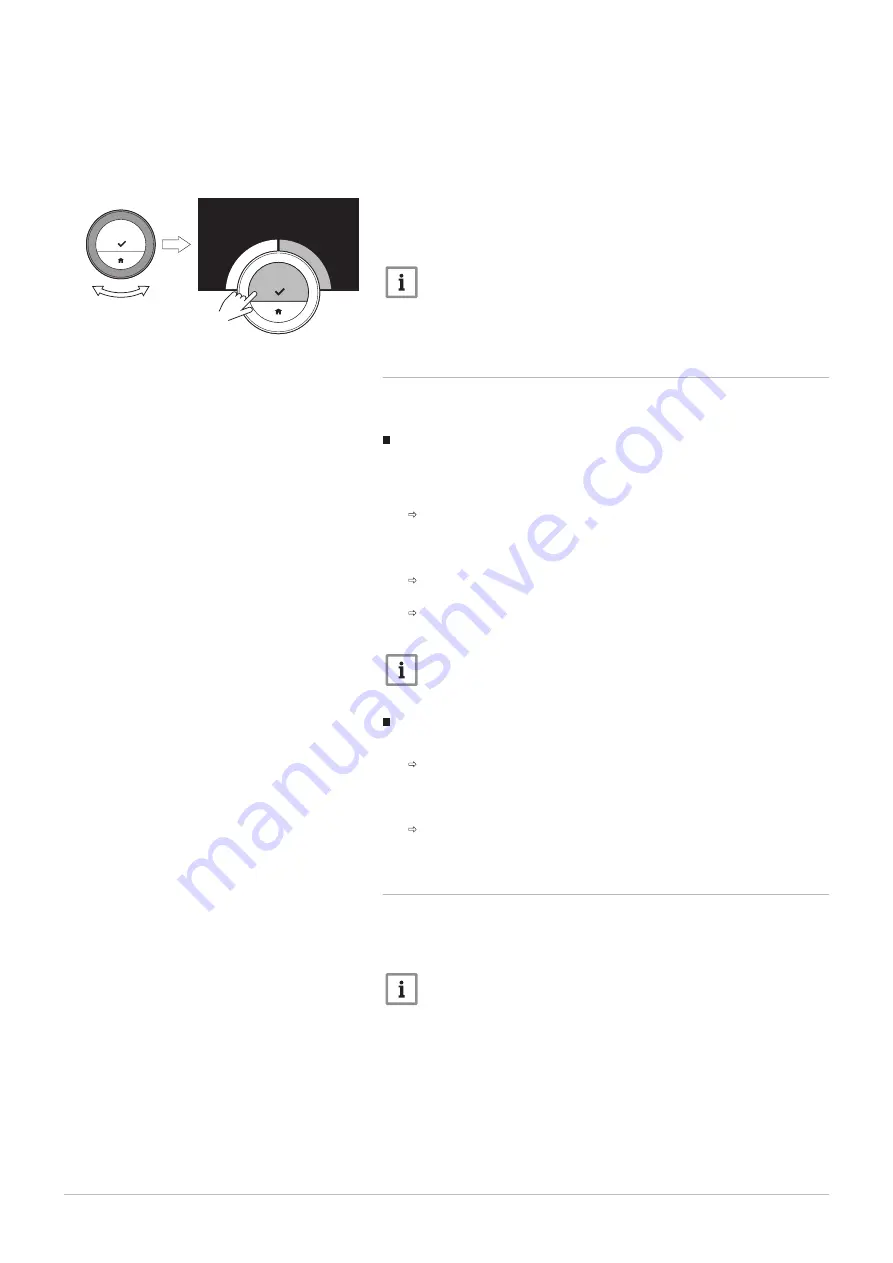
You can change the display of the temperature to show the target
temperature in large font and the current temperature in a small font.
1. Enter the main menu.
2. Select Settings.
3. Select the submenu Display current or target temperature.
4. Select Current Temperature or Target Temperature.
5. Confirm the selection.
This setting will stay until you change this setting again or reset the IDA to
factory settings.
Important
The instructions in this manual are based on the default setting for
current temperature. Changing the display of the temperature
influences the instructions given.
4.2.7
Child lock
The IDA has a child lock that can be activated to prevent children
changing the settings like the room temperature.
Activating the child lock
1. Enter the main menu.
2. Select Settings.
3. Select and confirm Enable child lock.
The message Child lock enabled will appear of the screen. The
screen will be locked when the display of the IDA goes in stand-by
mode.
4. Short-press a button or turn the rotary dial to reactivate the display.
The message Screen locked will appear of the screen.
5. Press the select button for more than 5 seconds to unlock the screen.
The message Screen unlocked will appear of the screen. The IDA
can be operated.
Important
The child lock can also be used to prevent unwanted access to
the IDA in public buildings.
Deactivating the child lock
1. Press the select button for more than 5 seconds to unlock the screen.
The message Screen unlocked will appear on the screen.
2. Enter the main menu.
3. Select Settings.
4. Select and confirm Disable child lock.
The message Child lock disabled will appear on the screen. The
screen is permanently unlocked.
4.2.8
Changing the name of an activity
You can change the names of the activities for the temperature schedules.
The default activity names are dependant on the appliance in your
installation.
Important
The Custom activity can be set to a different temperature on each
day of the week.
1. Enter the main menu.
2. Select Settings.
3. Confirm the selection.
4. Select Change activity names.
5. Confirm the selection.
6. Select the name you want to change.
7. Confirm the selection.
Fig.35
AD-3001010-01
}
..
.
..
.
21.0
°C
<1
4 Customisation
24
7726708 - v.01 - 18012019


