background image

EAGLE BROOKE CONCRETE 

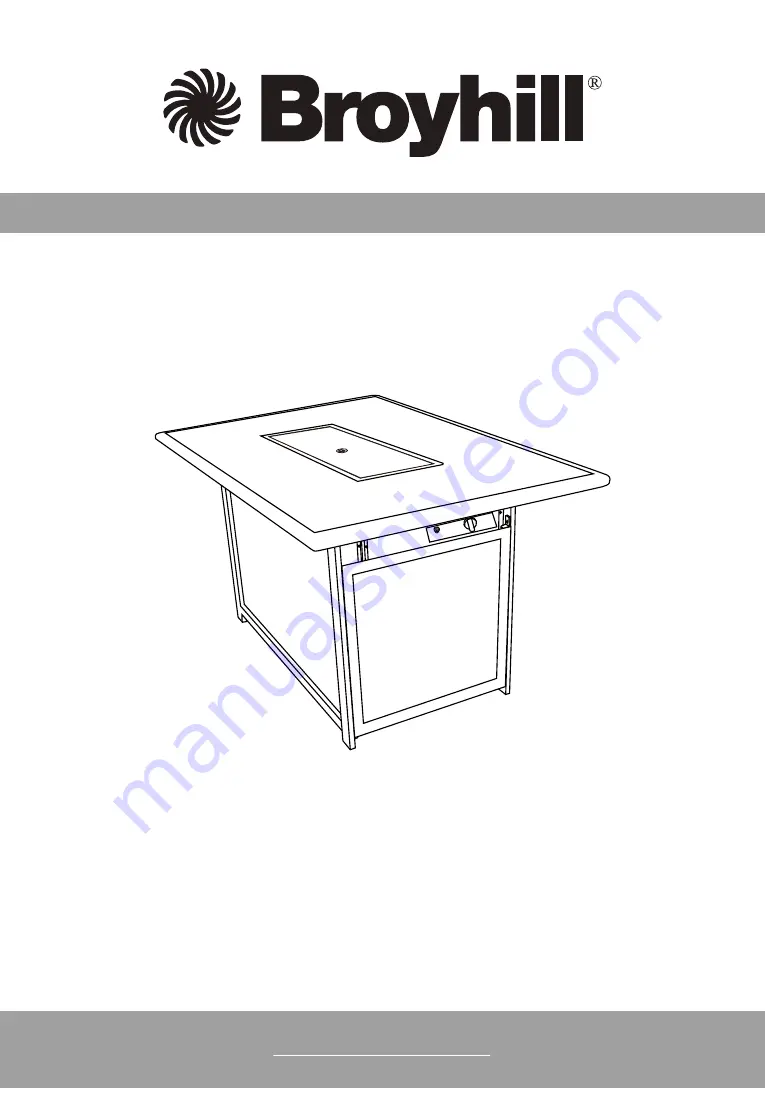
STONE TOP  GAS  FIREPIT TABLE

EAGLE BROOKE

ASSEMBLY INSTRUCTION

ITEM#: TRS47GQ

SKU#: 810398583

1.877.539.7436

Call us between 9:00 AM and 4:30 PM Eastern Time Monday through Friday For further assistance.

Need help?  We are here for you!

Summary of Contents for 810398583

Page 1: ...TONETOP GAS FIREPITTABLE EAGLE BROOKE ASSEMBLY INSTRUCTION ITEM TRS47GQ SKU 810398583 1 877 539 7436 Call us between 9 00 AM and 4 30 PM EasternTime Monday through Friday For further assistance Need h...

Page 2: ...amper tent car or home WARNING If the information in this manual is not followed exactly a fire or explosion may result causing property damage personal injury or loss of life WARNING Do not store or...

Page 3: ...ve a dust cap secured at the end of the valve and cannot be stored in a building garage or any other enclosed area The pressure regulator and hose assembly supplied with this appliance must be used Re...

Page 4: ...all of the packaged cartons Lay out all of the parts on a level non abrasive surface Open the hardware kit for all of the nuts bolts and washers Make sure that you have all of the parts listed If any...

Page 5: ...GURE 5 Step 5 Place the table top 6 onto the frame assembly Fasten them together by using bolts 10 and washers 13 Make sure that all of the bolts have been tightened completely See Figure 5 Note The i...

Page 6: ...en the front door 5 and place the tank into the bottom frame 4 Secure in place by using the plastic screw See Figure 6 Note Secure the tank in place by turning the plastic screw clockwise as illustrat...

Page 7: ...rol knob and turn clockwise to the OFF position Repeat step 1 after 5 minutes When the burner is lit press down the control knob and turn it to the desired heat output position between LOW and HIGH Pr...

Page 8: ...essive wear any abrasions or if the hose is cut it must be replaced prior to use of the appliance 10 Keep the gas regulator hose away from hot surfaces Avoid unnecessary twisting of the hose Visually...

Page 9: ...rt assembly and through the tank fastener See Figure B Note To replace the tank repeat Step 6 and Step 7 in the assembly instructions NOTE You must make periodic checks to ensure that all connections...

Page 10: ...over the fire pit table when not in use If left uncovered moisture may be present and can cause the lava rock to pop again but will subside after it burns for 30 minutes It is rare that any crackling...

Reviews: