CONTROLS/INSTRUMENTS/EQUIPMENTS
6. Adjust trim to the desired position
using VTS buttons.
7. Push both VTS buttons again simul-
taneously to record trim position.
Trim pre-set positions are recorded and
ready to be used.
To record new settings, repeat proce-
dure.
Using Pre-Set Trim Positions
To set trim to the highest trim position
recorded, double-click on VTS upper
button (bow up).
To set trim to the lowest trim position
recorded, double-click on VTS lower
button (bow down).
If trim setting is unique (one position),
double-click either on the lower or up-
per VTS button.
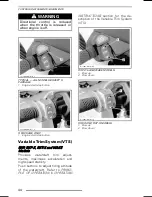
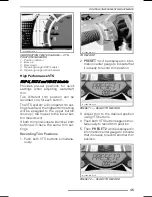
smo2008-001-010_c
DOUBLE-CLICK TO USE PRE-SET
POSITIONS
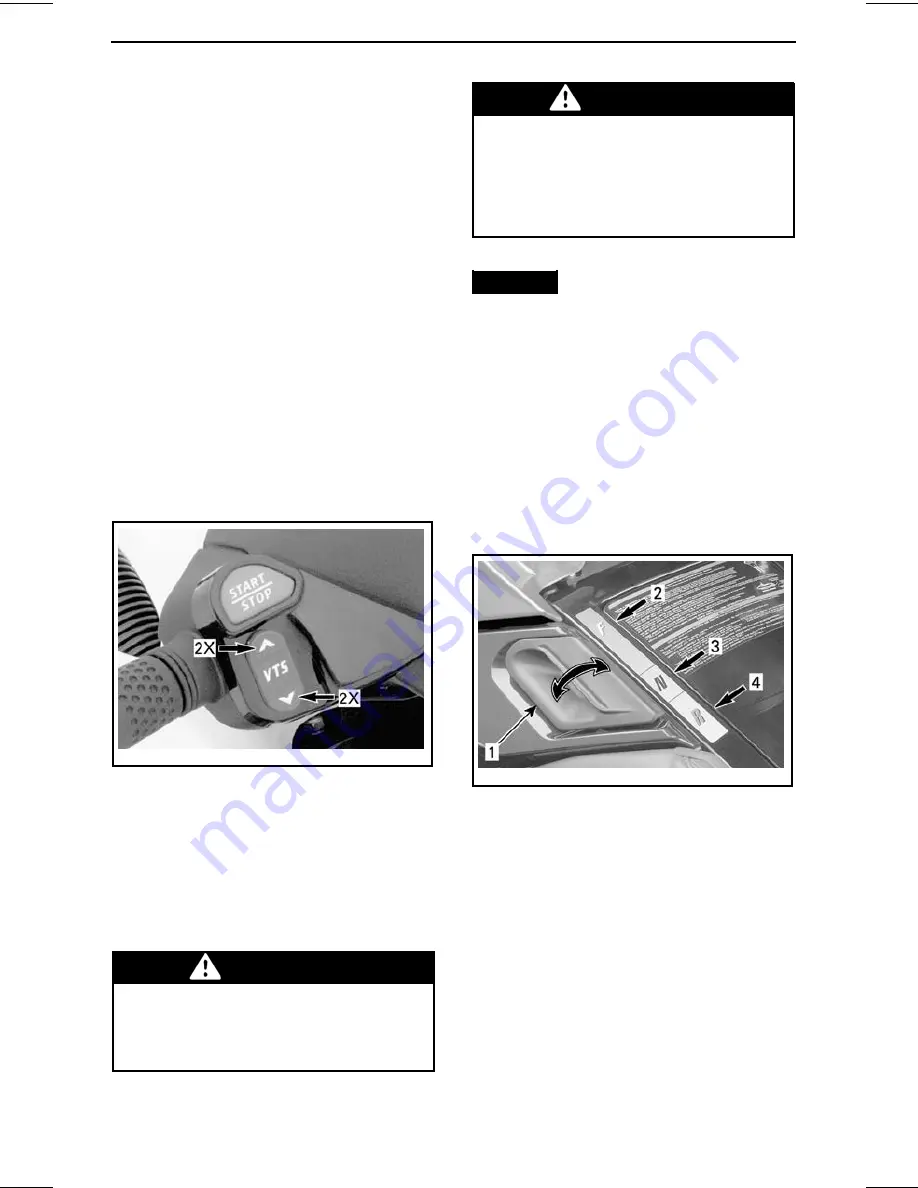
Shift Lever
A push-pull lever:
– Forward
– Neutral
– Reverse.
WARNING
Shift lever should only be used
when the engine is idling and wa-
tercraft is completely stopped. Do
not use as a grab handle.
WARNING
Only use reverse at slow speed
and for the shortest time possible.
Always ensure the path behind
is clear of objects and persons in-
cluding children playing in shallow
water.
NOTICE
Never rev the engine at
high RPM in reverse.
From the forward position, pull the
lever to reverse. Push back to go to
forward. Always set in forward when
finished. To find the neutral, set in re-
verse then push back until the water-
craft stops moving backwards.
Refer to
PRINCIPLE OF OPERATION
in
OPERATING INSTRUCTIONS
section
for the description of the propulsion
system.
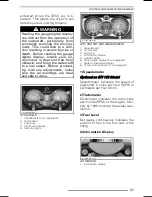
smo2008-001-012_a
TYPICAL
1. Shift lever
2. Forward position
3. Neutral position
4. Reverse position
Information Center Gauge
Multifunction gauge that supplies sev-
eral real time useful information to the
driver either in English, French or Span-
ish. See an authorized Sea-Doo dealer
for unit settings.
At start-up, all LCD segments and indi-
cator lights will turn on for 3 seconds
each time the information center is
46
______________
Summary of Contents for 2009 Sea-Doo GTI Series
Page 9: ...SAFETY INFORMATION ________ SAFETY INFORMATION ________ 7...
Page 39: ...VEHICLE INFORMATION _______________ 37...
Page 83: ...MAINTENANCE INFORMATION _______________ 81...
Page 100: ...STORAGE AND PRESEASON PREPARATION 98 ______________...
Page 101: ...TECHNICAL INFORMATION _______________ 99...
Page 114: ...SPECIFICATIONS 112 ______________...
Page 115: ...TROUBLESHOOTING ______________ 113...
Page 123: ...WARRANTY ______________ 121...
Page 142: ...140 ______________...
Page 144: ...142 ______________...
Page 146: ...144 ______________...

