154
POWERHEAD
CRANKSHAFT, PISTONS AND CAMSHAFT
Pistons and Rings
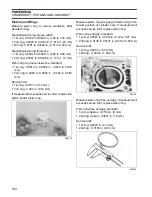
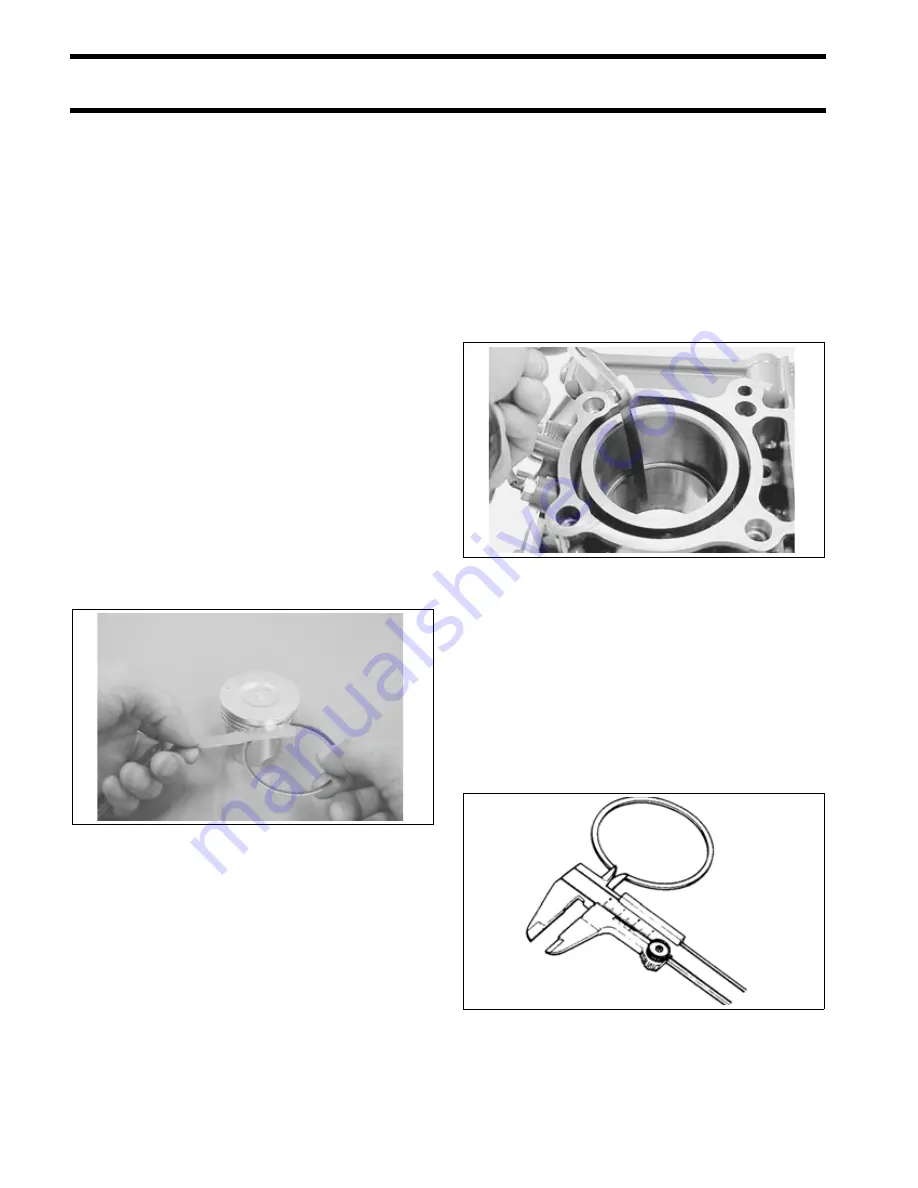
Measure piston ring to groove clearance after
decarbonizing.
Standard piston ring groove width:
•
1st ring: 0.0402 to 0.0409 in. (1.02 to 1.04 mm)
•
2nd ring: 0.0476 to 0.0484 in. (1.21 to 1.23 mm)
•
Oil ring: 0.0791 to 0.0799 in. (2.01 to 2.03 mm)
Standard piston ring thickness:
•
1st ring: 0.0382 to 0.0390 in. (0.97 to 0.99 mm)
•
2nd ring: 0.0461 to 0.0469 in. (1.17 to 1.19 mm)
Piston ring to groove clearance, standard:
•
1st ring: 0.0012 to 0.0028 in. (0.030 to 0.070
mm)
•
2nd ring: 0.0008 to 0.0024 in. (0.020 to 0.060
mm)
Service limit:
•
1st ring: 0.005 in. (0.12 mm)
•
2nd ring: 0.004 in. (0.10 mm)
If measurement exceeds service limit, replace the
piston and/or piston ring.
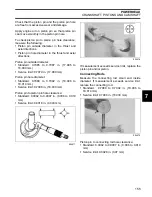
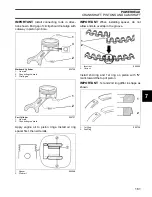
Measure piston ring end gap with piston ring in the
lowest position of cylinder bore. If measurement
exceeds service limit, replace piston ring.
Piston ring end gap, standard:
•
1st ring: 0.0047 to 0.0106 in. (0.12 to 0.27 mm)
•
2nd ring: 0.0138 to 0.0197 in. (0.35 to 0.50 mm)
Service limit:
•
1st ring: 0.028 in. (0.70 mm)
•
2nd ring: 0.039 in. (1.00 mm)
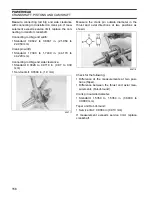
Measure piston ring free end gap. If measurement
exceeds service limit, replace piston ring.
Piston ring free end gap, standard:
•
1st ring: Approx. 0.3150 in. (8 mm)
•
2nd ring: Approx. 0.3937 in. (10 mm)
Service limit:
•
1st ring: 0.2520 in. (6.4 mm)
•
2nd ring: 0.3150 in. (8.0 mm)
004574
005716
004576


