33
MAINTENANCE PROCEDURES
8) If needed, add oil up to have the level be-
tween marks as required.
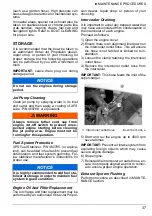
To add oil, unscrew oil cap. Place a funnel
into the opening and add the recommended
oil to the proper level.
Do not overfill.
9) Properly reinstall oil cap and dipstick.
10)If you have 2 inboards: Repeat the proce-
dure on the other engine.
11)Wipe off any oil spillage.
ENGINE COOLANT
Recommended Engine Coolant
Always use ethylene-glycol antifreeze con-
taining corrosion inhibitors specifically for in-
ternal combustion aluminum engines.
Cooling system must be filled with BRP Pre-
mixed Coolant, P/N 460777, or with a water
and antifreeze solution (50% distilled water,
50% antifreeze).
To prevent antifreeze deterioration, always
use the same brand. Never mix different
brands unless cooling system is completely
flushed and refilled.
Refer to an authorized
Rotax
Jet Propulsion
dealer.
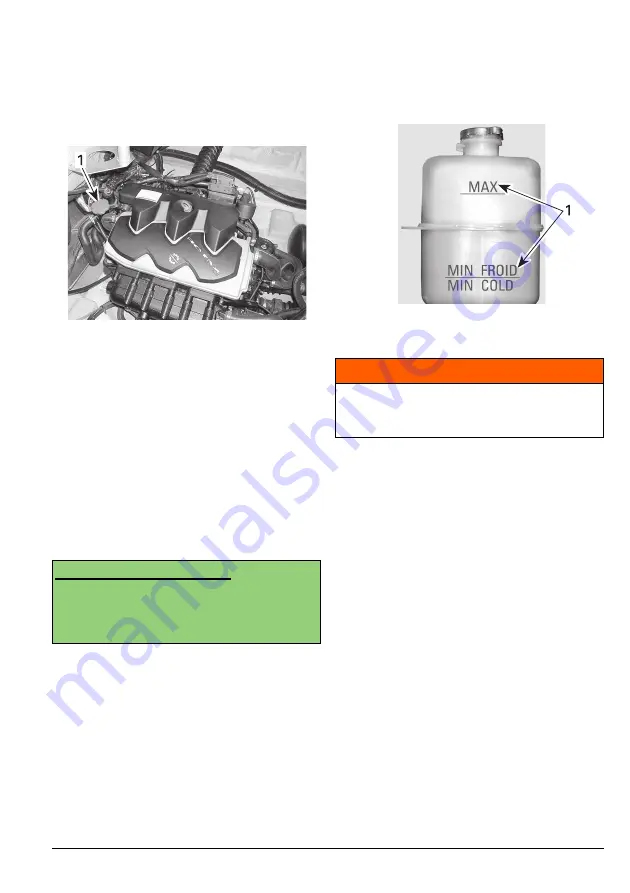
Engine Coolant Level
With boat on a level surface, coolant should
be between MIN. and MAX. level marks for
each coolant reservoir when each engine is
cold.
IMPORTANT:
The boat is considered level
when it is in water. When boat is on a trailer,
block the wheels and raise the bow slightly
with the trailer jack (if so equipped) until the
bumper rail is level.
Add coolant to have the level between marks
as required. Use a funnel to avoid spillage. Do
not overfill.
Properly reinstall and tighten filler cap.
IMPORTANT:
A cooling system that fre-
quently requires coolant indicates leaks or en-
gine problems. See an authorized
Rotax
Jet
Propulsion dealer.
Engine Coolant Replacement
The coolant replacement should be per-
formed by an authorized
Rotax
Jet Propulsion
dealer.
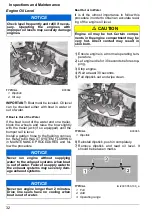
TYPICAL
1. Oil cap
B00066
ENVIRONMENTAL NOTE
When available, it is recommended to use
biodegradable antifreeze compatible with in-
ternal combustion aluminum engines. This
will contribute to protecting the environment.
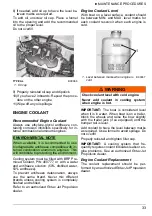
1. Level between marks when engine is
cold
B00067
WARNING
Check coolant level with cold engine.
Never add coolant in cooling system
when engine is hot.
Summary of Contents for Rotax 4-TEC 150
Page 5: ...Safety And Warranty Information ...
Page 28: ...24 Safety And Warranty Information NOTES ...
Page 29: ...25 Inspections and Maintenance ...
Page 45: ...41 Technical Information and Specifications ...
Page 50: ...46 Technical Information and Specifications NOTES ...
Page 51: ...47 Troubleshooting Guidelines ...
Page 59: ...55 Break In and Special Procedures ...
Page 63: ......

