MAINTENANCE PROCEDURES
Spark Plug Installation
Prior to installation, ensure the contact
surfaces of the cylinder head and spark
plug are free of grime.
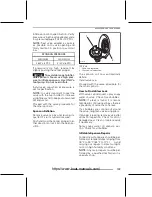
1. Using a wire feeler gauge, set elec-
trode gap as specified in the follow-
ing chart.
SPARK
PLUG
TORQUE
GAP
mm (in)
NGK
DCPR8E
(or
equivalent)
Hand tighten
+ 1/4 turn
with a socket
0.75 mm
(.03 in)
2. Apply anti-seize lubricant over the
spark plug threads to prevent possi-
ble seizure.
3. Hand screw spark plug into cylinder
head. Then, tighten the spark plug
clockwise an additional 1/4 turn with
an approved spark plug socket.
4. Install ignition coil. Refer to
IGNI-
TION COIL INSTALLATION
.
5. Close seat.
Exhaust System and Heat
Exchanger
Exhaust System and Heat
Exchanger Flushing
Flushing the exhaust system and heat
exchanger with fresh water is essen-
tial to neutralize corroding effects of
salt or other chemical products present
in water. It will help to remove sand,
salt, shells or other particles in water
jackets and/or hoses.
NOTICE
It is very important to
flush the exhaust system and heat
exchanger with fresh water (from
1½ to 2 minutes) after each use in
salt water or foul water. Otherwise,
heat exchanger may corrode and
affect the efficiency of the cooling
system.
Flushing should be performed when
the watercraft is not expected to be
used further the same day or when the
watercraft is stored for any extended
time.
WARNING
Perform this operation in a well
ventilated area.
Proceed as follows:
Clean propulsion system by spraying
water in its inlet and outlet and then
apply a coating of XPS Lube or equiva-
lent.
CAUTION
When operating the
engine while the watercraft is out
of the water, the heat exchanger in
the ride plate may become very hot.
Avoid any contact with ride plate as
burns may occur.
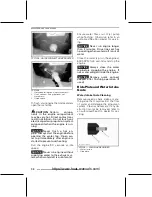
Connect a garden hose to the connec-
tor located at the rear of watercraft (on
the port side of the stern). Do not open
water tap at this time.
NOTICE
Always run the engine
before opening the water tap. If not,
water will get inside the engine.
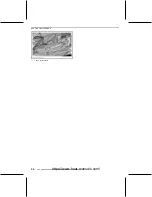
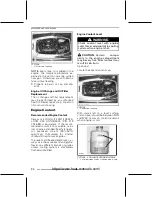
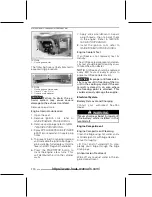
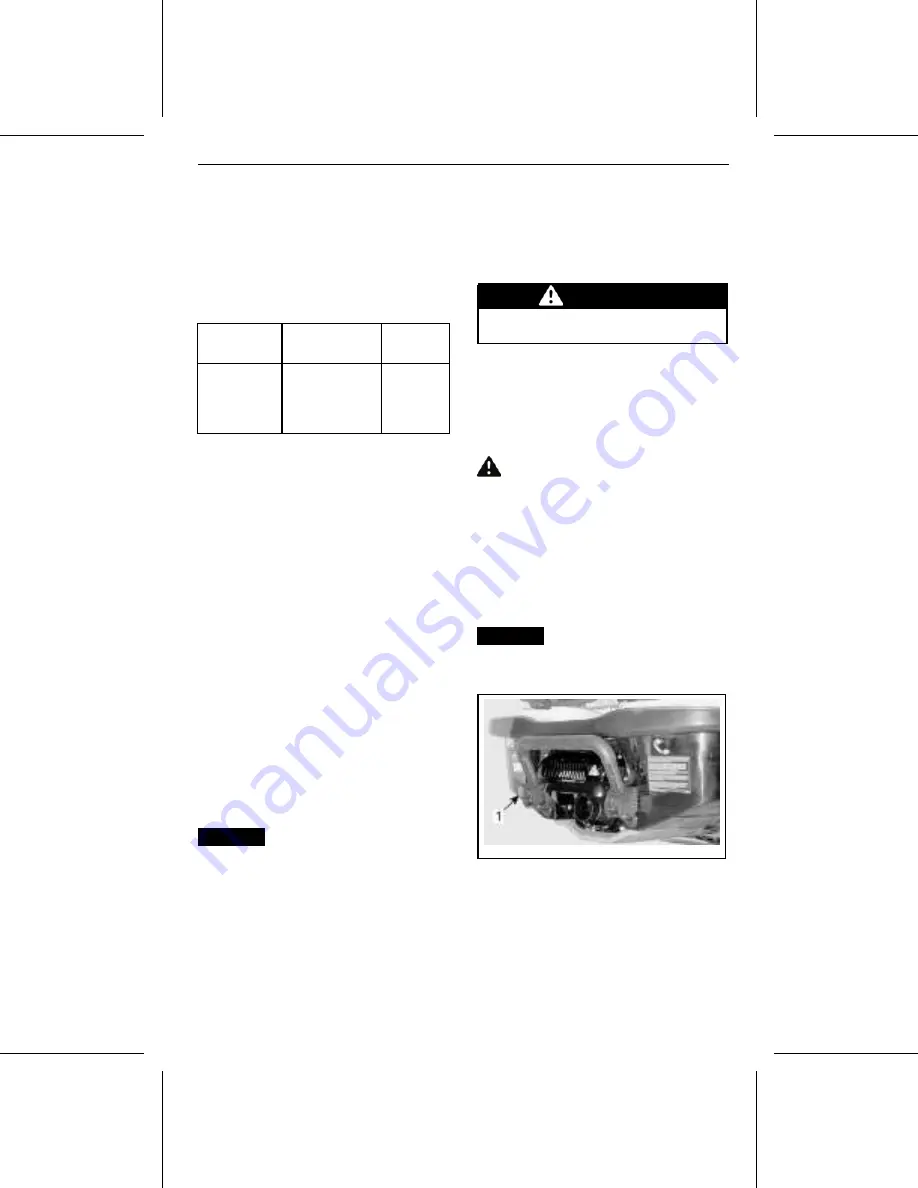
smo2009-002-132_c
TYPICAL
1. Flushing connector location
NOTE:
An optional quick connect hose
adapter and hose fitting can be used
(P/N 295 500 473) or equivalent. No
hose pincher is required to flush en-
gine.
_______________
97
https://www.boat-manuals.com/
Summary of Contents for SEA-DOO Search and Rescue Series 2017
Page 9: ...SAFETY INFORMATION ________ SAFETY INFORMATION ________ 7 https www boat manuals com...
Page 39: ...WATERCRAFT INFORMATION _______________ 37 https www boat manuals com...
Page 89: ...MAINTENANCE INFORMATION _______________ 87 https www boat manuals com...
Page 115: ...TECHNICAL INFORMATION ______________ 113 https www boat manuals com...
Page 120: ...SPECIFICATIONS This page is intentionally blank 118 ______________ https www boat manuals com...
Page 121: ...TROUBLESHOOTING ______________ 119 https www boat manuals com...
Page 131: ...WARRANTY ______________ 129 https www boat manuals com...
Page 153: ...CUSTOMER INFORMATION ______________ 151 https www boat manuals com...
Page 157: ...CHANGE OF ADDRESS OWNERSHIP ______________ 155 https www boat manuals com...
Page 159: ...CHANGE OF ADDRESS OWNERSHIP NOTES ______________ 157 https www boat manuals com...
Page 160: ...CHANGE OF ADDRESS OWNERSHIP NOTES 158 ______________ https www boat manuals com...
Page 161: ...CHANGE OF ADDRESS OWNERSHIP NOTES ______________ 159 https www boat manuals com...
Page 162: ...CHANGE OF ADDRESS OWNERSHIP NOTES 160 ______________ https www boat manuals com...
Page 163: ...https www boat manuals com...

