


10
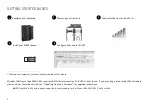
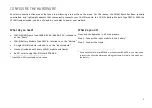
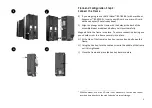
CONFIGURE THE FRONT END FOR USE WITH PULSE LABSHOP
Front‐end setup is handled by PULSE Front‐end Setup program from PULSE 18 or later.
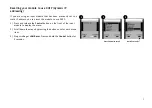
What do you need?
•
The front end’s serial number
•
Your PC (with PULSE) connected to the front end
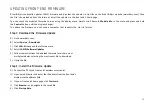
What do you do?
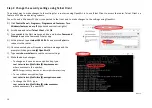
1) Open PULSE Front‐end Setup. On your PC click
Windows Icon
>
All apps
>
PULSE
>
Front‐end Setup
(
Start
>
All Programs
>
PULSE
>
Front‐end Setup
in Windows 7 and 8.1.)
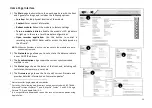
2) If your firewall program is blocking the program, click
Unblock
.
3) When the program opens, it will search for PULSE hardware
configurations. As no configurations exist yet, let it run and close
the Welcome screen.
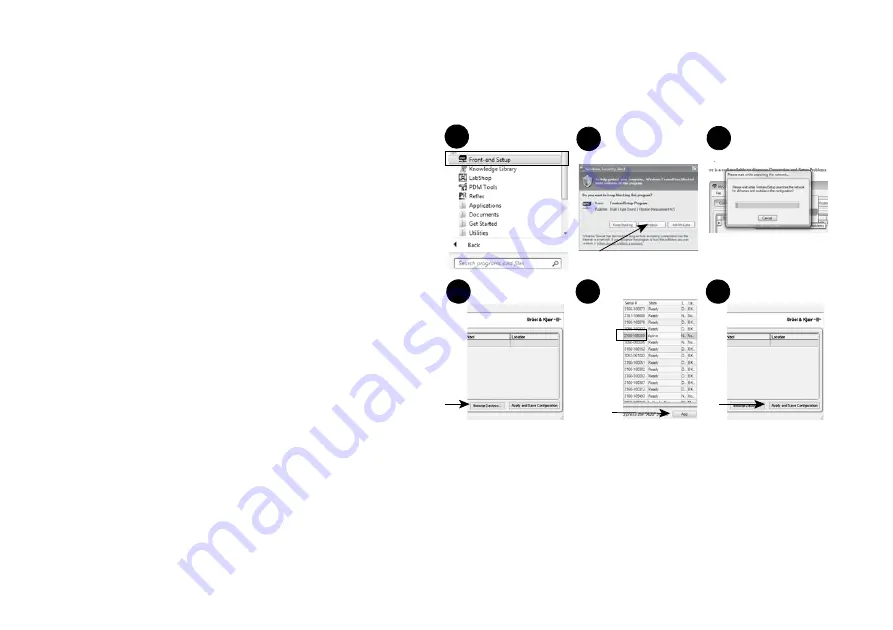
4) Click
Browse Devices...
at the bottom of the window.
5) Your front end (a “device”) should be listed by its serial number.
Select it and click
Add
.
6) The front end is now added to the “configuration”. Click
Apply
and Save Configuration
.
7) A prompt confirming your selection will appear, click
OK
.
You can exit the program and start PULSE LabShop. The configuration
will be visible in LabShop’s Configuration Organiser.
NOTE:
If your firewall prevents you from browsing for the device, click
Edit
>
Add Device
to manually enter the IP address of your front end in
order to add it to a configuration
1
2
3
4
5
Serial no.
6


