25
©2004,1998 Bruno Independent Living Aids, Inc.®
CRE-2100 NRUL 08-16-2004
INSTALLATION
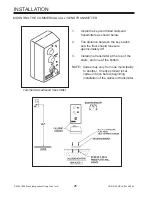
MOUNTING THE STANDARD CALL/SEND TRANSMITTER
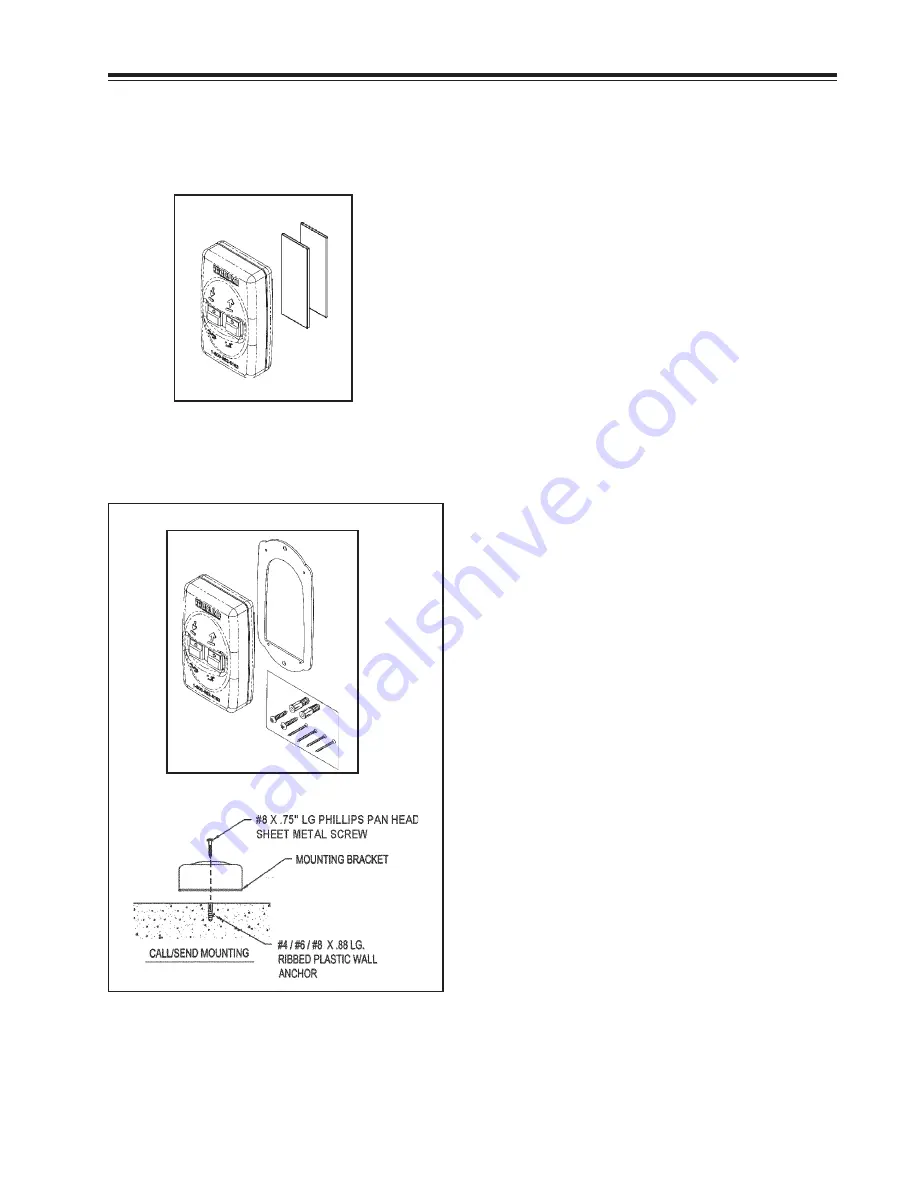
Two mounting possibilities exist for the
standard call/send transmitter:
1. Velcro®
2. bracket.
The Velcro® strips as well as the bracket and
mounting hardware are provided.
Mounting with Velcro® strips:
1.
Determine the mounting location.
2.
Peel off the backing on the Velcro®
strips and attach one half of the strip
to the mounting location and the mating
half to the back of the transmitter.
3.
To mount the transmitter, gently press
the Velcro® strip on the transmitter
against the mating strip on the mounting
location.
standard transmitter
mounted with Velcro®
standard transmitter
mounted with bracket
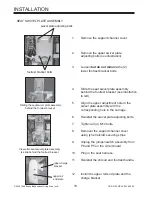
Mounting with bracket and hardware:
1.
Mount the bracket to the back of the
transmitter using the (4) screws
provided.
2.
Position the bracket/transmitter unit
in the mounting location on the wall
and mark the top and bottom bracket
holes.
3.
Drill a pilot hole slightly smaller than
the anchors provided.
4.
Gently pound the anchors into the
wall with a rubber mallet.
5.
Position the bracket/transmitter unit
on the wall so that the top/bottom
bracket holes align with the anchors.
6.
Secure the bracket/transmitter to the
wall using the screws provided.


