17
ALWAYS
check the crossover frequency is set to a safe minimum figure
before driving the system at high levels:
• Set levels controls to their centre zero position, for best sound balance,
refer
to section 17
.
• For CD Horn equalisation,
refer to section 14
.
• For sub-woofer (sub-bass) applications,
refer to sections 11.3 & 13
.
CAUTION:
Setting too low a crossover frequency can damage HF drive-units
and/or impair their reliability and sound quality.
Setting up -
3-Way Mono Operation
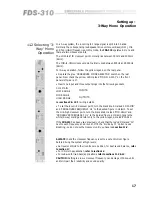
In a 3-way system, the incoming full range signal is split into 3 bands.
Normally the corresponding loudspeaker drive units cover Bass (LOW), Mid
and Top (HIGH) frequencies. In this mode, the
FDS-310
operates in mono and
there are two crossover points.
The LOW-to-MID crossover point normally lies between 180Hz and 2000Hz
(2kHz).
The MID-to-HIGH crossover point normally lies between 800Hz and 9000Hz
(9kHz).
For 3-way operation, follow the yellow legend on the rear panel.
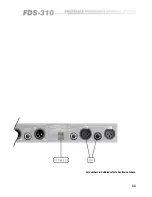
• Depress the grey 'CROSSOVER MODE SELECTOR' switch on the rear
panel. Now check the yellow LED marked 'MONO 3-WAY' on the front
panels left side is lit.
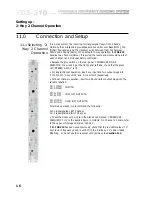
• Insert one input and three output plugs into the following sockets:
CH.1 MAIN
LOW RANGE
MID RANGE
HIGH RANGE
See
sections 9 & 10
for wiring details.
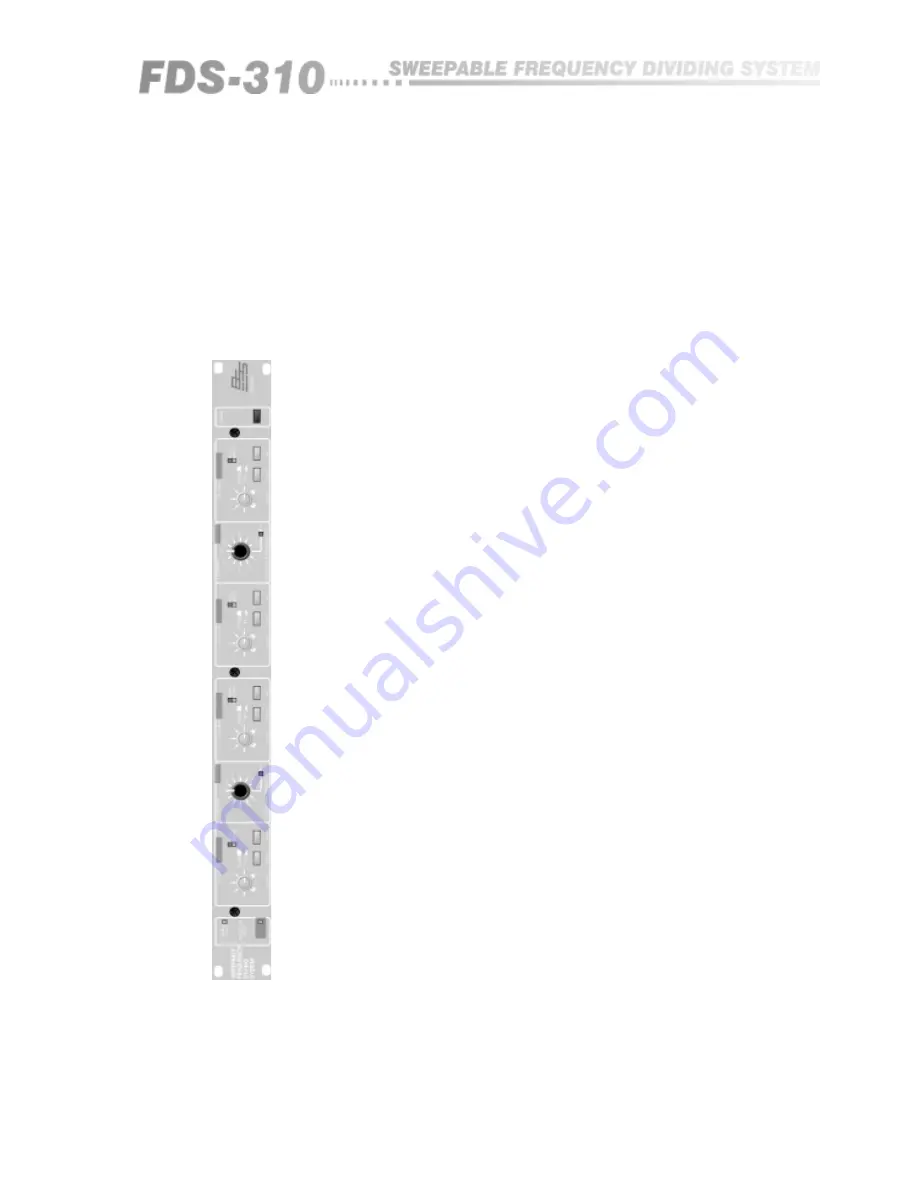
• To set the low-mid crossover point, turn the black knob marked 'LOW-MID'
and 'CROSSOVER FREQUENCY Hz' to the desired figure in Hz/kHz. To set
the mid-high crossover point, turn the black knob marked 'MID-HIGH' and
'CROSSOVER FREQUENCY Hz' to the desired figure in Hz/kHz. Ignore the
white (2-way) scaling and refer only to the yellow legend, scaled 800-9k0.
If the
FDS-310
has been used previously, check that the red LED marked '10'
next to each frequency knob is unlit.
If lit, the 'divide by 10' option needs
disabling - so do not use the crossover until you have read
section 11.3
.
11.2 Selecting '3-
Way' Mono
Operation
INPUTS.
OUTPUTS.
Summary of Contents for FDS 310
Page 1: ...1 FDS 310 User Manual ...
Page 10: ...1 0 Getting to know the FDS 310 Fig 6 1 Front Panel Fig 6 2 Rear Panel ...
Page 11: ...11 All numbers in bubbles refer to Section numbers ...
Page 37: ...37 User Notes ...
Page 38: ...3 8 User Notes ...
Page 39: ...39 User Notes ...
Page 40: ...4 0 User Notes ...

