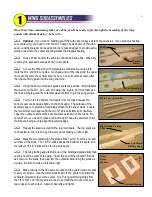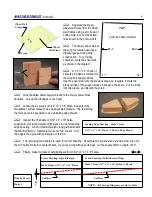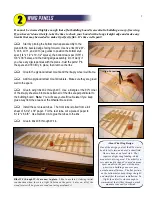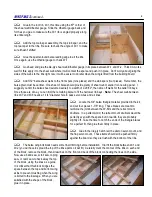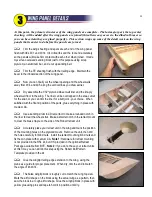
At this point, the primary structures of the wing panels are complete. The last major part, the top center
sheeting, will be added after the wing panels are joined (this allows easy access to the dihedral braces so
you can be certain they are glued properly). This section wraps up some of the detail work on the wing
panels that is easier to do before the panels are joined.
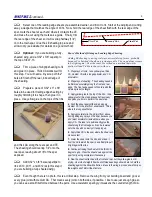
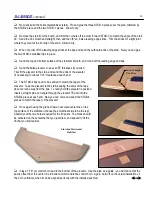
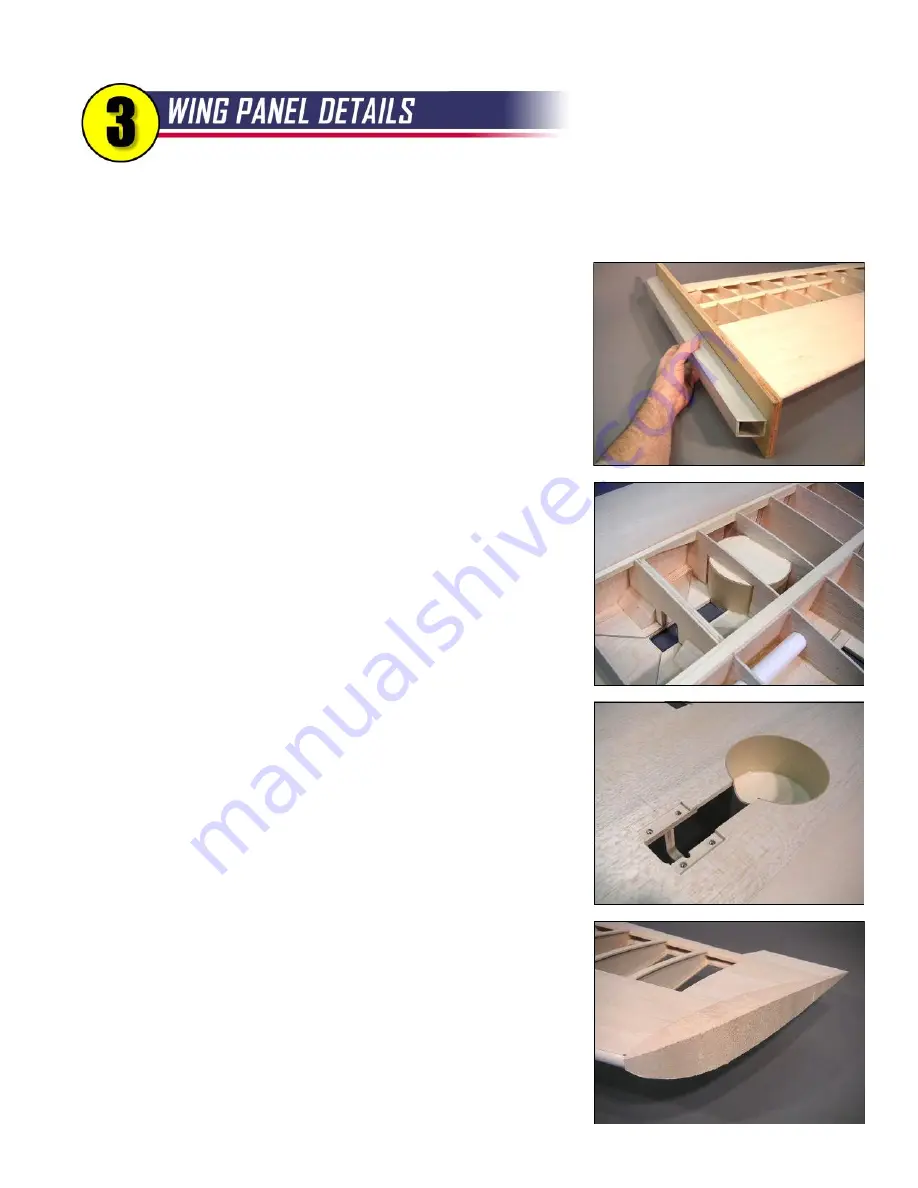
Trim the wing sheeting and spars at each end of the wing panel,
flush with ribs W-1 and W-14. It's critical to sand the root end accurately
so the panels will make firm contact with each other when joined. I made
myself an oversized sanding block just for this purpose using scrap
plywood, an aluminum bar, and a cut up sanding belt.
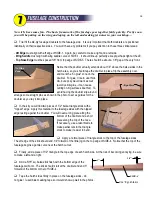
Trim the TE sheeting flush with the trailing edge. Maintain the
bevel in the inboard section of the wing panel.
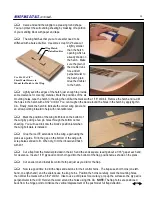
Now you can finally cut the wheel opening and the wheel wells
away from W-4 and W-5 along the vertical lines you drew earlier.
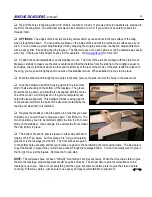
Dry assemble the 1/32" plywood wheel well liner and the lite-ply
wheel well floor in the wing. The liner can be overlapped in the area cutout
for the strut, or you can trim the liner for a butt joint - your choice. When
satisfied with the fit and position of the parts, glue everything in place with
medium CA.
Use a sanding drum in a Dremel tool to make a rounded notch in
the liner to clear the wheel strut. Make a smaller notch in the retract mount
to clear the brass nipple on the side of the Robart retract unit.
Accurately place your retract unit in the wing and mark the position
of the mounting holes on the plywood mount. Remove the unit, then drill
the holes carefully for blind nuts. Install the retract mounting blind nuts and
fix them in place with medium CA.
Note 1:
Hardware for retract mounting
is not provided in the R54 kit, but it IS provided in the optional Retract
Package available from BTE.
Note 2:
If you do not have your retract units
at this time, you can still do this step using the Robart Bolt Pattern
Template provided in the kit.
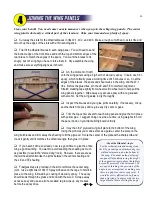
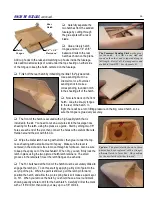
Glue the wingtip trailing edge extension to the wing, using the
plans as a guide for proper placement. When dry, trim the end to match
the angle of rib W-14.
The balsa wingtip block is roughly cut to match the wing top view.
Mark the airfoil shape on the block using the actual wing as a pattern, then
saw the block to a rough airfoil shape. Glue the wingtip block in place with
yellow glue using pins and tape to hold it in position until dry.
11
Summary of Contents for Reaction 54
Page 1: ...INSTRUCTION BOOK...

