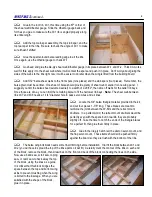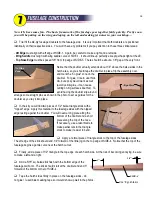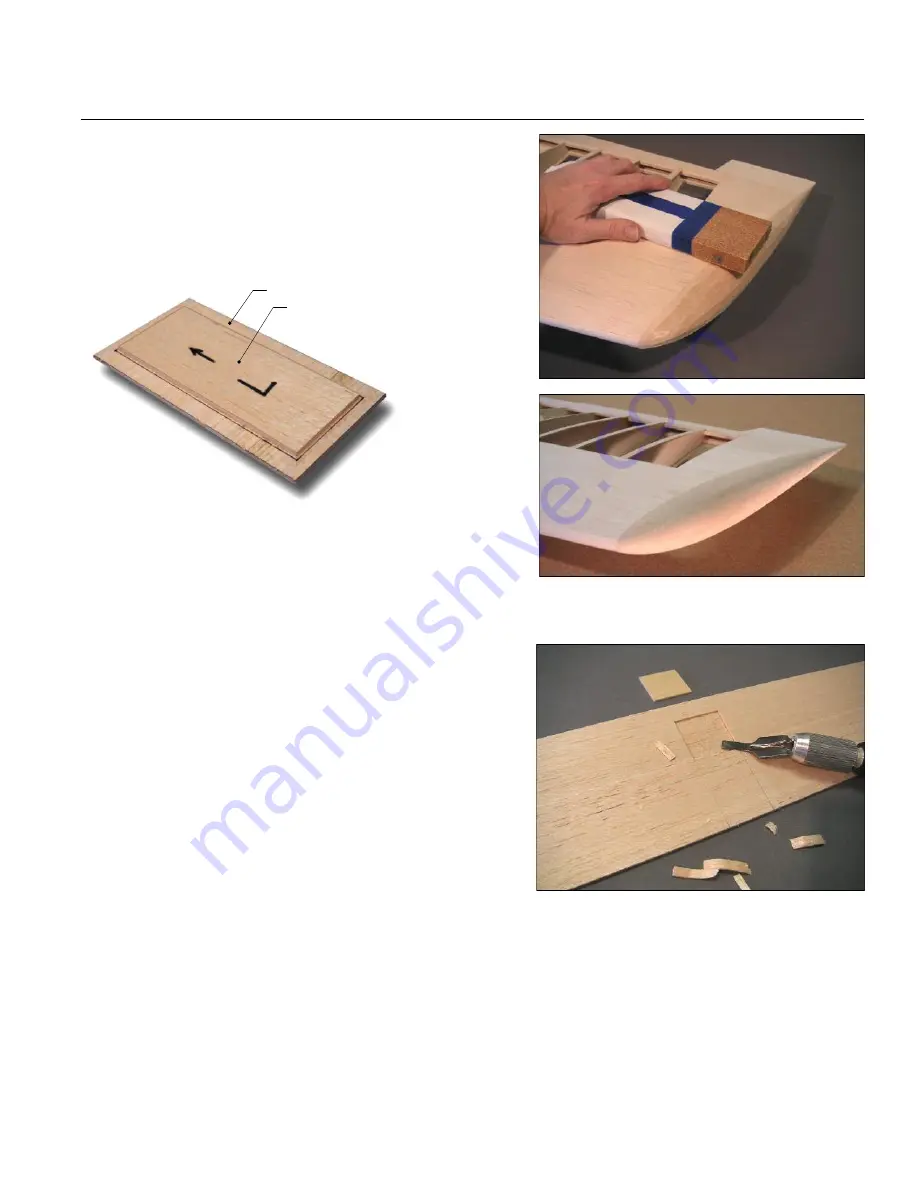
Carve and sand the wingtip to a pleasing round shape.
You can protect the surrounding sheeting by masking off a portion
of your sanding block with paper and tape.
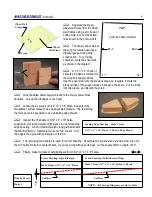
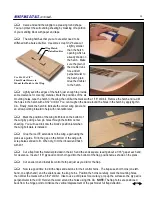
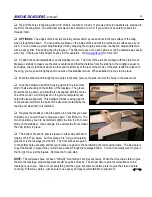
The wing hatches that you cut out earlier need to be
stiffened with a balsa doubler. Use some scrap 3/32" balsa cut
slightly smaller
than the hatch
opening which is
already drawn on
the hatch. Make
sure the grain of
the doubler runs
fore and aft,
perpendicular to
the hatch grain.
Glue the doubler
to the hatch.
Lightly sand the edges of the hatch, just enough to provide
some clearance for covering material. Mark the positions of the six
mounting holes, tape the hatch to the wing, then drill at the marks with a 1/16" drill bit. Remove the hatch and re-drill
the holes in the hatch with a 3/32" drill bit. You can toughen the wood around the holes in the hatch by applying thin
CA. Finally, mark the hatch to indicate the correct wing panel and
an arrow pointing forward to help with orientation later.
Mark the position of the wing bolt block on the bottom of
the wing by poking a few pin holes through the bottom center
sheeting. You will need to know the block's position later when
the wing bolt plate is installed.
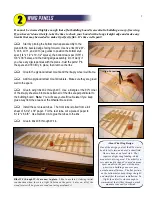
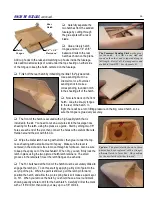
Glue the root TE extensions to the wing, again using the
plans as a guide. Fill in the gap on the bottom of the wing with
scrap balsa sanded to fit. When dry, trim the inboard end flush
with W-1.
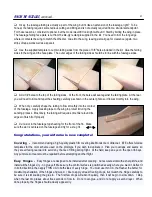
Cut a flap from the material provided in the kit. Sand the ends square, leaving about a 1/16" gap at each end
for clearance. Inset a 1/16" plywood control horn pad into the bottom of the flap, positioned as shown on the plans.
Cut an aileron and install its control horn pad just as you did for the flap.
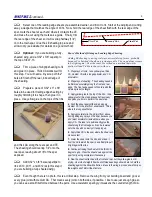
Now is a good time to drill the flaps and ailerons for their control horns. The flaps use short horns (one left-
hand, one right-hand), and the ailerons use the long horns. Position the horns carefully, mark the mounting holes,
then drill at the marks with a 3/32" drill bit. I like to use a drill press for accuracy; prop up the surface so the ply pad is
perpendicular to the drill. Harden the wood around the holes using thin CA.
NOTE:
The flap horns are positioned
back from the hinge point to minimize the vertical displacement of the pushrod at full flap deflection.
R54
WING PANEL DETAILS
,
continued...
12
Wing Hatch
Balsa Doubler
Use Six #2 x 3/8”
Sheet Metal Screws to
Mount the Hatch to the Wing
Summary of Contents for Reaction 54
Page 1: ...INSTRUCTION BOOK...

