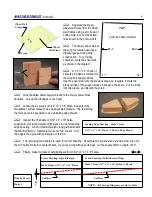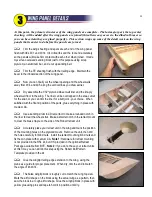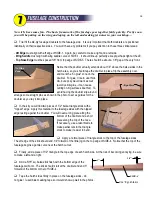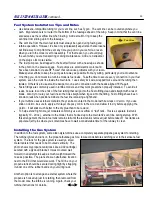
Glue two pieces of 3/32" balsa sheet, 1-1/2" wide, to the bottom
of the fuselage as shown in the photo. These are the areas where the
two fin posts make contact. For now, it helps to leave the rest of the
fuselage bottom opened for access while installing the pushrods and
fin post braces. Sand all of the balsa sheeting flush with the fuselage
sides.
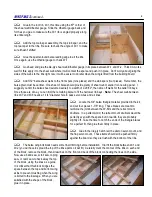
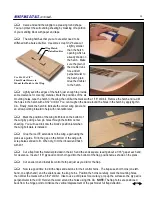
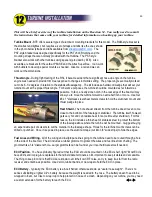
Glue one of the boat tail formers to the sheeting, making sure the
point is centered side-to-side. Cut away the balsa sheeting to match the hole in the boat tail former.
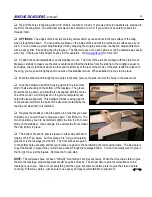
Add the boat tail jig. Glue the aft end of the jig firmly, but just spot glue the front end on F-6. Make sure the jig is
centered and vertical. The jig is symmetrical, so it can be installed with either side pointing up.
Glue the second boat tail former in place. The front edge should be
parallel to the bottom edge of F-6.
Carefully sand the back edge of the boat tail jig to match the contour of
the formers and provide a wider gluing surface for the sides which are to be
added next. You can protect the balsa sheeting by putting masking tape on
the edge of your sanding block for this operation.
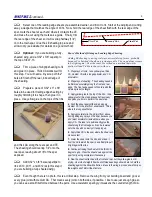
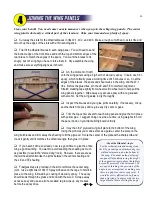
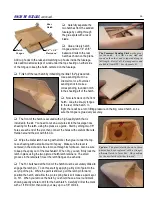
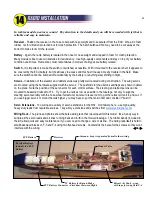
Now glue either one of the boat tail
sides in place. The front edge of the boat tail side sits in the notch in SIDE-1. The
rear edge of the boat tail side will have to be trimmed to match the angle of the
formers and jig. Glue on the second boat tail side, then trim its rear edge to form a
sharp point. The whole idea of the boat tail section is provide a smooth flow of air
to the turbine intake.
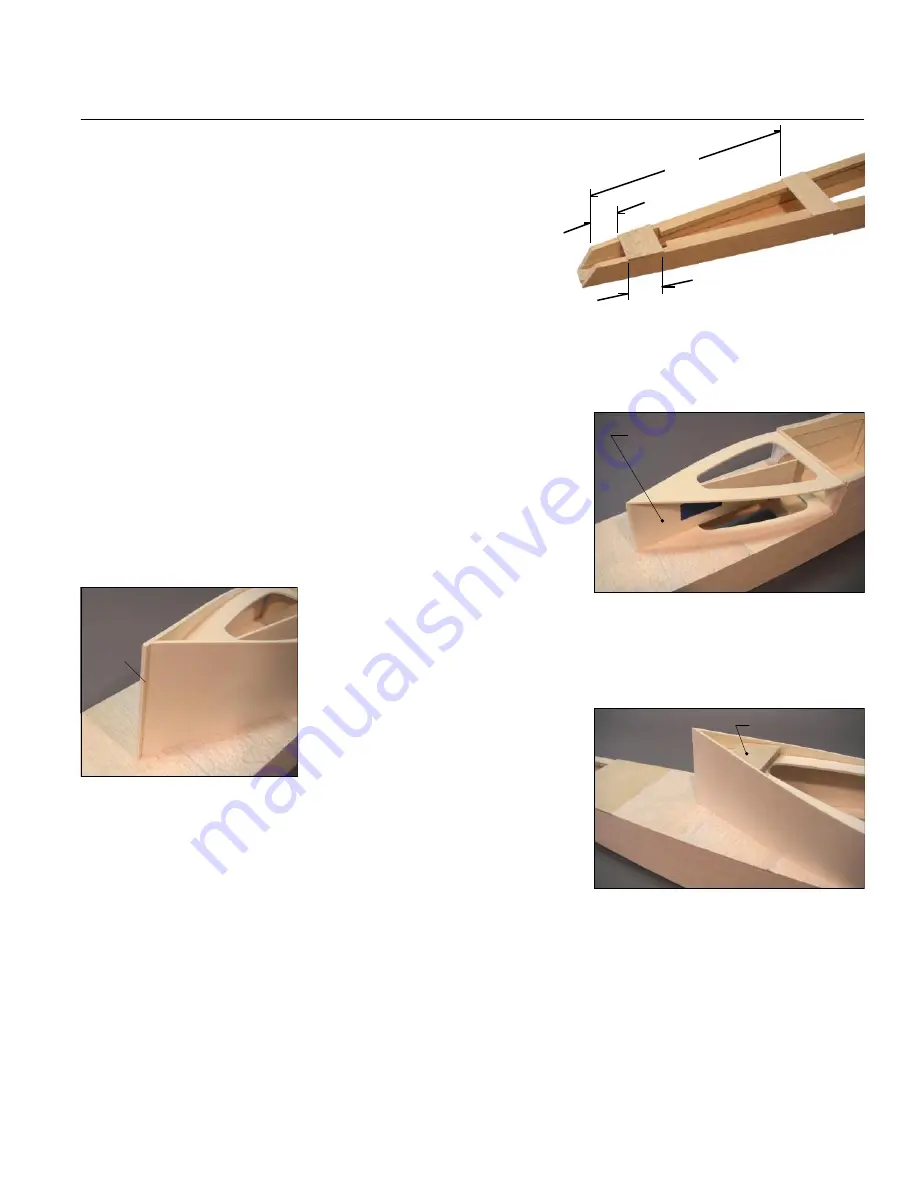
Remove the tape on the boat tail jig
and break out the front portion.
Firmly glue the 3/8" plywood wing mount in the rear of the boat tail.
Use a sanding block to smooth the top edges of the fuselage in
preparation for the balsa sheeting.
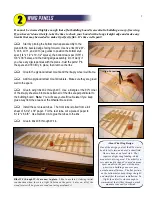
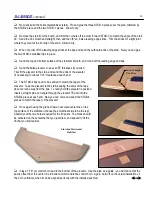
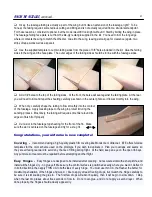
Sheet the top of the hatch with 1/4" balsa sheet applied cross-grain. The sheeting must end right at the front and
rear corners of the hatch sides. Use yellow glue for this step because this glue joint will have to be sanded later. Hold
the sheeting in place with long strips of masking tape.
Glue 1/4" balsa sheeting to the top of the fuselage at the nose being careful to not glue it to the hatch sheeting.
When dry, remove all the tape from the sheeting and from the bulkheads inside the fuselage. You should now be
able to separate the nearly-complete hatch from the fuselage. Grab your bottle of medium CA and go over both sides
of every joint in the fuselage and hatch.
R54
FUSELAGE CONSTRUCTION
,
continued...
20
10"
1¼"
1½"
- 2 places
Trim
Wing Mount
Boat Tail Jig
Summary of Contents for Reaction 54
Page 1: ...INSTRUCTION BOOK...

