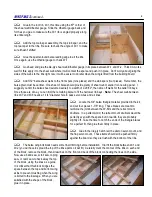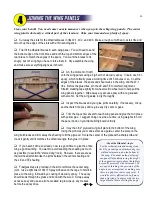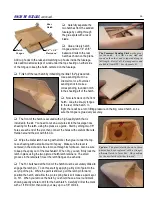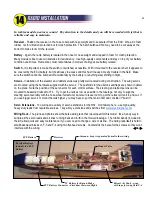
Re-drill the holes in the wing with a 1/4" drill bit. Aluminum 1/4-20 x 3" screws and nylon washers are provided in
the kit for the wing bolts. The aluminum screws can be shortened to 2-1/2" if you wish, but be careful to keep the
threads intact.
OPTIONAL:
The edges of the boat tail are fairly narrow and may cause dents in the top surface of the wing
when it is tightened down. You can add some balsa on the inside of the boat tail to provide more surface area if you
wish. You can make a perfect wing/fuselage joint by wrapping the wing in saran wrap, coating the wing saddle area
with an epoxy filler, then bolting the wing in place. The filler will ooze out on each side, but can be sanded away easily
when dry. I like to use Stits SuperFil epoxy for this operation. Visit
www.stits.com
for more info.
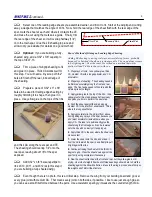
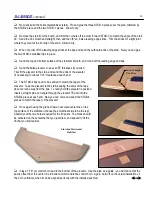
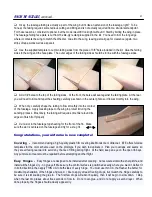
Position the horizontal stabilizer on the stabilizer mount. The front of the stab should align with the stab mount.
Measure carefully to make sure the stab is centered and that the distance from the stab tip to the wingtip is equal on
both sides. Also, stand back about ten feet and look directly at the rear of the model. If the stab is tilted in relation to
the wing, you may need to lightly sand one side of the stabilizer mount. When satisfied, pin the stab in place.
Mark the stab mount through the two holes in the stab, remove the stab, and cut the holes in the stab mount.
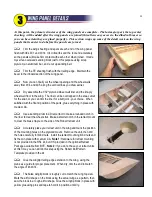
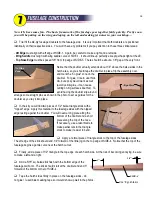
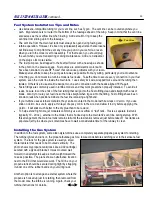
Glue the hardwood pushrod housing clamp to the rear-most
strip of balsa sheeting on the bottom of the fuselage. The groove
should be facing down, and should also be aligned with the center-
line of the model. A drill bit placed in the groove temporarily will
help with visual alignment. This hardwood block is being glued in
now because it will form the base of the structure contacted by the
rear fin post when the fin is installed.
Replace the stabilizer, using the same pin holes that you used
originally, so you won't have to measure again. Trial fit the fin. The
two fin posts may need to be trimmed slightly to allow the fin to seat
firmly on the stabilizer. Use a triangle to be certain the fin is vertical,
then pin it firmly in place.
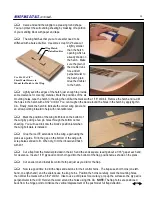
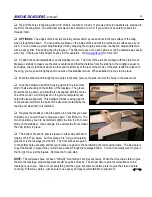
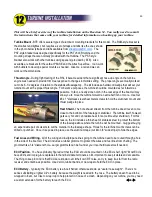
The bottom of each fin post is braced on either side with short
lengths of 5/16" sq. balsa. Cut four pieces, 3/4" long, and carefully
glue them to the fuselage (not the fin!). The front braces are glued
to the bottom balsa sheeting and the rear braces are glued to the hardwood pushrod housing clamp. The idea here is
to get the braces in place while you still have access through the fuselage bottom. You do not actually want to glue in
the fin right now, just the braces. Remove the fin and stab.
NOTE:
The tail pieces have not been "officially" mounted yet, but they are ready. When the time comes later to glue
them to the fuselage, proper alignment should be quick and easy. The proper time to glue the tail surfaces to the
fuselage is up to you. I like to cover everything and then glue, but some modelers prefer to glue their tail on before
covering. Either way works - just be sure to use epoxy and pay careful attention to alignment.
R54
WING AND TAIL MOUNTING
,
continued...
22
Summary of Contents for Reaction 54
Page 1: ...INSTRUCTION BOOK...

