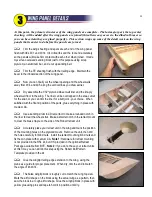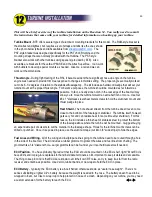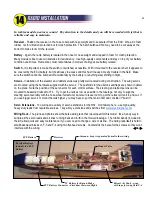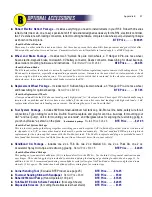
This section will more or less wrap up the construction of the wooden airframe. However, I strongly
suggest you look through the next four sections and think about how you plan on doing the installations
of your fuel system, turbine, retracts, and radio. It might be smarter to “glue a mount here” or “drill a
hole there” while you still have easy access to the fuselage tail boom and nose bottom. Once all the
sheeting is in place, you will only be able to work through the hatches and wing opening.
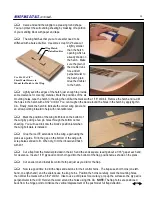
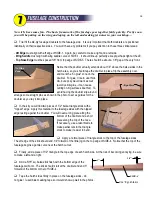
Spot glue the front hatch in place on the fuselage. Remember, you have to cut this hatch free after the fuselage
has been sanded, so just use a small drop of thick CA every three or four inches to hold it in place.
The main purpose of the rear hatch is to provide access to your safety fuel shutoff valve. The valve is typically a
ball-type Festo fitting provided with your turbine. Before each start you will open the valve and every time you shut
down the turbine you will close it, so it needs to be readily accessible. The actual position of the valve and hatch is not
written in stone - the plans show a convenient location, but it can be modified to suit your installation. The hatch itself
is simply a piece of 1/4" x 4" balsa. Later on you will add the tongue and rails, but for now cut a piece of balsa sheet to
serve as the hatch and spot glue it on the fuselage in a position that suits your particular valve installation.
Now that the hatches are in place, you can finish sheeting the rest of the fuselage top with 1/4" balsa applied
cross-grain. Leave a tiny gap between the sheeting and the hatches to allow some clearance after the covering is
applied. Two layers of masking tape works well as a spacer. The aft end of the sheeting will need to be carefully cut
to match the shape of the stabilizer LE.
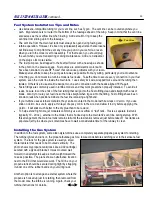
Sand the bottom of the fuselage from F-1 to F-5 with a sanding block to
prepare this area for sheeting. You need to sand until you reach the surface
of the triangle stock. Apply 1/4" balsa sheeting, cross-grain, using yellow glue.
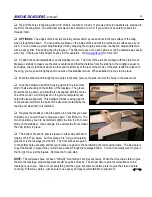
Finish sheeting the bottom of the tail boom with 3/32" balsa, cross-grain.
Sand the sheeting at the nose flush with F-1 to make a flat spot for the
balsa nose block, then glue it in place.
NOTE:
The nose block is not
symmetrical. The side that is nearly parallel to the balsa grain is the top.
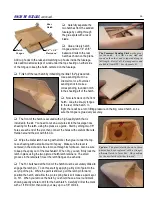
Now it's time to make some balsa dust. Shape the fuselage corners as
detailed in the photos. Start with 80-grit and work your way up to 150-grit and
280- or 320-grit. You want the fuselage virtually ready to cover at this point,
because sanding after the hatches are removed may disrupt the smooth shape.
-
-
Block sand sides square
Block sand sides square
-
-
Draw lines 7/16"
from corners
Draw lines 7/16"
from corners
-
-
Carve corners close to lines
Carve corners close to lines
-
-
Round off corners with sander
Round off corners with sander
-
-
Finish shaping nose by hand
Finish shaping nose by hand
Corner Sanding Tool
I built the tool shown at the
left to help with the rough
sanding of the corners and to
maintain an even radius along
the entire length of the
fuselage. You can save
yourself some work and order
a fully-assembled sander from
BTE for only $14.95 .
25
Corner Sanding Tool
Built
From Plywood,
Balsa, PVC Pipe, and
Some 80-grit Sandpaper
Summary of Contents for Reaction 54
Page 1: ...INSTRUCTION BOOK...

