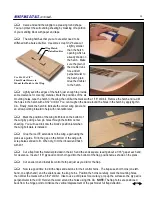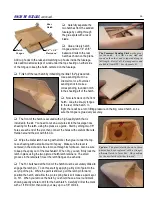
Carefully separate the
two hatches from the sanded
fuselage by cutting through
the glue spots with a razor
blade.
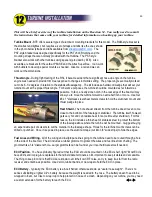
Glue a lite-ply hatch
tongue and two 1/4" x 3/8"
basswood rails to the rear
hatch as shown on the plans.
Add cup hooks to the rails and matching cup hooks inside the fuselage.
Also add two small scraps of wood under the top sheeting on either side
of the tongue to keep the hatch centered on the fuselage.
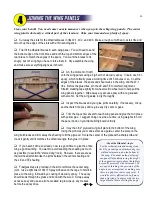
Finish off the rear hatch by imbedding the little 1/32" plywood tab.
Use a sanding drum in a
Dremel tool or a Fourmost
sanding stick to make a
corresponding, rounded notch
in the sheeting aft of the hatch.
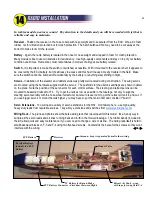
Now let's work on the front
hatch. Glue the lite-ply tongue
to the rear of the hatch. In
flight, there will be a lot of lifting pressure on the big, curved hatch, so be
sure the tongue is glued very securely.
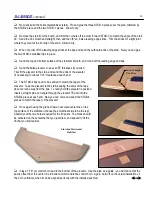
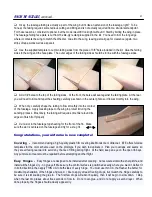
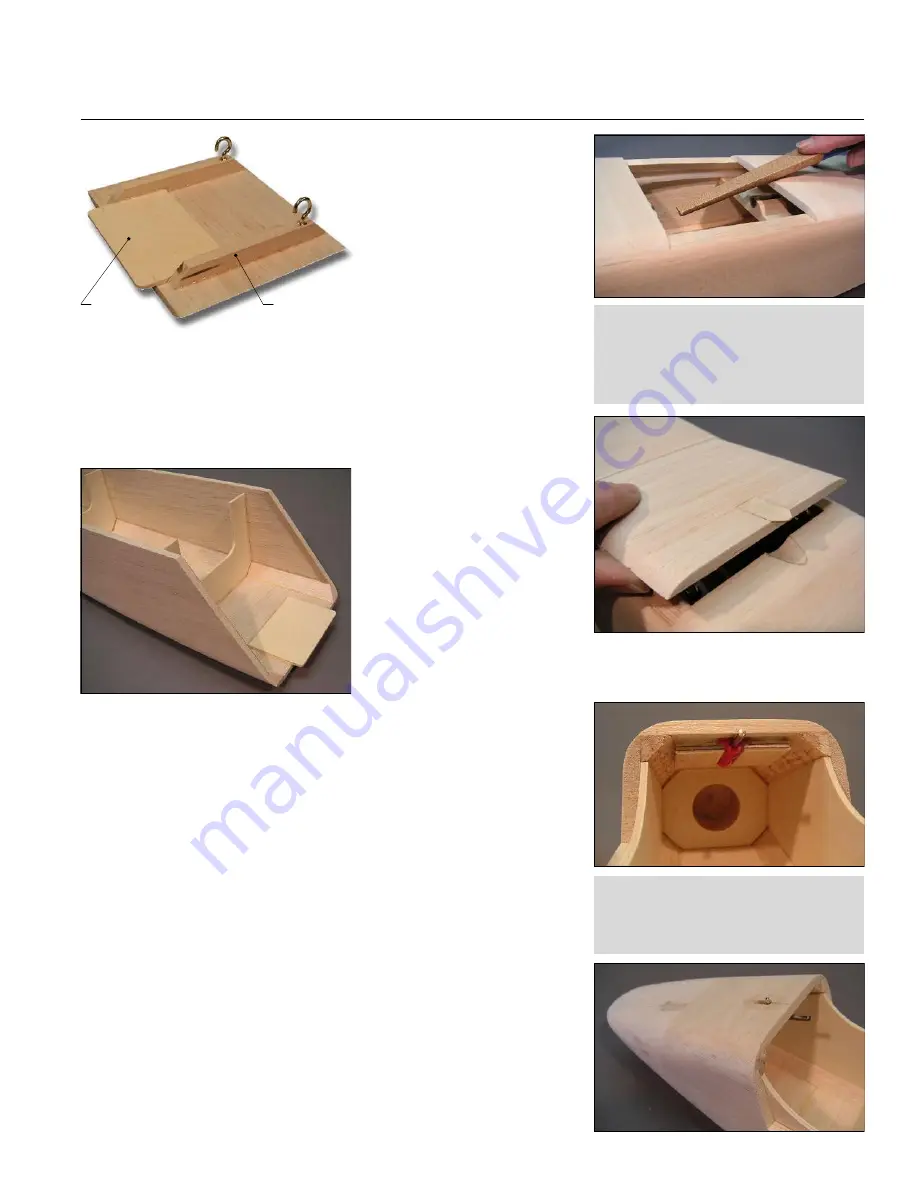
The front of the hatch is secured with a high-quality latch that is
included in the kit. You need to cut an accurate slot in the fuselage nose
sheeting for the latch, using the plans as a guide. Start by drilling two 1/8"
holes at each end of the slot, then connect the holes with careful knife cuts.
Harden around the slot with thin CA.
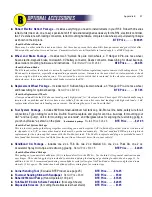
Wipe the metal latch housing with alcohol, then glue it under the top
nose sheeting with a small amount of epoxy. Make sure the lever is
centered in the slot and is free to move through its full travel. Also be sure
to keep the epoxy out of the mechanism! When dry, you can firmly lock the
latch in place using the two plywood hatch latch retainers. The small
grooves in the retainers fit over the latch flanges on each side.
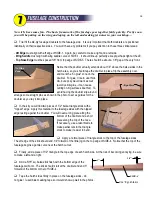
The H-1 bulkhead at the front of the hatch must be accurately drilled to
engage the latch pin. To do this, start by applying a tiny dot of paint to the
very tip of the pin. While the paint is still wet, pull the latch pin forward,
position the hatch, and allow the pin to spring back so it makes a paint spot
on H-1. When you remove the hatch, you should have a nice round mark
showing exactly where to drill for the hatch latch. Carefully drill at the mark
with a 1/16" drill bit, then work your way up to a 1/8" drill bit.
The Fourmost Sanding Stick
works great
for the notch. It is flat on one side and
round on the other, and is tapered along its
full length. Best of all, it's inexpensive and
available from BTE! See Appendix B.
FINISH THE FUSELAGE
,
continued...
26
Rear
Hatch
1/4"
x 3/8"
Basswood
Hatch
Tongue
Update:
The plastic latch shown in these
photos has been replaced with a stronger
all-metal latch in later kits. Slot position
for the new latch is further forward.
Summary of Contents for Reaction 54
Page 1: ...INSTRUCTION BOOK...

