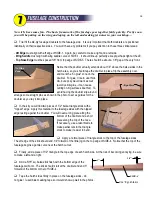
I love Robart's retracts, but their installation instructions are pretty skimpy. If you are new to retracts,
the following tips may help. The Retract package from BTE provides all of the hardware and steering
accessories that are needed. The Wheel and Brake package from BTE simplifies the brake installation.
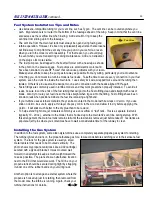
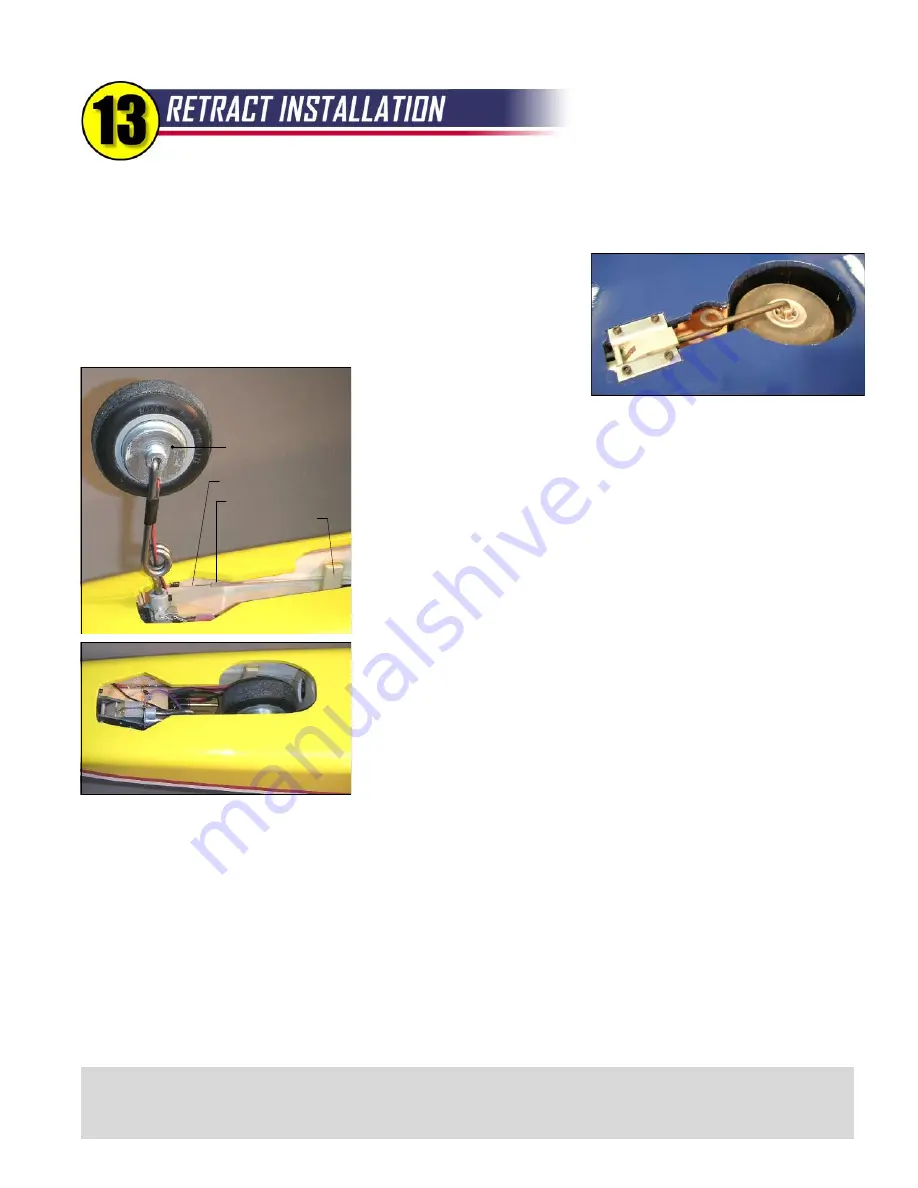
Main Wheel Retract Units
- The wing has been pretty well prepared for
these. Attach two air lines to the unit, then bolt it in place. Keep the color-
coded air lines consistent throughout your retract installation - one is for
"wheels up" air and the other is for "wheels down" air. The air lines need to
be routed through the holes in W-7 and the servo lead tube to the center of
the wing. At the center, connect
the like-colored lines with a T-
fitting, and add a short third line that comes out of the wing and ends at a
quick disconnect. I suggest using a male disconnect on one line, and a
female on the other so there's no way to hook it up backwards when you're
at the field.
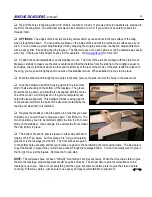
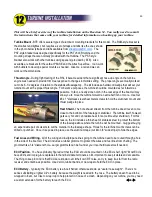
Nose Wheel Retract Unit
- Grab your knife and cut a hole in the fuselage
bottom sheeting for the nose retract unit. The hole needs to be at least big
enough to get the unit in and out. Hook up your air lines, then bolt the unit
to both F-2 and the receiver shelf. The hole in the fuselage will have to be
enlarged to clear the nose wheel and strut.
Nose Wheel Steering
- The Robart unit requires a pull-pull cable system
for steering. When the gear is extended, the cables need to be fairly tight
to operate properly. When retracted, the cables go slack and you must
provide some means to pull them out of the way so they don't get tangled
up with the wheel and strut. Some modelers use rubber bands looped
around cables and fastened to hooks on the fuselage sides. I used nylon
tubes instead. The tubes are 6" long, but only glued to the side in a small
spot near the center. When the wheel is retracted, the tubes straighten out
along the fuselage sides. When extended, the tubes are flexible enough to
pull into position. Works great! You only need a small amount of movement in the nose wheel, maybe 15º each
direction for good ground handling.
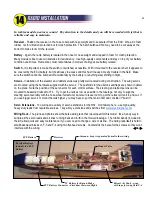
Air Tank
- The medium-size Robart tank is total overkill for these retracts, but it fits so why not? Pump it up to 100 psi
and you are probably good for twenty retract cycles. If you prefer, you can go with a small tank which would be good
for a dozen cycles or so.
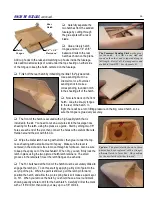
Retract Valve
- Make a plywood bracket for mounting the valve. Its mechanism only slides about 1/4" total, so you
will need to program your retract servo for a small amount of movement. In my original installation, I didn't use a
computer radio so the servo travel was cut down mechanically using a bellcrank.
Filler and Pressure Gauge
- Suggested mounting positions for these items are shown on the plans. To pressurize
the system, I use Robart's hand pump (good exercise!), but most builders use an electric compressor.
R54
31
Kavan Brake
Steering Cable
Nylon Tube
Tube Clamp
Main Wheel
Retract
Typical Nose Wheel Cutout
New for 2014
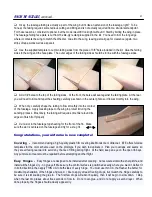
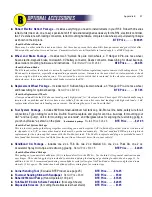
- BTE now offers Robart electric retracts for the R54. They are identical to the pneumatics offered in
previous years except the air cylinders have been replaced with electric actuators. Follow the installation guidelines
provided with the Robart package.
Note:
The W-7 wing ribs will need a notch to clear the longer electric actuators.
Summary of Contents for Reaction 54
Page 1: ...INSTRUCTION BOOK...


