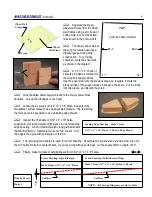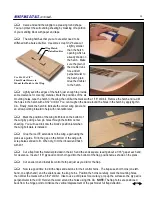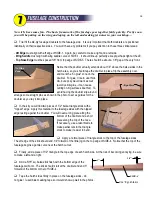
Glue in the root rib, W-1, this time using the 87º corner of
the shear web/dihedral gauge. Slide the dihedral gauge back and
forth as you glue to make sure the W-1 rib is angled properly along
its entire length.
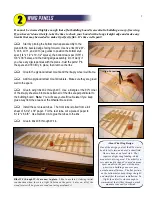
Add the top main spar assembly, the top stub spar, and the
top rear spar to the ribs. Be sure to check the angle of W-1 to make
sure it hasn't shifted.
Glue the quarter-round balsa leading edge to all the ribs.
Once again, use the dihedral gauge to check W-1.
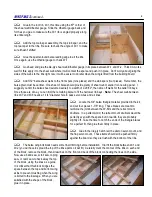
Go ahead and glue the lite-ply shear web/dihedral gauge in its place between W-1 and W-2. Thick CA works
well for this; apply it to the shear web where it will contact the spars and push it in place. Don't worry about gluing the
sides of the webs to the ribs right now; it will be easier to do later when the wing is lifted from the building board.
Add 3/32" balsa shear webs to the front spars (nine places) and the stub spars (four places). Remember, the
balsa grain must be vertical. One sheet of balsa should provide plenty of shear web material for one wing panel. I
suggest you trim the balsa sheet (selected earlier) to a width of 2-29/32", then slice off webs for the wider rib bays.
Once those are done, you can trim the remaining balsa to fit the narrower rib bays.
Note:
The shear web between
ribs W-7 and W-8 needs a 1-1/4" diameter hole to pass servo wires and air lines.
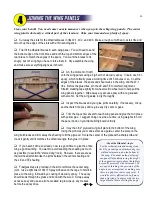
Locate the 3/4" balsa triangle material provided in the kit,
and cut four pieces 1-7/8" long. These braces are meant to
reinforce the joint between the W-6Ds and the retract mount
doublers. In a perfect world, the retract mount doublers would be
perfectly even with the spars, but in real life they are probably
slightly off. Take the time to notch the ends of the triangle braces
for a perfect fit, then glue them firmly in place.
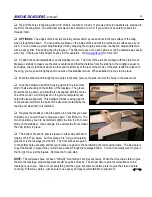
Glue in the lite-ply hatch rail, the aileron servo mount, and
the flap servo mount. These items should all be pushed firmly
against the board so they are flush with the bottom of the ribs.
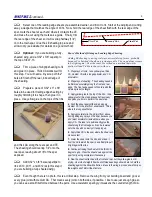
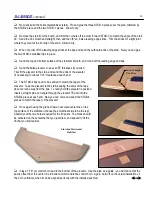
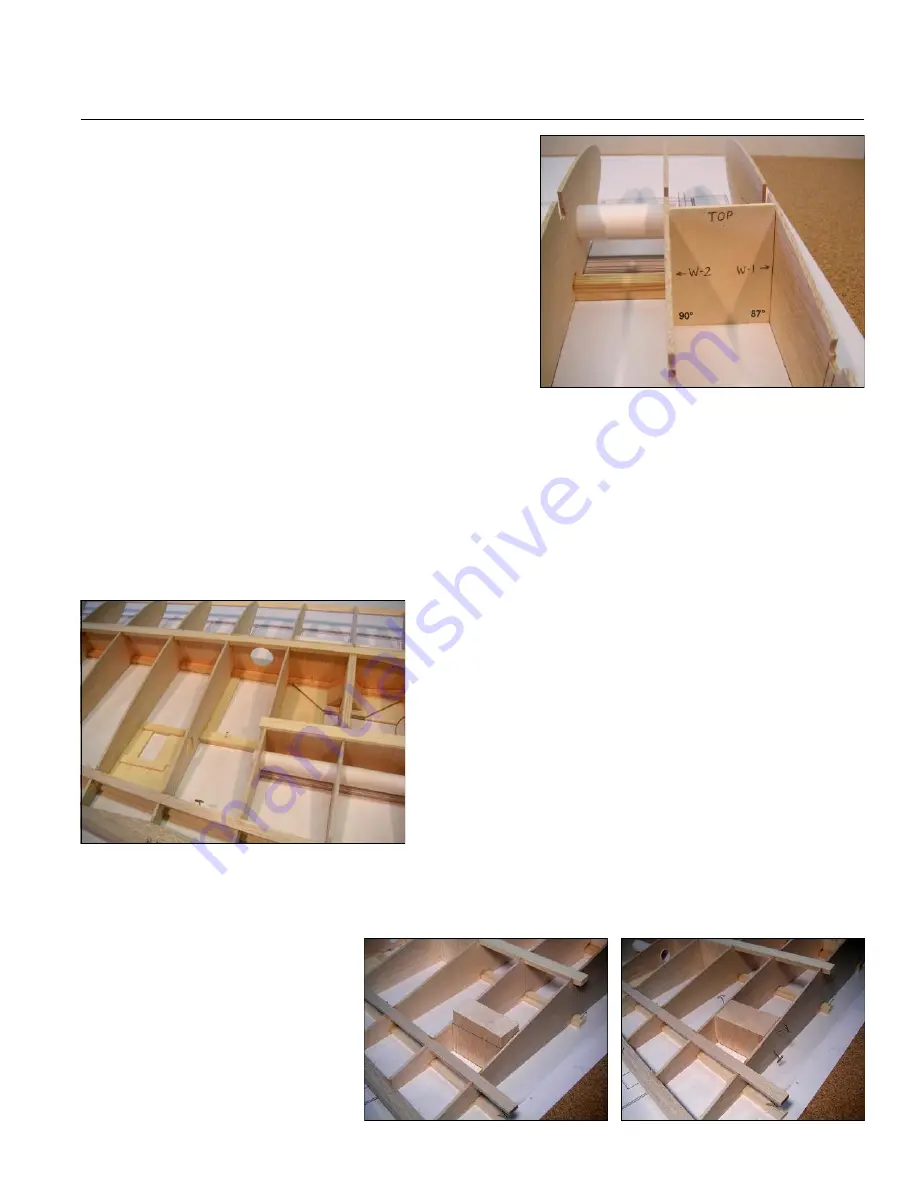
The balsa wing bolt block needs some final trimming before installation. Trial fit the block between W-1 and
W-2 (you will have to spread the top of the ribs apart so it will fit). Carefully mark the contour of the ribs on each end
of the block, remove the block, then draw lines on the front and back of the block connecting the lines on the side.
Now use a band saw, scroll saw, coping
saw, or razor saw to hack away the top
of the block, using the lines as a guide.
It is critical that this block bridges the
space between the top and bottom wing
skins to prevent crushing when the wing
is bolted to the fuselage. When you are
satisfied with the shape of the block,
glue it in place.
WING PANELS
,
continued...
8
Summary of Contents for Reaction 54
Page 1: ...INSTRUCTION BOOK...

