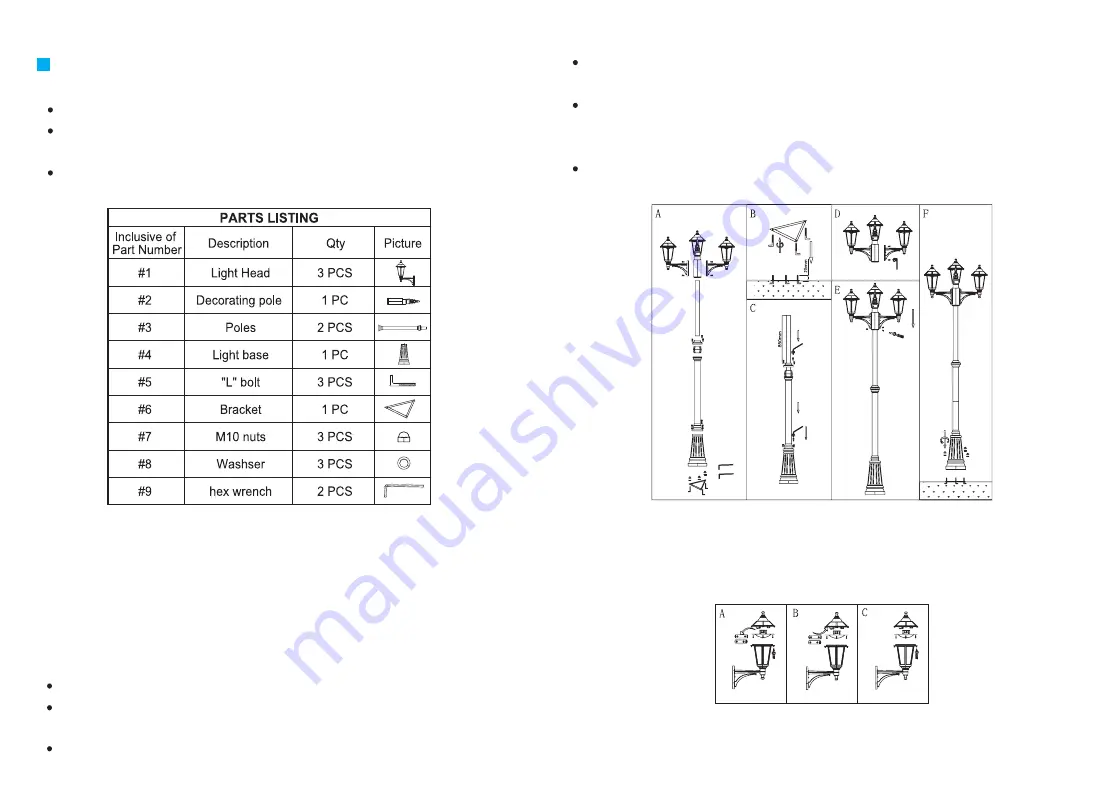
Step 4: Fix the bottom of the light pole on the triangle bracket with screws as shown
in Image F, in order to place the light on the ground.
Step 5: Turn the ON/OFF switch to “ON” mode, make sure the solar light is placed
in a position where sunlight will reflect on the solar panel free from cover
and shade.
Step 6: Make sure the solar panel is not going to be illuminated by any other light
sources; otherwise the light will not be able to switch ON at dusk.
Care and Maintenance:
Clean the solar module regularly with a damp towel to guarantee optimum
performance of the solar panel. Do not use any type of solvent for cleaning and be
careful not to put too much pressure on the module while cleaning.
Please note that the built-in rechargeable batteries need to be replaced after several
years (depending on the climate conditions of your area). To do the replacement,
please follow the image above.
User manual for BTR Solar light
Please read this manual carefully before using your product for the first time.
Should you find the light diffuser broken, it is probably caused by occasional damages
during transportation, please contact the seller/distributor for replacement.
Please keep this manual in good condition, as you might need it for the battery
replacement in future.
Specification:
Solar panel: 3,84 V, 30 mA
12 LEDs X 0.06W
2 Built batteries: 600mAh 1.2V, AA
Suitable Places: Outdoor wall mounted places
Assembly and Placement:
Step 1: Carefully remove all the parts from the box.
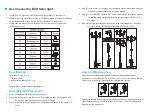
Step 2: Dig three holes on the ground and fix the triangle bracket on the ground with
the provided three L-shaped bolts as shown in Image B.
Step 3: Assemble the entire light pole and the light heads as shown in the images C, D
and E.


