6
Installing the boiler
Logano plus GB312 – 6 720 806 273 (2013/01)
18
6.2
Installing the flue system
To ensure perfect operation and prevent foreign bodies entering the flue
system, it must be fitted with an end piece (a T-piece or a 90°-elbow is
required).
In areas subject to heavy snowfalls, the end piece on flue system must be
at least 12" higher than the maximum depth of snow.
The flue system must not terminate less than 14 feet above any public
surfaced footway or path.
Make sure that the end piece is at least 10 feet away from the
combustion air intake of any other boiler.
The flue system must terminate more than 6 feet away from any other
opening in a building, from gasometers, equiment controls, combustible
components or similar.
The flue system must terminate at least 4 feet below, 4 feet (6 feet in
Canada) horizontally away from or 1 foot above any door, window or air
vent in any a building.
Ensure a minimum distance of 6" from combustible components.
6.3
Installing the wall penetration for a horizontal flue
Please carefully read the following instructions and information on the
installation of the wall exit and make sure you observe the safety
instructions.
The wall exit must be installed in accordance with the specified
regulations and/or local building code regulations.
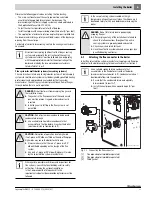
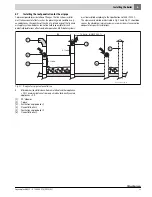
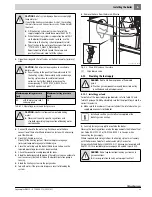
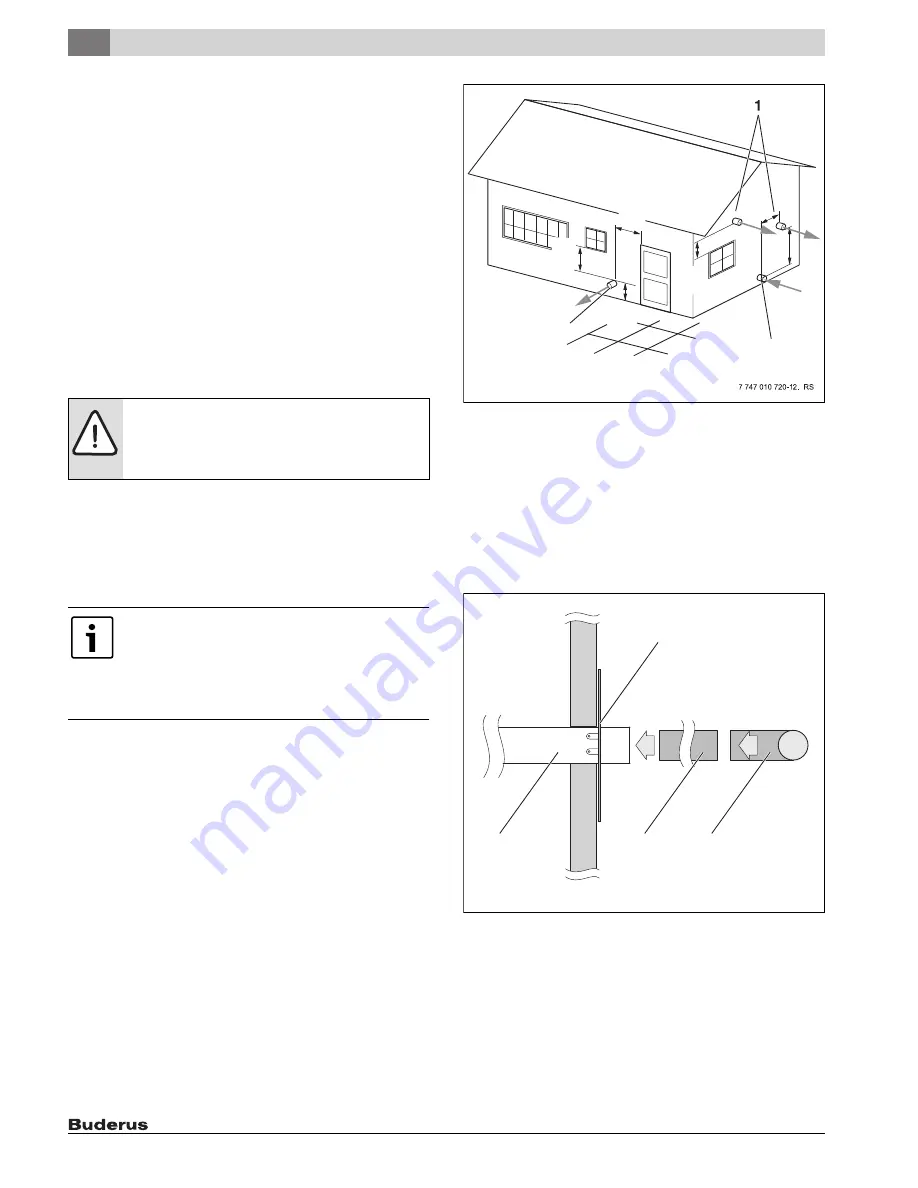
Fig. 12 Specified clearances to ANSI Z223.1 for horizontal flues
A
Minimum horizontal distance from air intake of another appliance
= 10 ft, minimum distance from own air intake for directly vented
appliances = 4 ft.
B
Minimum vertical distance from air intake of another
appliance = 3 ft, with directly vented appliances the flue outlet
can be positioned level with the appliance's own air intake
(observe minimum horizontal separation of 4 ft).
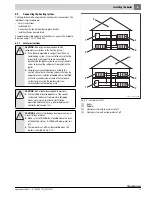
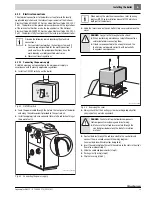
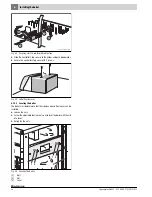
[1]
Flue wall penetration
[2]
Air intake wall penetration
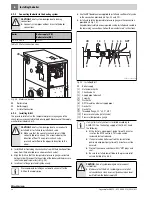
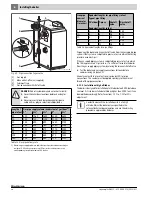
Fig. 13 Wall penetration
[1]
Wall penetration
[2]
Flue pipes
[3]
End piece on flue pipe (T-piece or 90°-elbow)
[4]
External cover plate
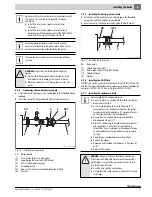
WARNING:
Risk of slipping hazard due to ice formation.
▶ Do not position air intake and flue piping directly
above footways. Dripping condensate can result in
ice formation on the footway.
All instructions provided by the flue system
manufacturer regarding the installation of the wall
penetration must be followed. Use only those that are
required for the flue pipe diameter. The use of a T-piece
or a 90°-elbow as the external end piece for the flue pipe
is required.
12 in.
min.
12 in.
min.
4 ft.
min.
B
A
4 ft.
min.
2
1
3
1
2
3
4
7 747 010 720-13.1RS


