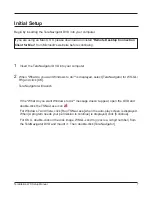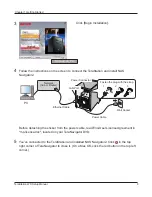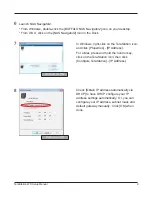
TeraStation WS Setup Manual
11
11
12
13
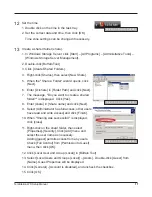
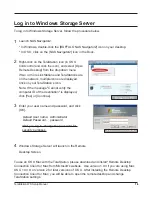
Set the time.
1. Double click on the time in the task tray.
2. Set the correct date and time, then click [OK].
Time zone settings can be changed if necessary.
12. Click [Local User and Group (Local)] in [Buffalo Tool].
13. Select [Local Users and Groups (Local)] – [Users]. Double-click [Guest] from
[Name]. Guest Properties will be displayed.
14. Click [General] - [Account is disabled], and uncheck the checkbox.
15. Click [OK].
Create a shared folder (share).
1. In Windows Storage Server, click [Start] – [All Programs] – [Administrative Tools] –
[Windows Storage Server Management].
2. Double-click [Buffalo Tool].
3. Click [Create Shared Folders].
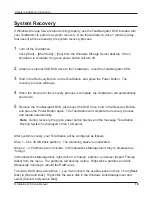
4. Right-click [Shares], then select [New Share].
5. When the "Share a Folder" wizard opens, click
[Next].
6. Enter [D:\share] in [Folder Path] and click [Next].
7. The message, "Do you want to create a shared
folder?" is displayed. Click [Yes].
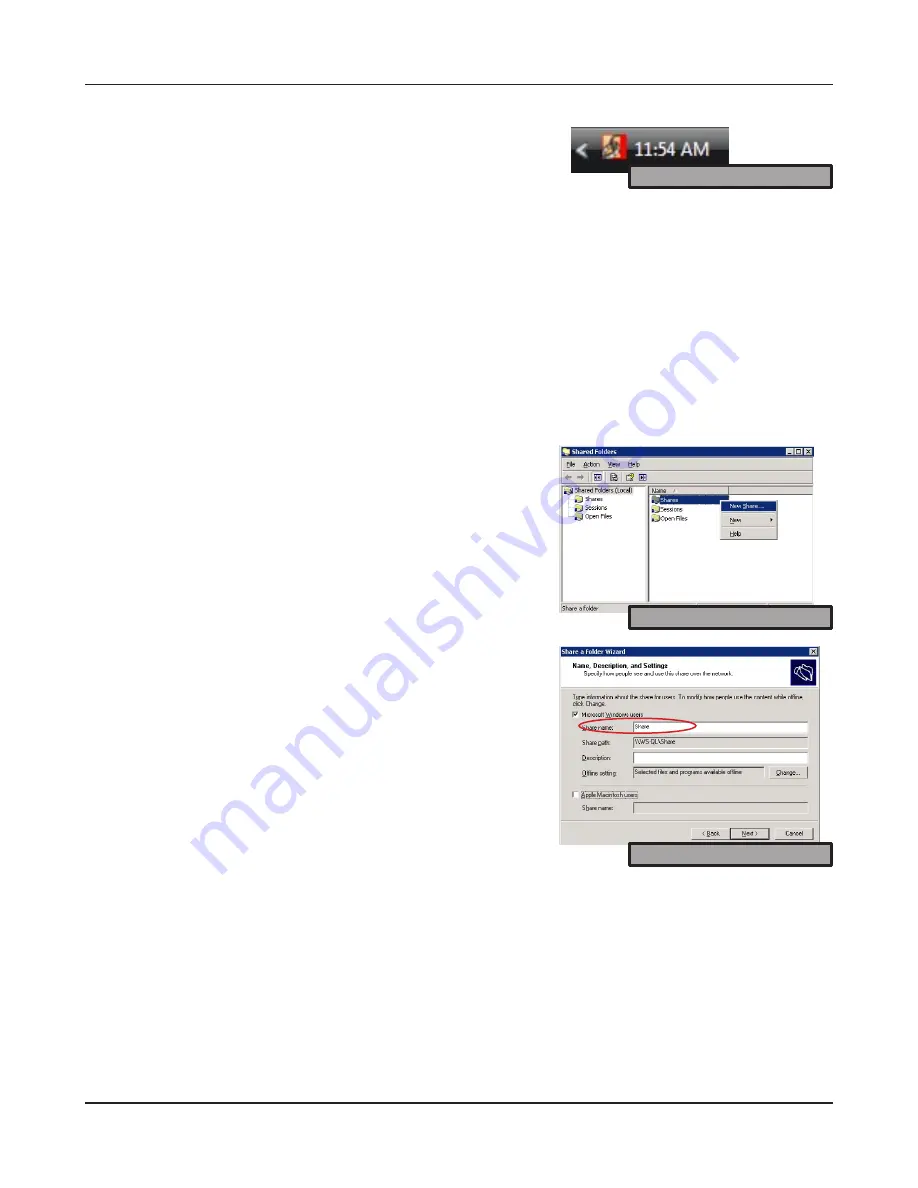
8. Enter [share] in [Share name] and click [Next].
9. Select [Administrator has full access; other users
have read and write access] and click [Finish].
10. When "Sharing was successfull." is displayed,
click [close].
11. Right-click on the shard folder, then select
[Properties]-[Security]. Click [Add] menu and
select the user name as necessary.
Adding [guest] permits access from any users.
Check [Full Control] from [Permission to Guest]
menu, then click [OK].
Screen on Remote Desktop
Screen on Remote Desktop
Screen on Remote Desktop


