User Guide
141
www.bull.com
5.
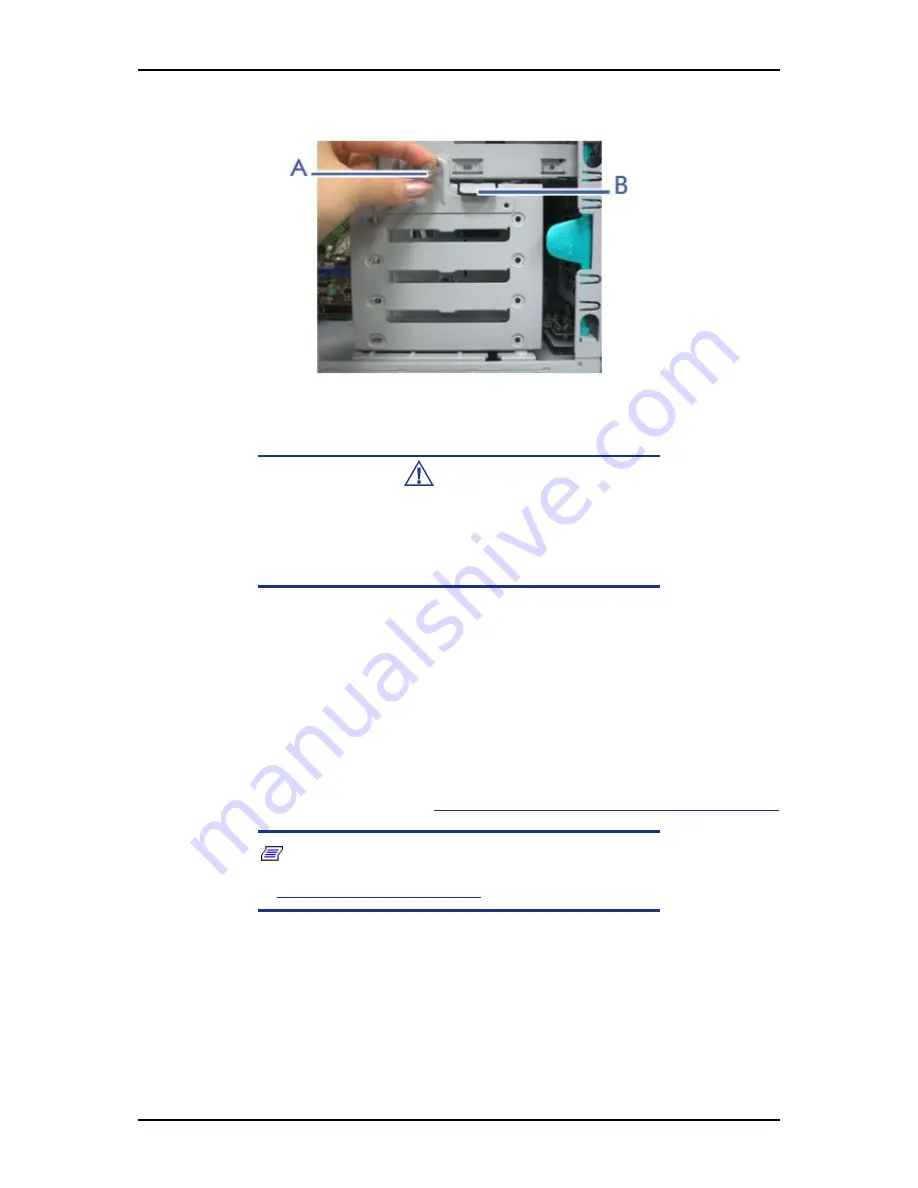
Locate the HDD bracket latch (B).
Figure 91: HDD Bracket Screw and Latch
Caution
Be careful when working around the cables connected to the
already installed drives.
If necessary disconnect these cables, but be sure to note which
device each cable or power lead was attached to.
6.
Notice the screw holes located on each side of the HDD bracket, and the
corresponding screw holes located on the hard disk drive you mean to install.
Making sure the screw holes will line up, slide the hard disk drive into one of
the available slots, connectors last.
7.
Secure screws into the three side screw holes of the hard disk drive.
8.
Slide the HDD bracket into its original place.
9.
Secure the screw loosened in step 5.
10.
Connect the cable(s) to their respective hard disk drives.
11.
Replace the right side door.
See “Replacing the Right Side Door” on page 134.
Note: Modify the BIOS Setup program to automatically
recognise the hard disk drive. For additional information, refer
to
“BIOS Setup Utility” on page 282
.
Summary of Contents for NovaScale R410 E1
Page 1: ...NovaScale T810 E1 T830 E1 R410 E1 User s Guide NOVASCALE REFERENCE 86 A1 15FA 00 ...
Page 2: ......
Page 34: ...User Guide 34 www bull com Motherboard Motherboard Layout Figure 14 Motherboard Layout ...
Page 53: ...User Guide 53 www bull com SAS Hard Disk Drive Capacity 73GB minimum 15000 RPM RAID support ...
Page 318: ......
Page 319: ...BULL CEDOC 357 AVENUE PATTON B P 20845 49008 ANGERS CEDEX 01 FRANCE REFERENCE 86 A1 15FA 00 ...


