


Inspection, Cleaning and Storage
Bullard’s GenVX Series respirators have a limited service life. Therefore,
a regular inspection and replacement program must be conducted. Certain
parts such as capes and lenses must be replaced frequently.
The GenVX Series respirator and all component parts and assemblies
should be inspected for damage or excessive wear, before and after
each use, to ensure proper functioning. Immediately remove the
respirator from service and replace parts or assemblies that show
any sign of failure or excessive wear that might reduce the degree of
protection originally provided. If you detect any of these signs, replace
your cape immediately or remove the respirator from service. Inspect the
inner neck cuff making sure that the band has retained sufficient elasticity.
Use only complete NIOSH approved Bullard GenVX Series components and
replacement parts on this respirator. Refer to parts list (Pages 24-27) for
correct part numbers.
Since respirator use and the quality of maintenance performed vary with
each job site, it is impossible to provide a specific time frame for respirator
replacement. As a general guideline, the GenVX Series respirator should be
replaced after two years of service or less.
This respirator should be cleaned and sanitized at least weekly, or more
often if subjected to heavy use. Respirators used by more than one person
must be cleaned, inspected and sanitized after each use. If not cleaned,
contamination may cause illness or disease.
REMEMBER, THE AIR YOU BREATHE WILL NOT BE CLEAN UNLESS THE
RESPIRATOR YOU WEAR IS CLEAN.
Cape
Inspection
Remove the cape from the respirator helmet and inspect it for rips, tears
or damage from excessive wear that might reduce the degree of protection
originally provided. If you detect any of these signs, replace your cape
immediately or remove the respirator from service. Inspect the inner neck
cuff making sure that the band has retained sufficient elasticity.
Cleaning
Machine wash the cape in cold or warm water using a gentle cycle. Use a
mild laundry detergent. Air-dry only. After cleaning, carefully inspect the
cape once again for signs of damage.
Do not use volatile solvents to clean this respirator or any parts and
assemblies. Strong cleaning and disinfecting agents, and many solvents,
can damage the plastic parts.
Headband and Chin Strap
Inspection
Remove the headband suspension and chin strap from the inner shell.
Inspect the headband for cracks, frayed or cut crown straps, torn headband
or size adjustment slots, loss of pliability or other signs of excessive wear.
Check the chin strap for loss of elasticity, cuts and cracked hanger clips.
If damage is detected, replace parts immediately with Bullard replacement
parts or remove the respirator from service.
Cleaning
The headband suspension and chin strap should be hand-sponged with
warm water and mild detergent, rinsed and air-dried. After cleaning
and before reassembling, once again carefully inspect the parts for
signs of damage.
Helmet
Inspection
Inspect the helmet for nicks, gouges, cracks, holes and any damage due to
impact, rough treatment or wear.
If damage is detected, replace parts immediately with Bullard replacement
parts or remove the respirator from service.
Cleaning
The helmet and window frame should be hand- sponged with warm water
and mild detergent, rinsed and air-dried.
After cleaning and before reassembling, once again carefully inspect the
helmet and parts for signs of damage
Lenses and Window Frame Gasket
Inspection
Be sure the plastic inner lens fits securely in the window frame gasket.
Remove any grit or dust from the gasket. Inspect the window frame gasket
closely for cuts, wear or damage that will prevent a proper seal against the
inner faceshield lens or the helmet window frame.
Installing Outer Lenses
To replace outer lenses, first remove all outer lenses. Insert up to five 0.015”
lenses (GVXOL15) or two 0.040” lenses (GVXOL40) lined up next to the ridge
closest to the helmet hinge and place under the upper and lower lips of the
window frame.
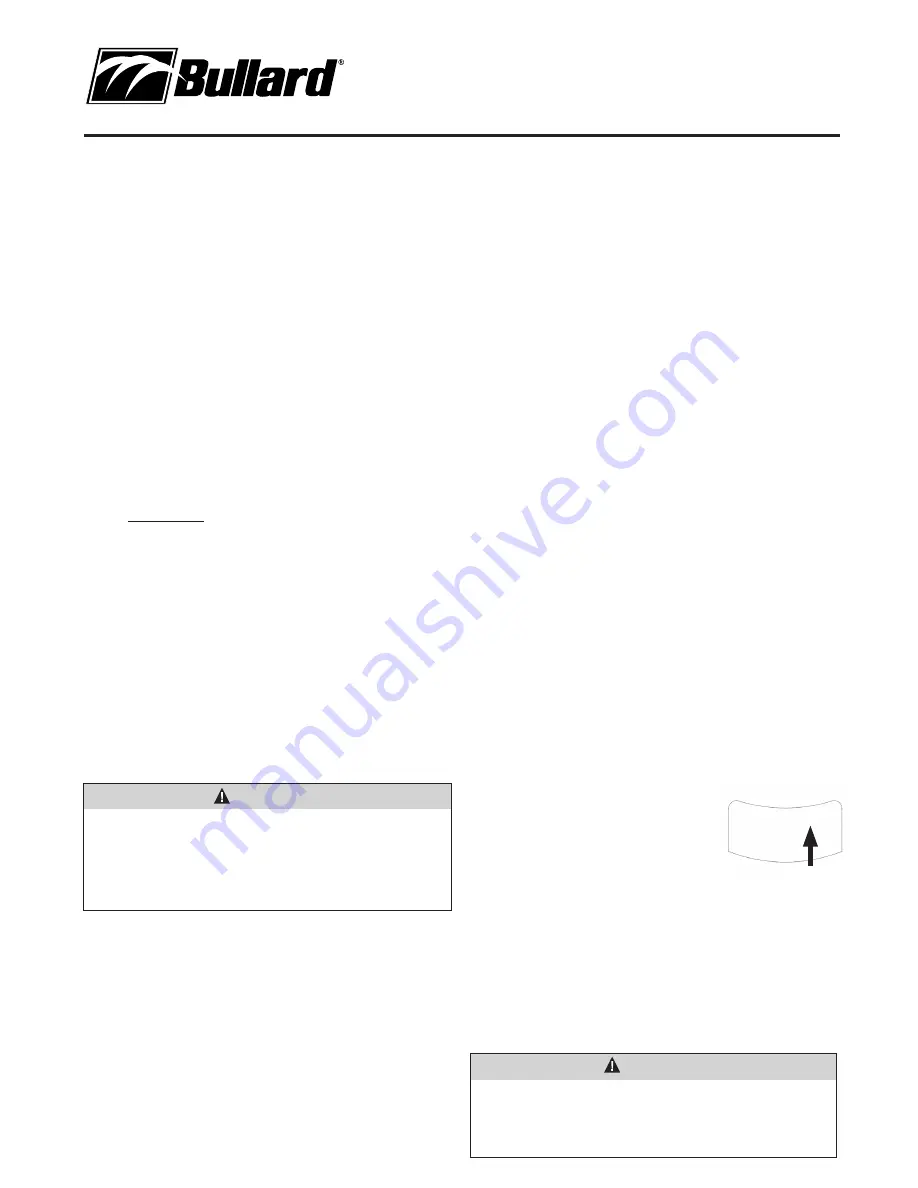
Installing Inner Lenses
To replace the inner lens, first remove the old
lens. Place helmet upside down in your lap.
From the inside of the helmet, push the lens
outward while pressing the black gasket with
your other hand. Once loosened, remove the
lens. Next, remove protective film from the new lens. With the helmet in
your lap, align the lens in the corner of the gasket nearest the window
hinge until it is secured. Work the lens into the gasket, adjusting the top and
bottom placement evenly until it is completely attached (Figure 15).
If damage is detected, replace parts immediately with Bullard replacement
parts or remove the respirator from service.
Cleaning
To clean the lenses, hand-sponge with warm water and mild detergent,
rinse and air-dry.
Inspection,
Cleaning,
and Storage
22
WARNING
Do not use lenses other than those listed on the next page. Substituting
other lenses voids the NIOSH approval. Use of non-Bullard lenses may
allow contaminants to enter the respirator and could result in death
or serious injury.
WARNING
Do not substitute any capes other than those manufactured by Bullard.
Substituting other capes will void the NIOSH approval and could result
in death or serious injury. In addition, Bullard capes have instructions
and warnings sewn inside each for the benefit of the respirator user.
Purchasing after-market “pirate” capes will deprive the respirator
user to these important instructions and warnings.
UP
Figure 15


